
I am absolutely in love with this DIY Geometric Wreath. It’s a tutorial that I pull out every time the holidays come around because it works with any style of decor! You can hang this wreath on your wall or on your front door. It is a quick and fun project that you can do in under an hour!
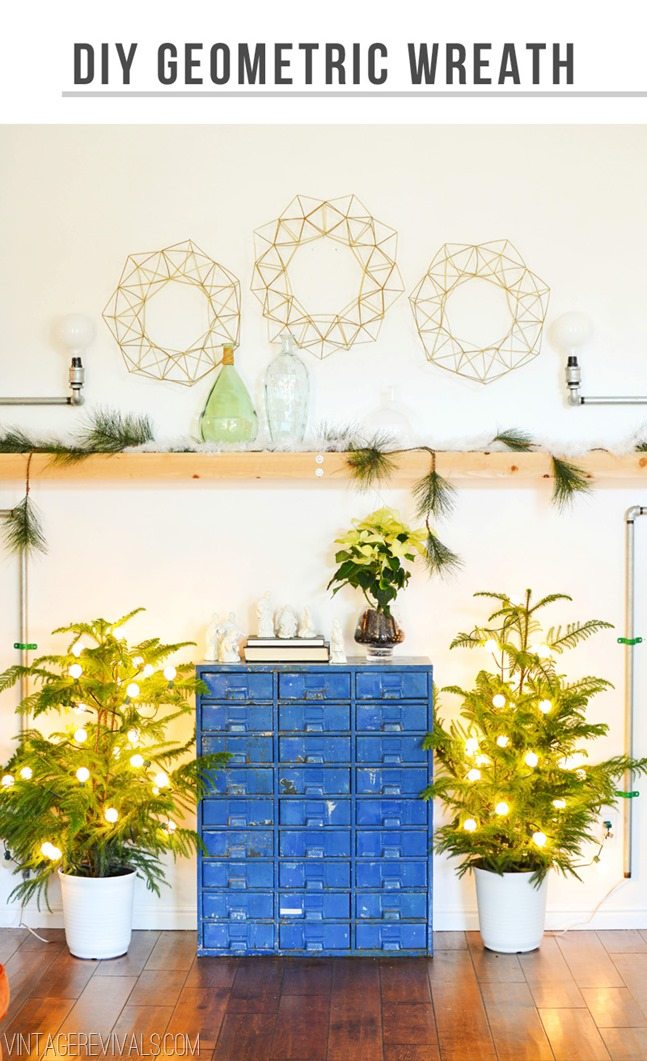
You know when you are so inspired by something it is all you can think about!? I want to Himmeli everything.
What is Himmeli?
Lets back up. You are probably saying “Himmeli?” Lets. discuss. Himmeli is a traditional Scandinavian art. They typically make them at Christmas time and they are the most gorgeous mobiles that you have ever seen (Google it!!)
The wreath and how to make something similar lived in my every thought for days. After trying my hand at making simple Himmeli ornaments, I felt like I understood the design process a lot better. Looking at a 3 dimensional object 2 dimensionally is enough to give you an aneurism. After trying a few techniques I feel like I came up with an extremely easy technique to make a geometric wreath.
(And when I say easy, I mean my 10 year old can do it. So you can totally do it too!)
Tutorials for this type of project are notoriously confusing and make you want to give up on life completely. I am doing everything I can to combat that problem. Please don’t give up on life.
How To Video
I even made a video because, lets face it, sometimes it is just easier to learn things in person.
But of course I had to do a regular tutorial too. So lets get to it!
Himmeli Wreath Supply List
You can also purchase a brass wreath kit from the Vintage Revivals shop!
Start by cutting your straws down to right length. To make a wreath that is 19 inches at its widest point I cut the straws to 4 1/2 inches.
The fastest and most efficient way to cut 105 straws is to use a rotary cutter and a guide.
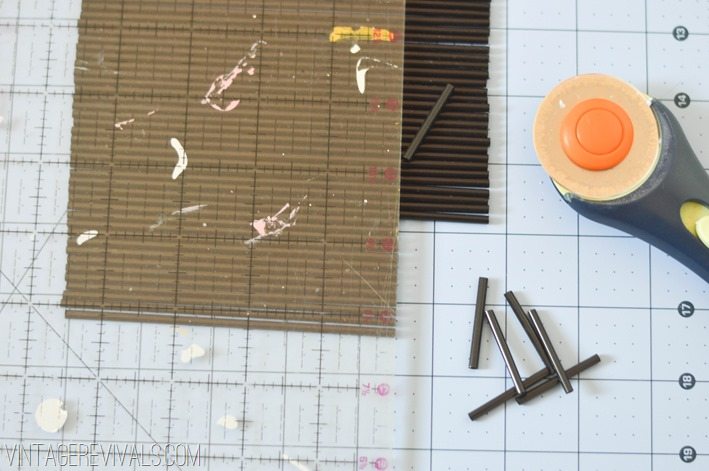
Before you get started I have a few tips:
- When you are connecting the wire you will only need to wrap it once (unless you are finishing a line, then you will want to wrap it a couple more times.)
- Tuck in as many of the tails as you can (I talk about this a little bit more in the video)
- Handle this like it is a newborn baby flower. VERY carefully. Straw is not the strongest material on the planet.
Now is the fun part.
Making your wreath sections
Step 1: Measure out 2 1/2 arms length of wire.
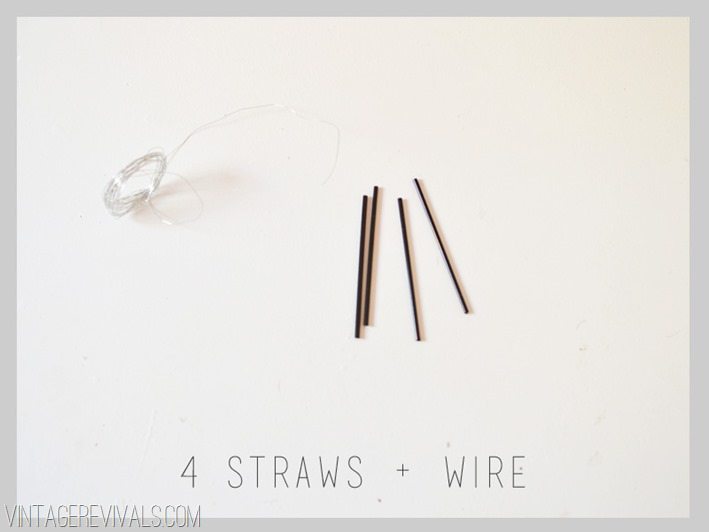
Step 2: Thread 4 straws on the wire
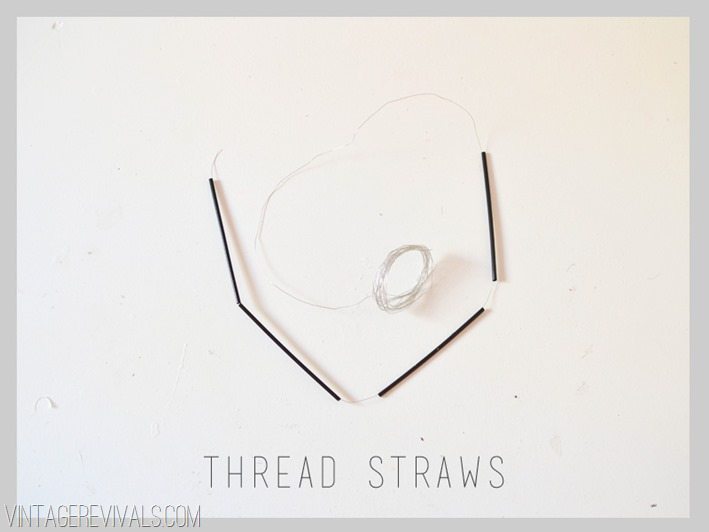
Step 3: Twist the wire together to form a diamond with the straws
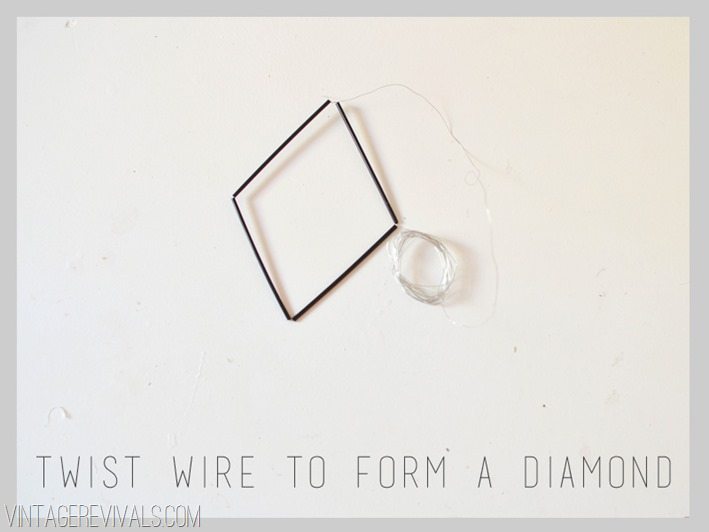
Step 4: Add 2 more straws to the wire
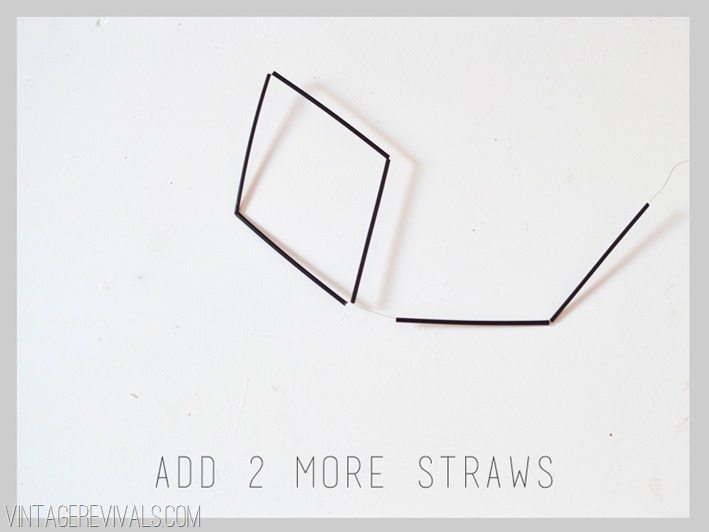
Step 5: Twist and attach the wire at the opposite end of the diamond
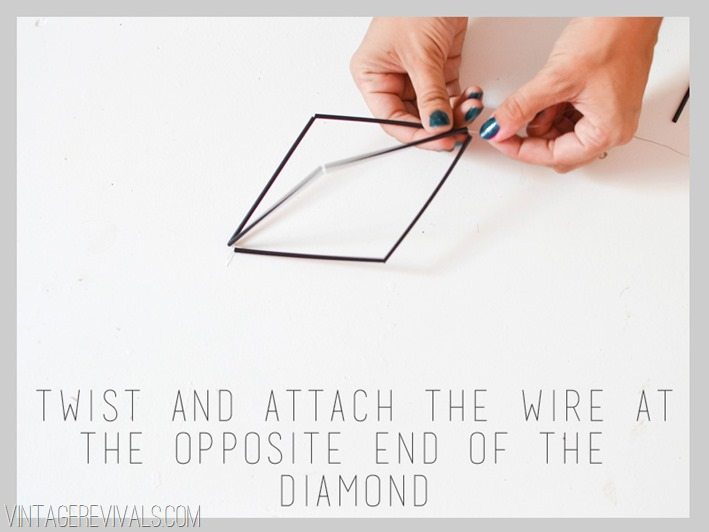
Step 6: Continue adding 2 straws and twisting them until you have a shape with 5 sections.
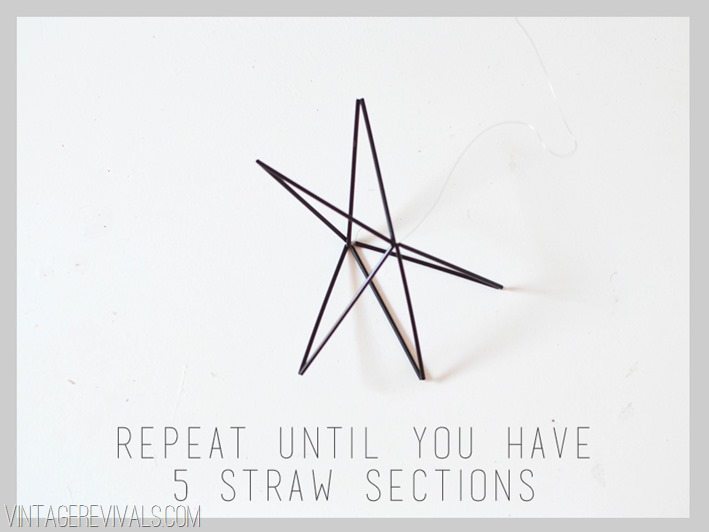
Step 7: Feed the wire back through one of the straw sections so that it is coming out of the elbow
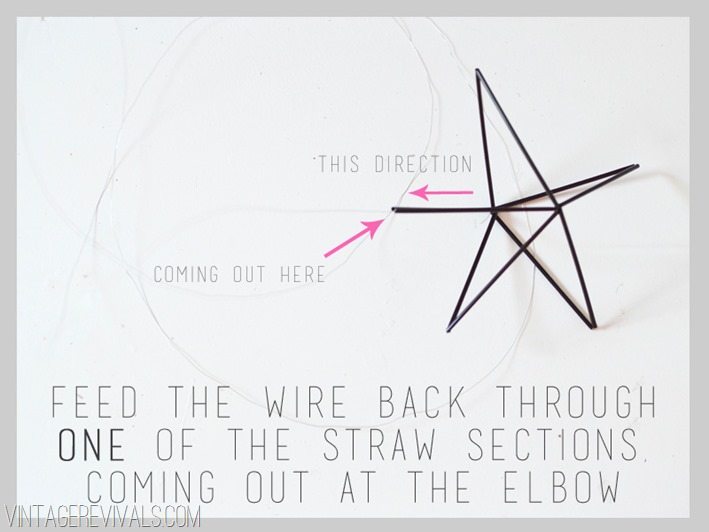
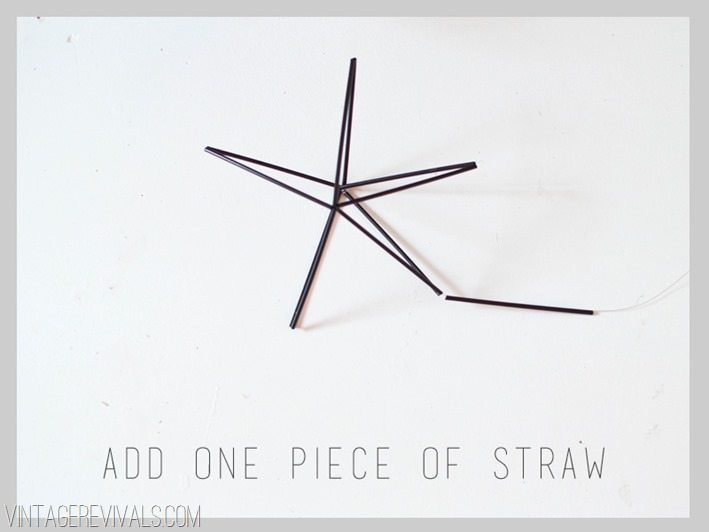
Step 8: Add one section of straw to the wire
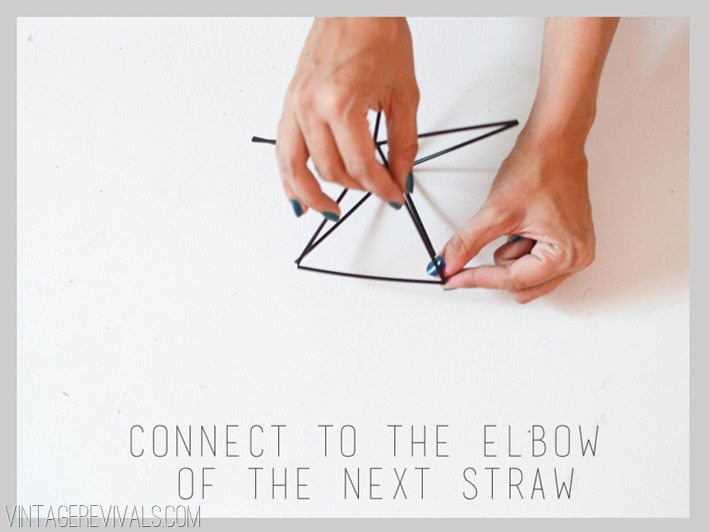
Step 9: Connect the wire to the elbow of the next section
Step 10: Repeat until 4 or the 5 sections are connected and you have a shape similar to Pacman
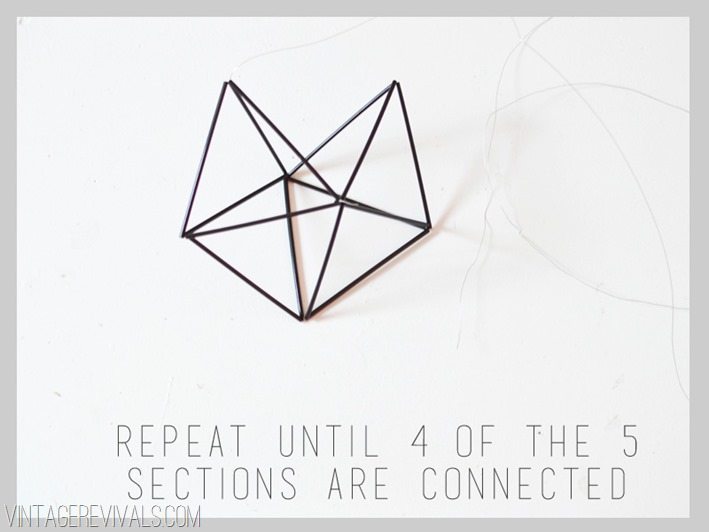
You are done with your first piece!! Now you just need to make 7 of these PacMan/Pentagon shapes. After you have done that, this is where you pick up the tutorial.
Step 11: Connect the open space to the side of the next space by threading the wire through the straw in the second piece.
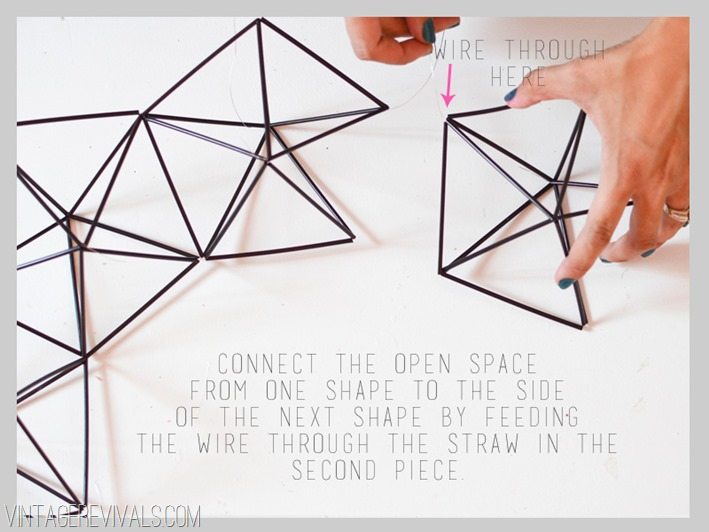
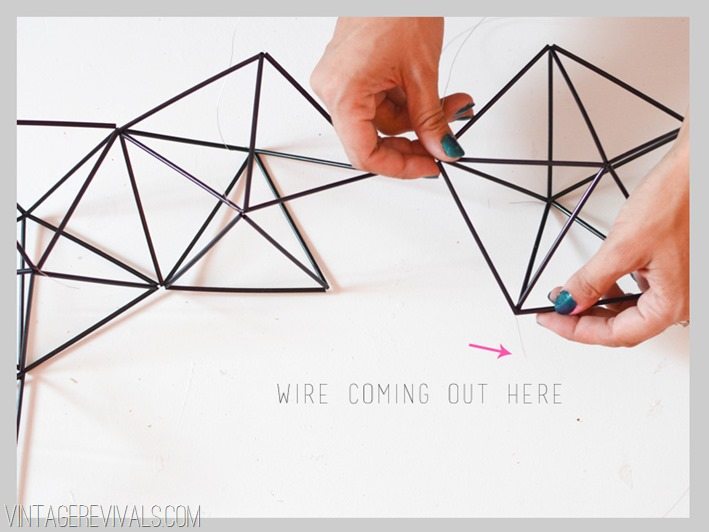
Step 12: Secure the wire to the corner of the first piece.
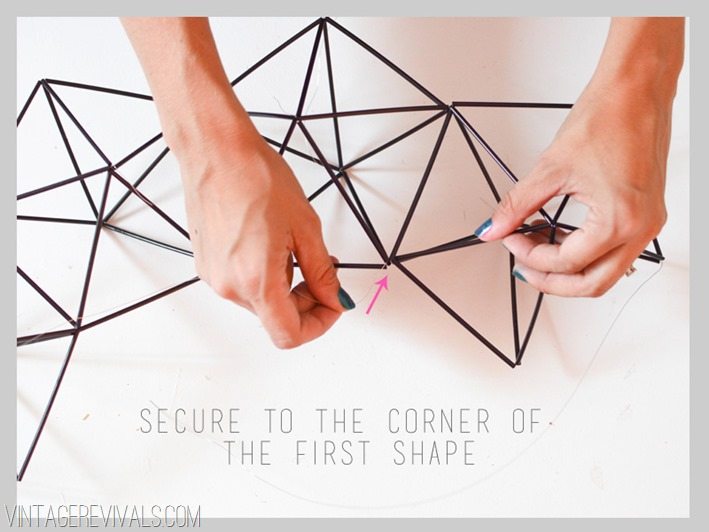
Step 13: Connect all 7 shapes together to make a circle.
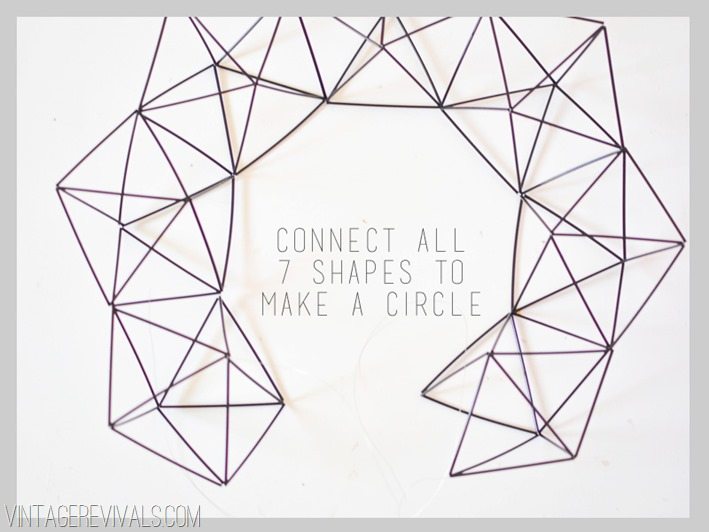
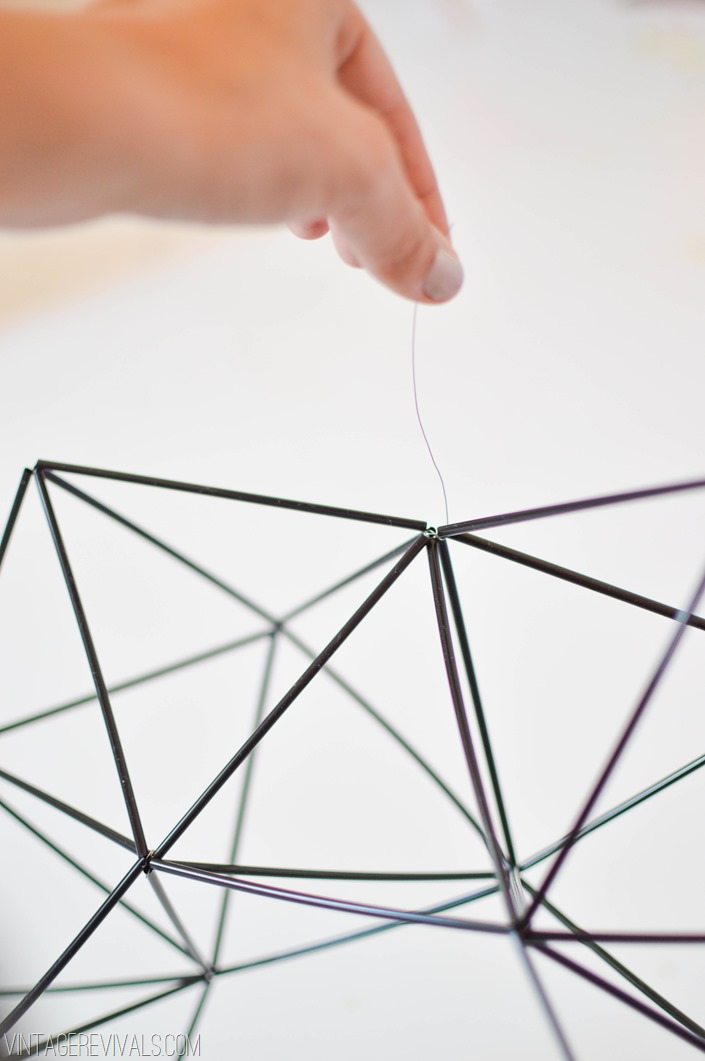
Step 14: Add 2 Arms Length (approx. 10 feet) of wire to the center point on the face of one pentagon. Thread a piece of straw on the wire and connect it to the center of the next pentagon.
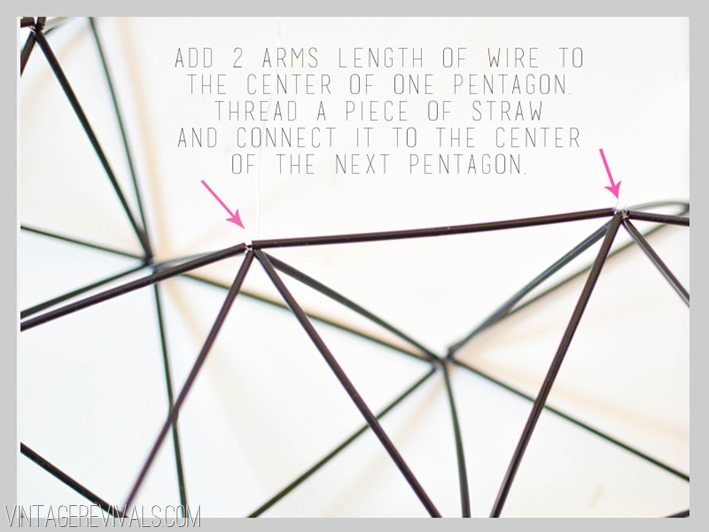
Step 15: Connect all the center points together

Clip your wires and you are done!
One little tip, if you are planning on spray painting your wreath string a small piece of wire from one of the outer points so you have something to hold while you are painting! (I used this gold to paint mine!)
Just an FYI the center wreath in this picture is a different design. The 2 wreaths on the outsides are from this tutorial. You can find the tutorial for the middle one here!


And because I am obsessed I have one hanging in my kitchen too…


So what do you think? Is this a project that you are going to try? Get the brass kit here!
The post DIY Geometric Himmeli Wreath Tutorial appeared first on Vintage Revivals.
via Mandi at DIY Geometric Himmeli Wreath Tutorial