Oh hey! So um, this is awkward. Remember when I shared my Front Door Part 1 post? No? That’s cause it was 2 months ago!!!
Sheesh guys, that’s crazy!
So since it’s been a while, lets recap (or you can read the full post here)
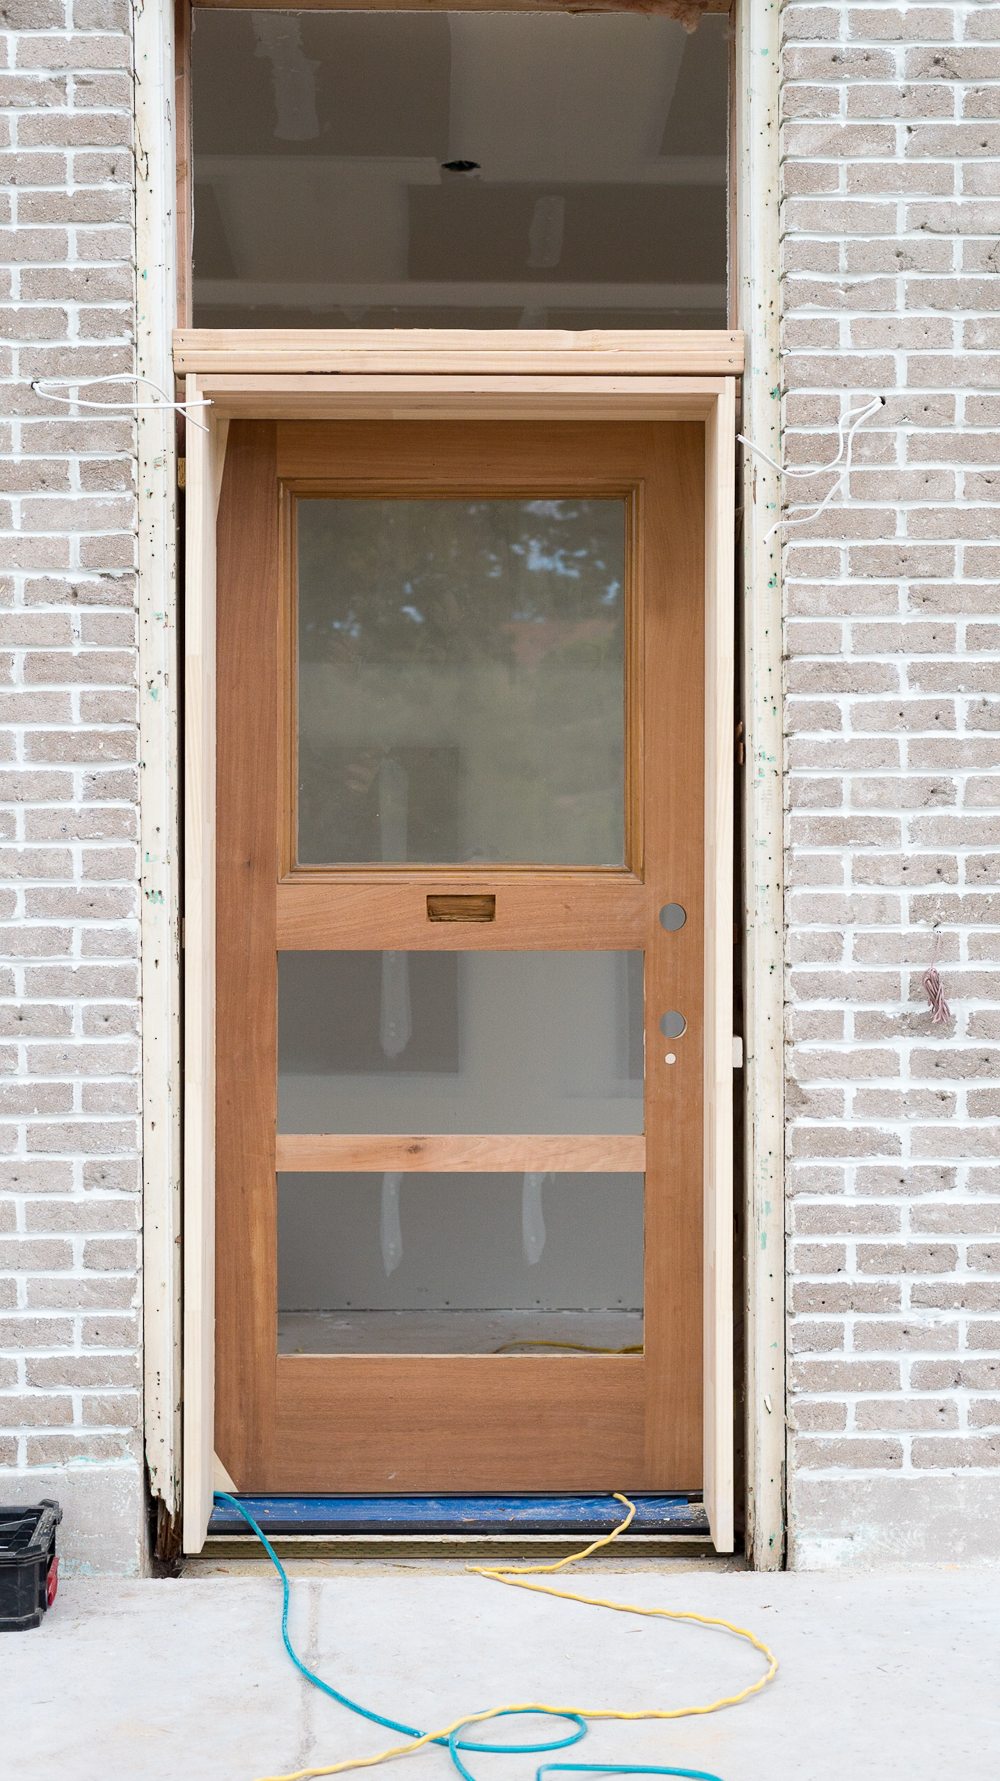
I found my dream doors on pinterest, couldn’t find them anywhere for purchase, had them bid out, cried a few tears because they were $9000, found some pretty ok doors at an antique store, started to make some customizations on them. And now it’s now.
We removed the giant vent panel on the bottom of the doors and added a cross piece to separate it into 2 panels. This added more character and upped the vintage vibe.

One of the things that I was so drawn to about the inspo doors was the heavy moulding detail. I’ve never considered myself much of a moulding lover, until the Merc changed my heart and now I just can’t get enough!!
All of the moulding that we’re using in the whole space came from Home Depot, but I couldn’t find something thick and chunky enough for these doors so our door guy (Clint from Quarter Sawn) made some custom for us, it’s not the cheapest thing (I think it was around $5/foot). But because he was making the inserted panels and the moulding all of the measurements could be exact. It made our lives so much easier when we went to assemble it!
I’ve never experienced moulding being made. Want to learn?!
You start out by ordering (or designing) a knife that has the profile of the pattern that you want on it.

2 of them are put into a cylinder that is part of this beasty machine, think Santa can fit one of those underneath a Christmas tree?
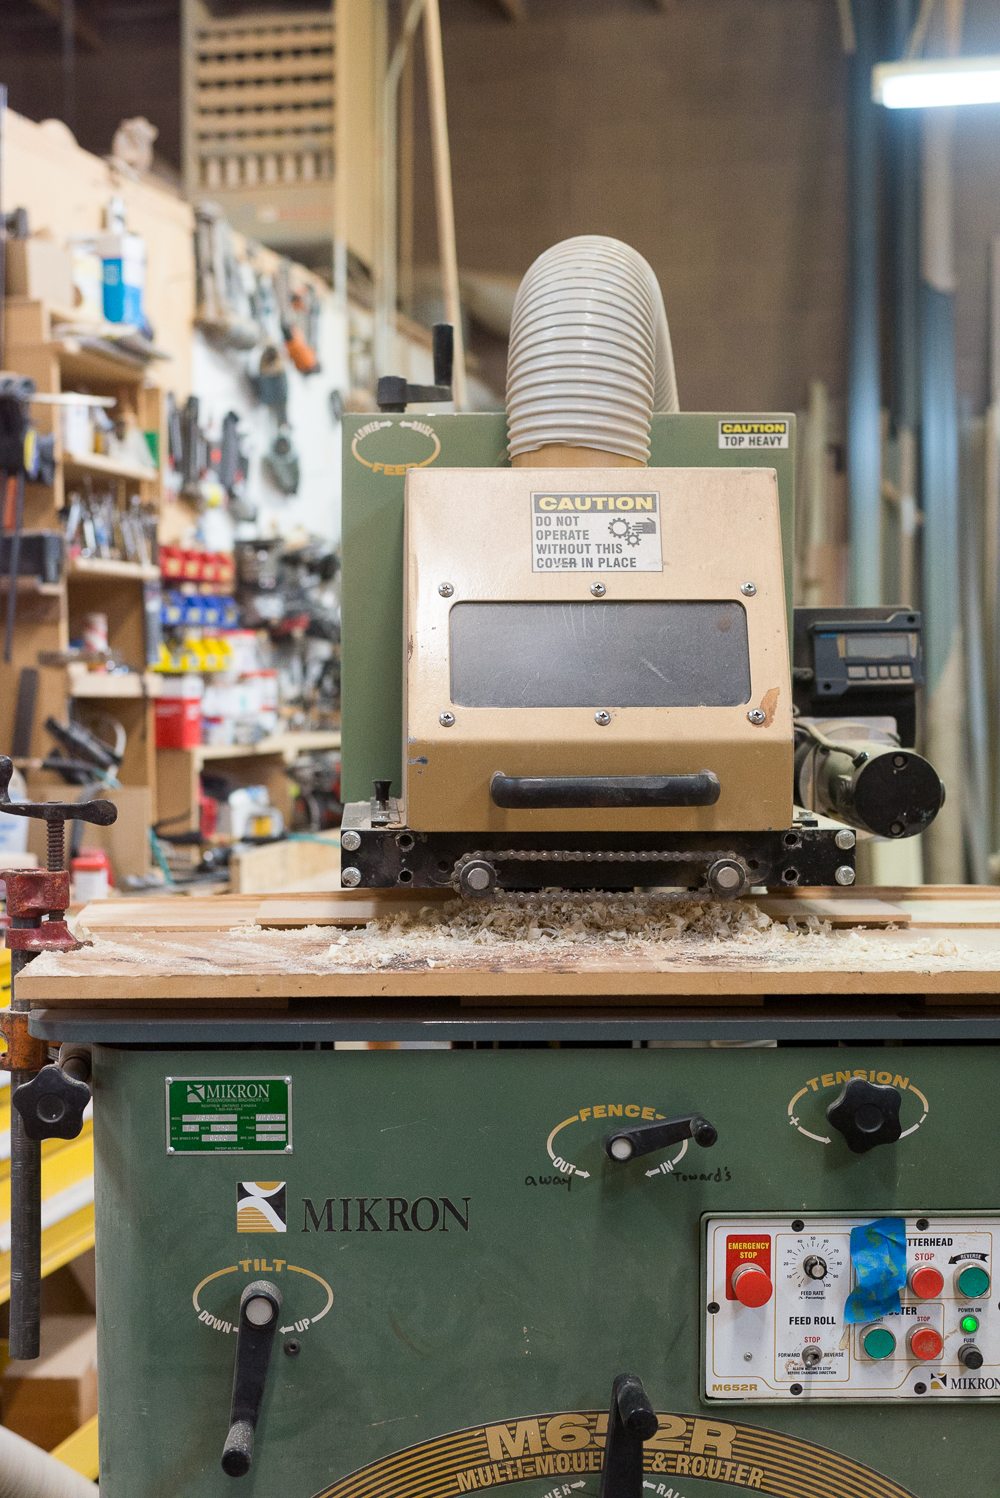
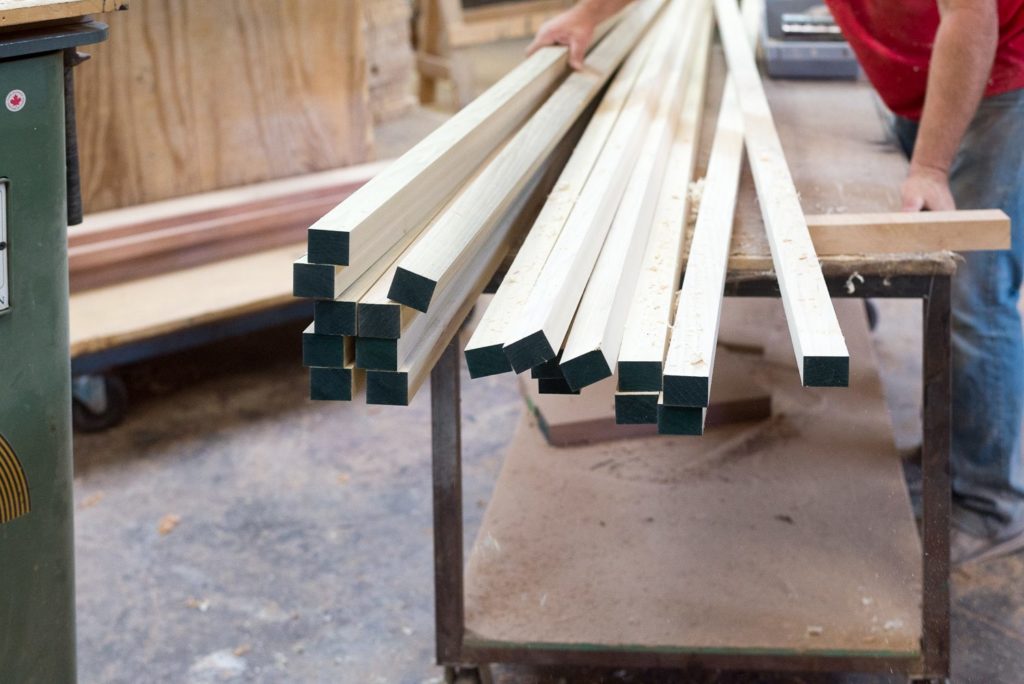
The boards (ours were made out of poplar) were cut to an exact size and then fed through the moulding maker.

Cool right?!
Once all of the detail was in the top, he ran it through a second machine that cut the corner out so that it would fit snug against the frame and hold the recessed panel in place.
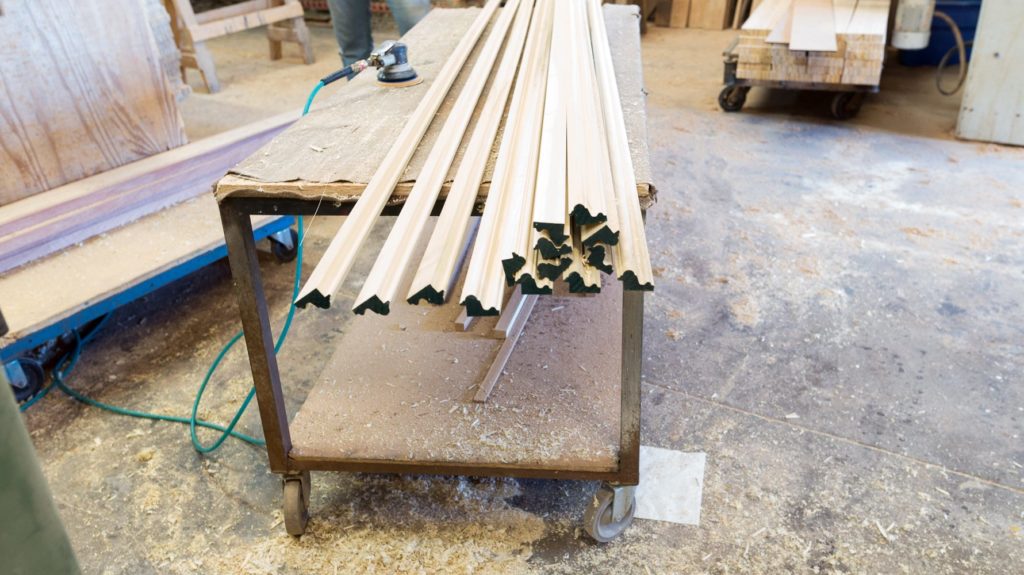
Then he bundled everything up and sent us on our way!
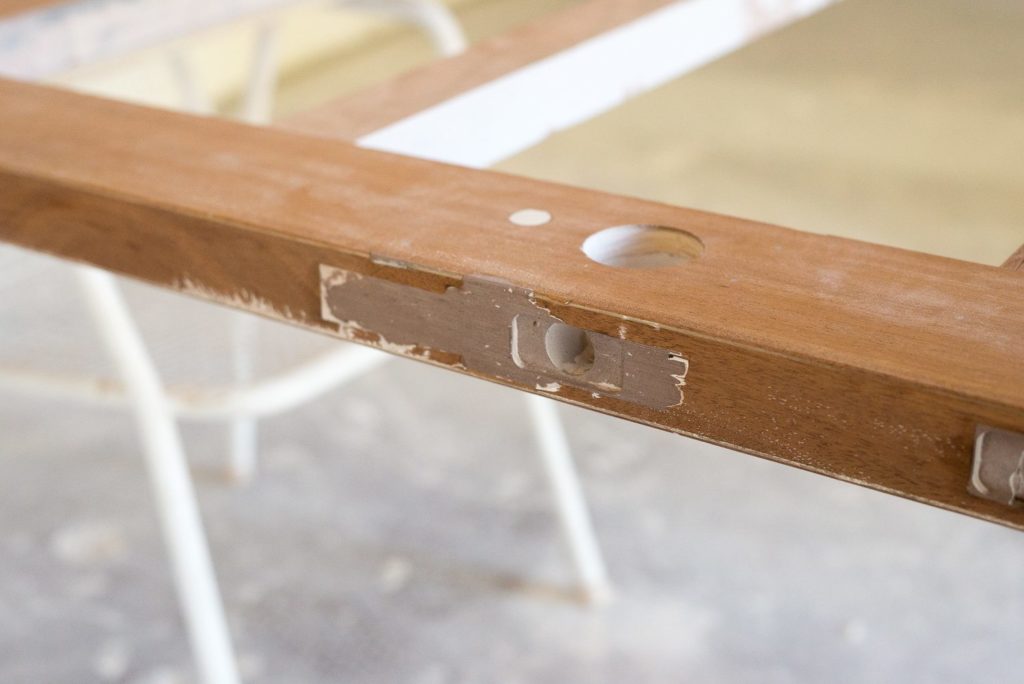
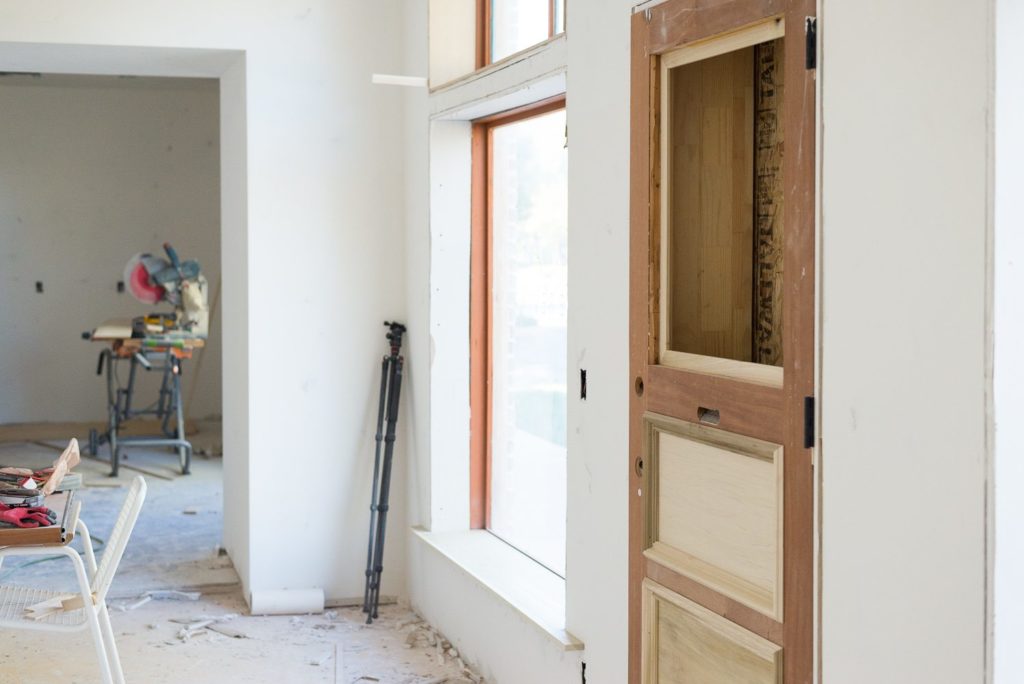
Here are some shots of the repair work that we had done on the doors. The mortise locks were filled, pealing veneer was repaired, and everything was sanded smooth!
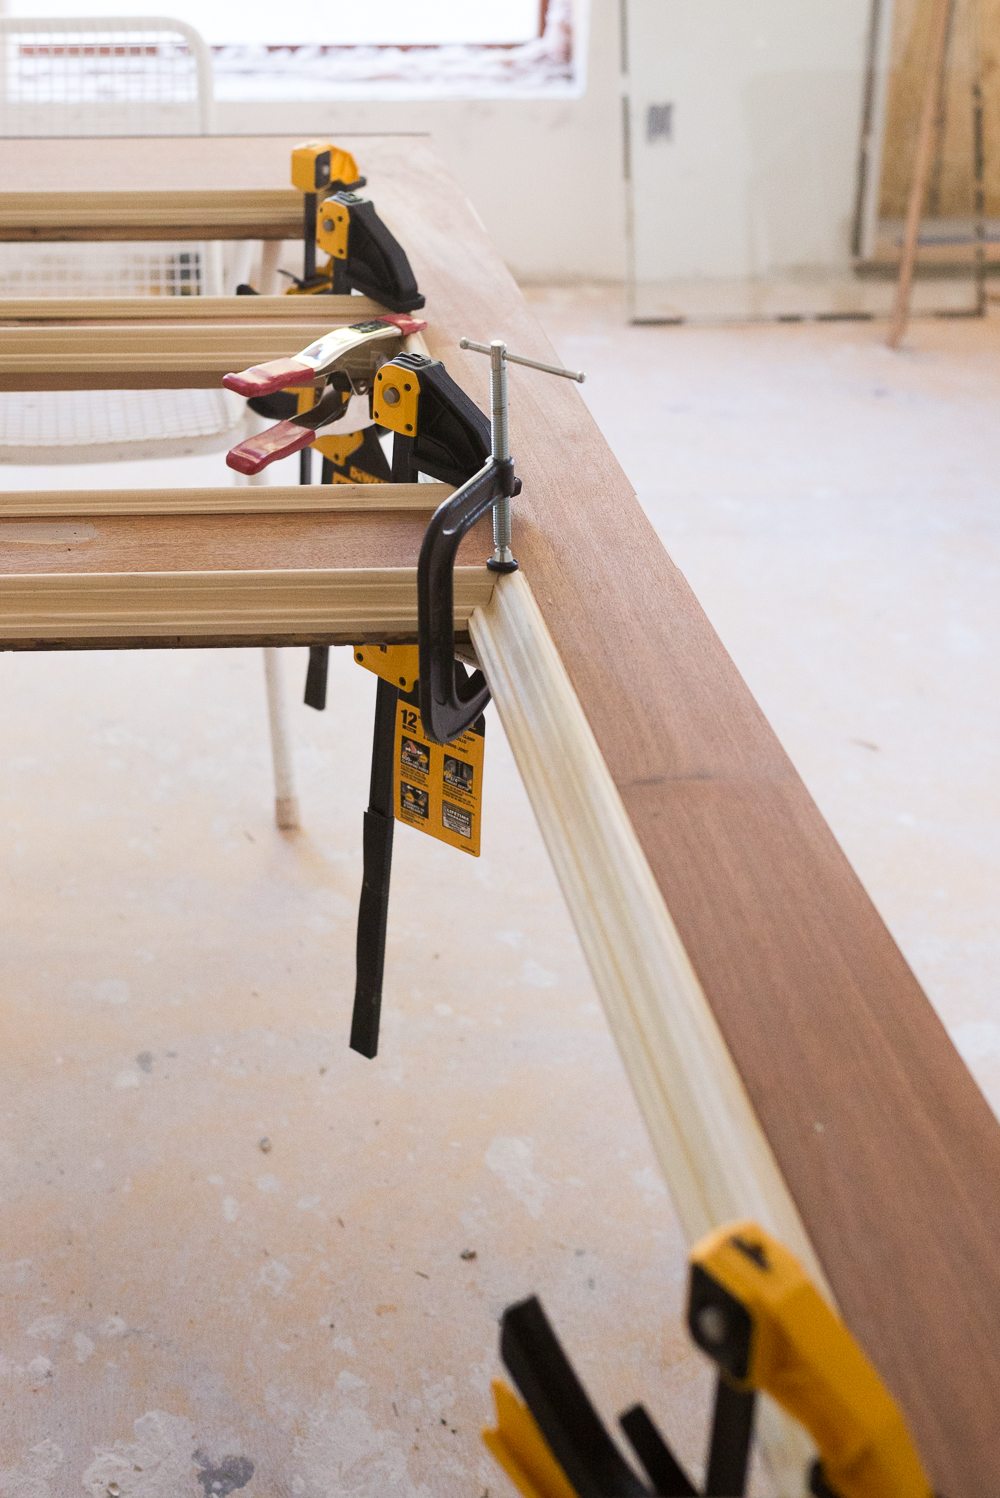
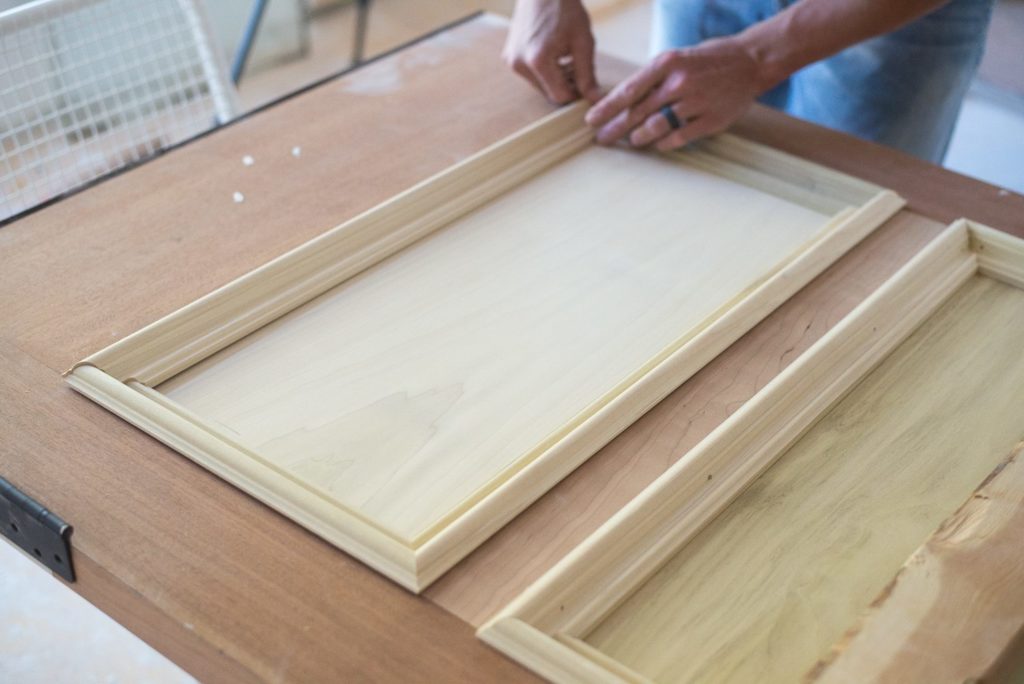
We laid the doors out horizontally and got to work cutting the moulding to fit the panel holes. These were the exterior sides of the doors, which means no nails.
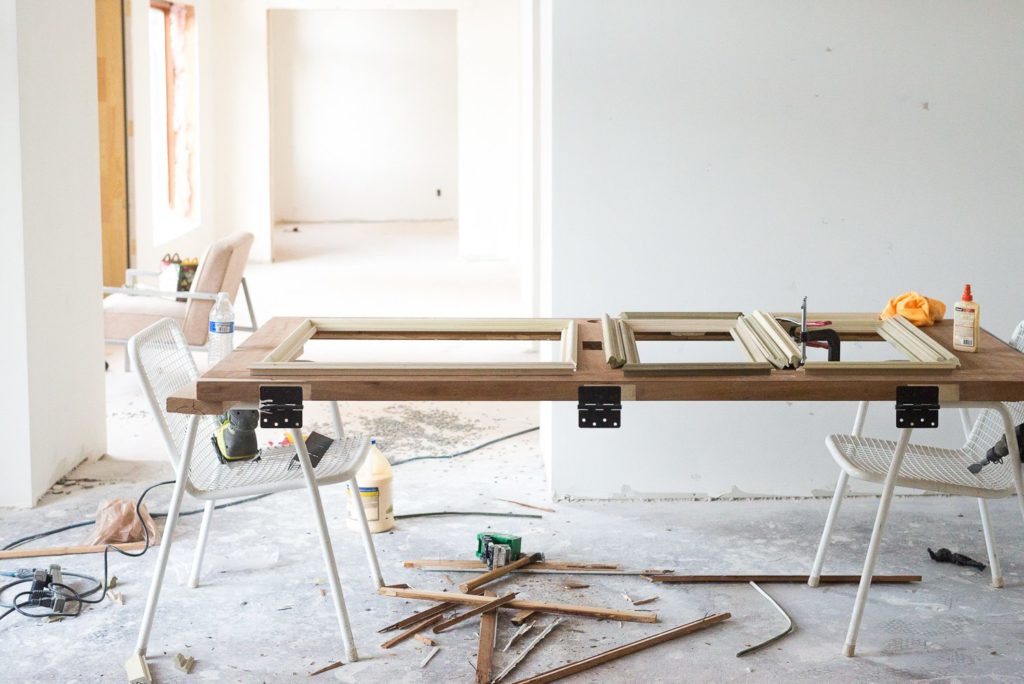
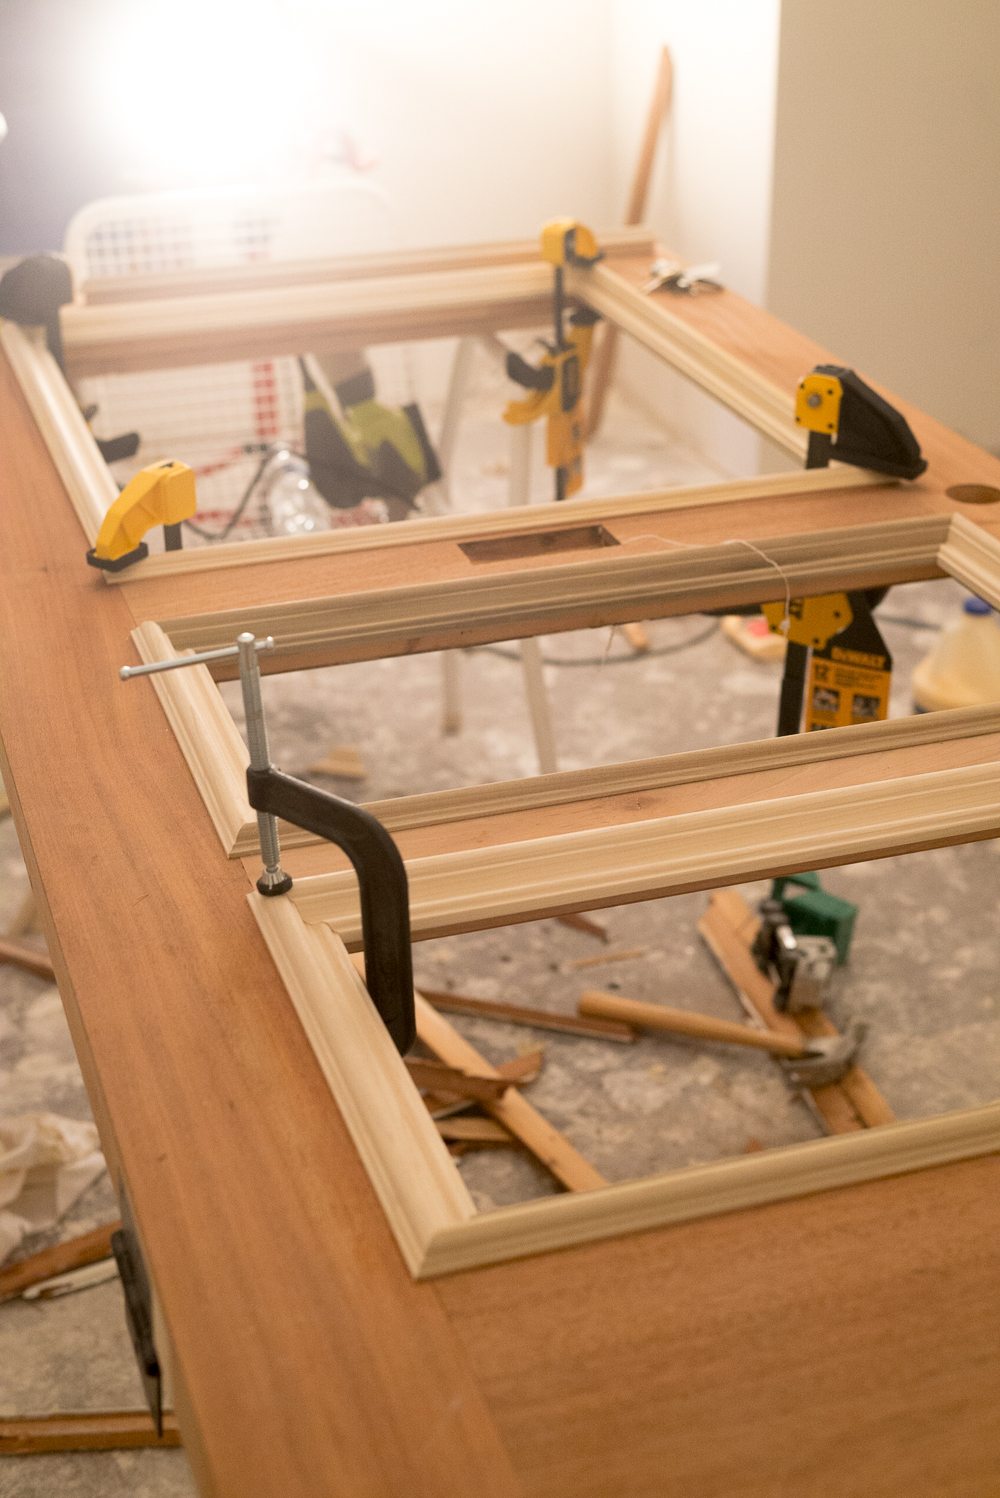
All of the moulding got a healthy dose of wood glue (we use Titebond III) and clamped into place. We were using C clamps but needed more and splurged on these Dewalt ones. We’ve used them countless times since and they are worth every penny! (We weren’t so sure they would be so we left the tags on, that’s why they’re pictured below  )
)
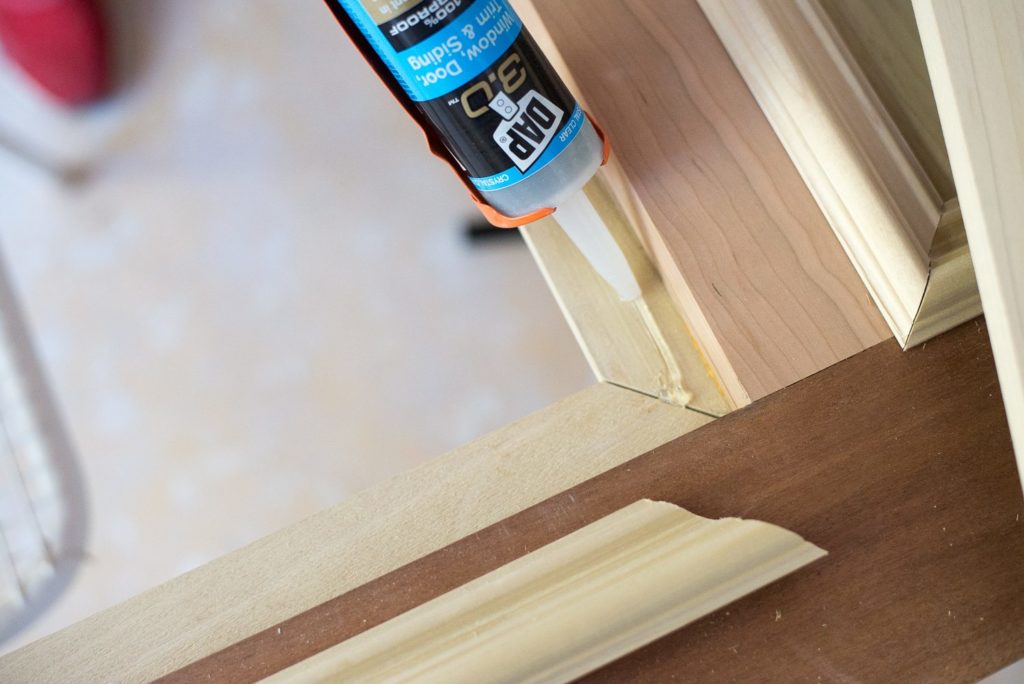
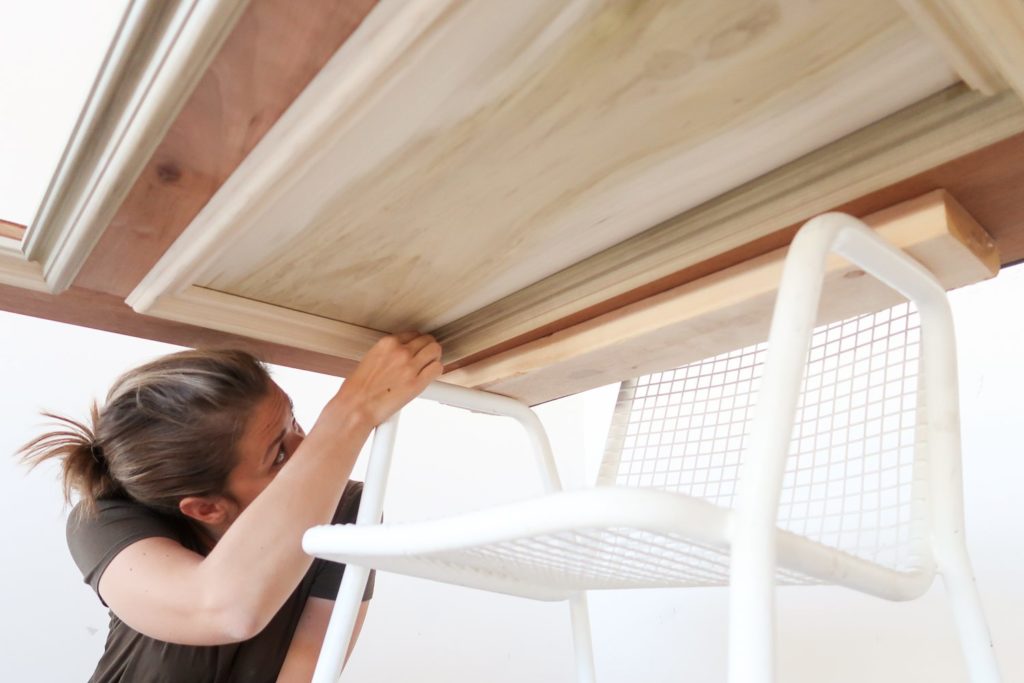
The next morning we came back, flipped the doors over and put a continuous bead of silicone on the backside of the moulding.
Then we put our panels in place.
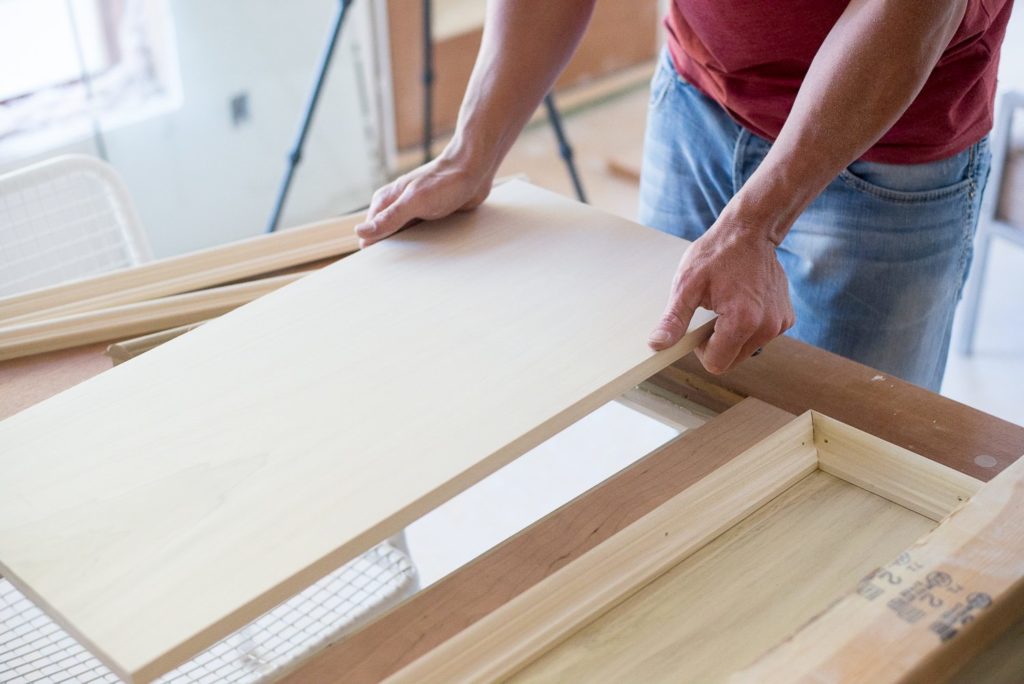
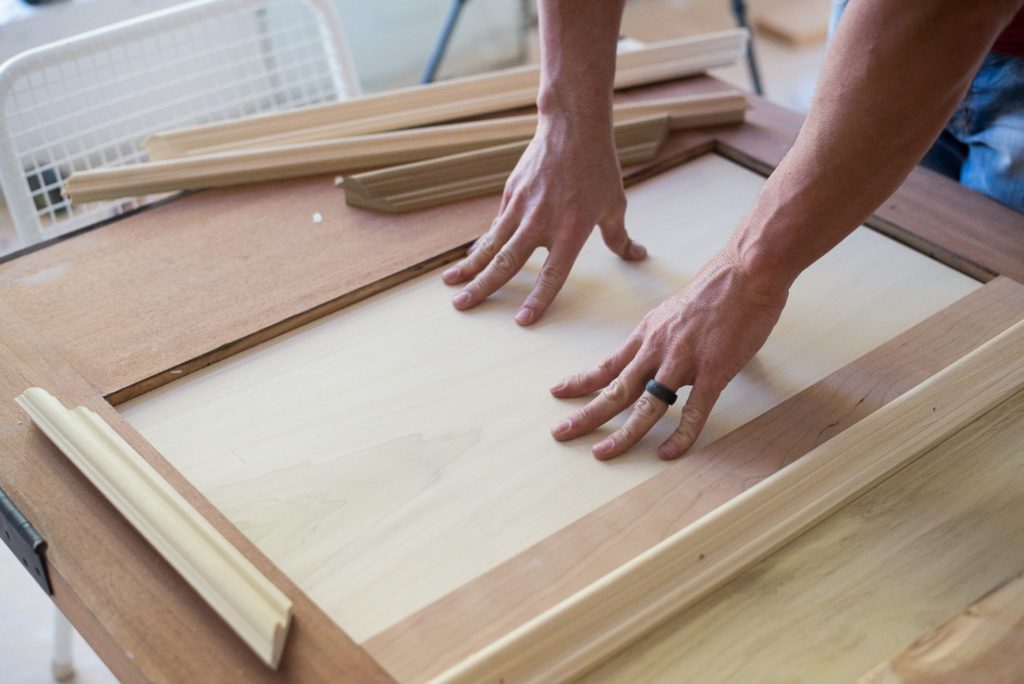
The silicone adds a good amount of gapping because it’s so thick so we found that wiggling the board back and forth for a bit helps it to spread out.
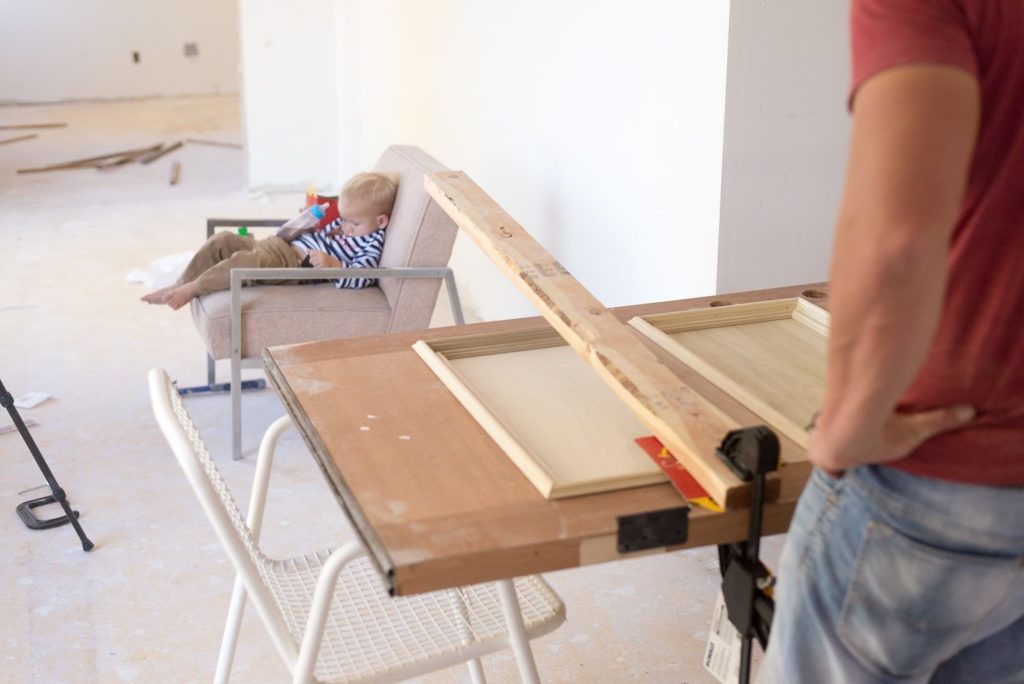
Then we added our second set of moulding. We didn’t put another round of silicone on the panel for the moulding, because this was the interior side we used wood glue and finishing nails to hold it in place.
Because we couldn’t clap this round the way we did the first one, we used scrap wood and clamped a board across the sides to hold it in place while the glue dried. Just make sure that you have something between the board and your trimwork so that it doesn’t dent…like a Happy Meal box. (In the pic below we only had one side clamped but Brem was just so cute I had to post it. #renovationreality
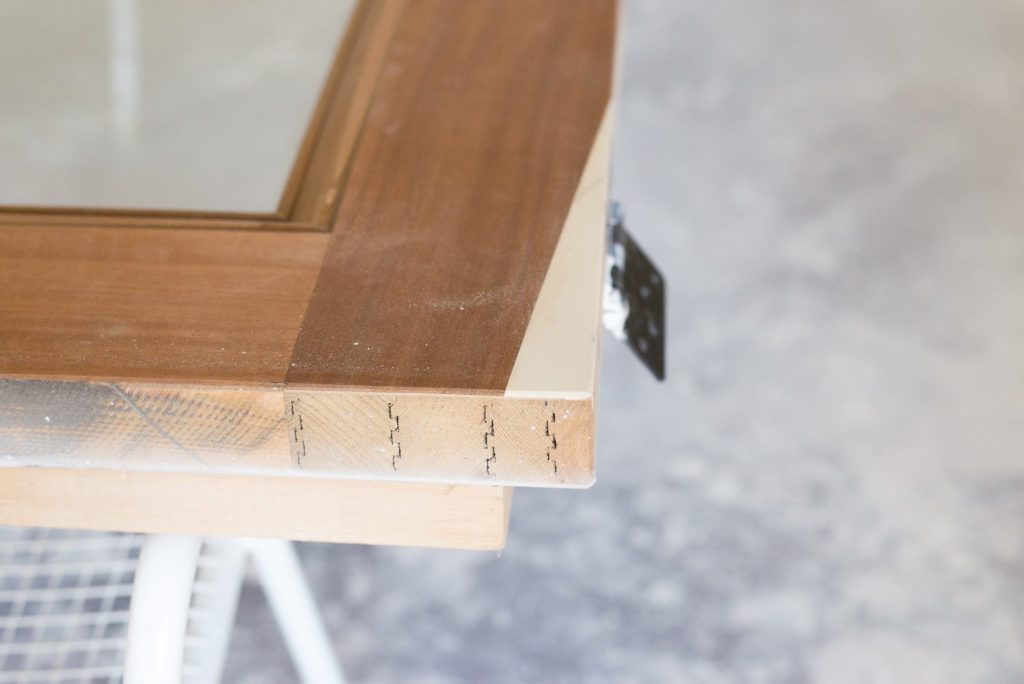
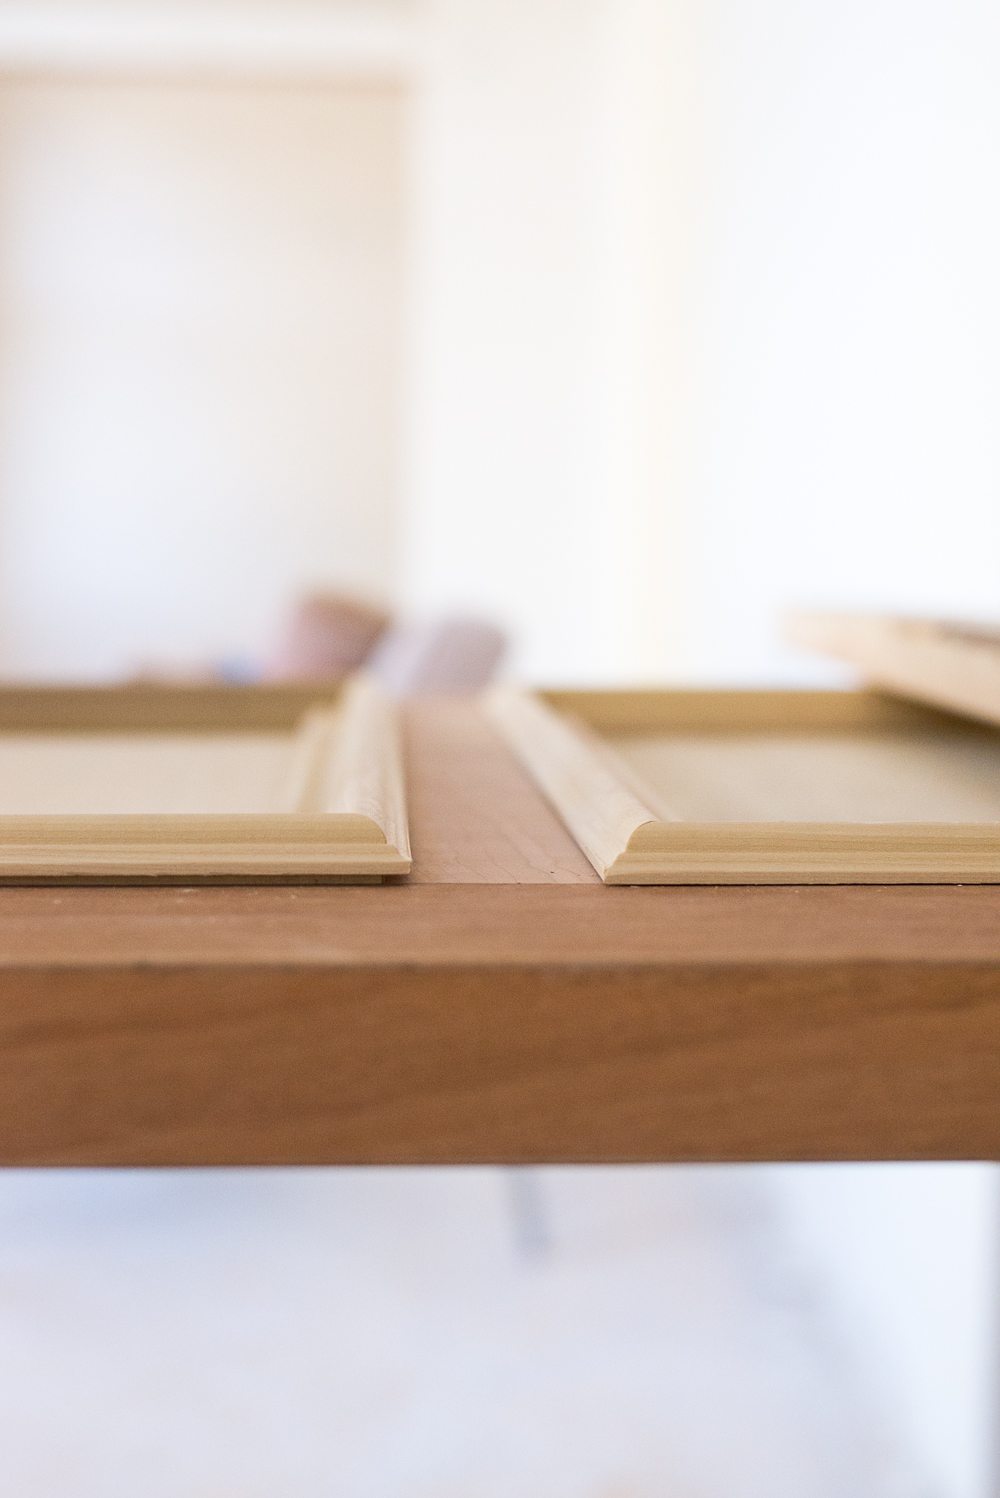
Look at the difference between trim that was clamped and trim that hasn’t been clamped yet. It’s SUPER important to get a solid seal to protect against water and weather, and it looks 100x better. (This is before caulking)
When youre doing this make sure to clean the silicone out from the other side of the door.
We ordered new glass for the windows (because code requires it to be double paned) so we put one side of moulding on and waited until the glass came. One trick we learned (the hard way but thankfully not too late to course correct) is to paint the backside of the moulding before you put the glass in. Otherwise you can see the wood through it. #lifelessons
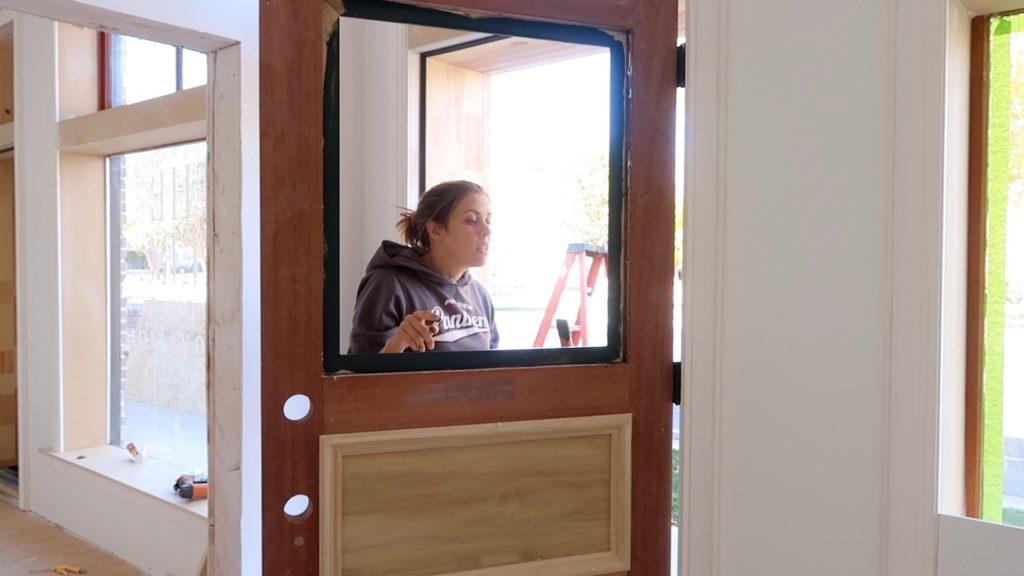
We intstalled our glass using silicone and nailed the inside trim into place with our finish nailer. After the broken window fiasco you can bet that I was a crazy woman everytime Court shot a nail. Serious PTSD folks. Next post (soon! not in 3 months) is all about painting and choosing our hardware!
The post The Front Door Saga: Part 2 appeared first on Vintage Revivals.
via Mandi at The Front Door Saga: Part 2