Hey hey!! So I’m pretty sure that 99% of peple who have good taste have pinned the following picture on Pinterest.
Right!? Those shelves are SO good. So good in fact, that they deserve to be in your house.
So good that I built them and made a video tutorial for you! (You can check it out here).
Big projects like this can seem overwhelming, because where do you actually start?! Right? This project is actually incredibly simple, there are just a few things to keep in mind when you’re building to keep the swearing at a minimum.
To get started you’ll need:
1 1/4″ Wooden Dowels
(6) 1×3 Select Pine Boards at 8 feet long
(6) 1×3 Select Pine Boards at 10 feet long
(7) 1×12 Boards (length again depends on how wide you want your shelves, mine are 8 feet long)
Trim Head Screws
Connecting Bolts + Connecting Cap Nuts
The reason these shelves are so doable is because we’re creating the first ladder and using it as a template for the other two so they are exactly the same. Let me show you.
The first side of the ladder that we are building is the long side, see how it extends past the shorter side? The measurement for the long side of the ladder is 104″.
Take your first board and measure down 4″ and mark. This is where the first rung is going to sit. I wanted enough space between each shelf that I could put things that are a little bit taller inside, so each gap measurement is 14.25″. Measure and mark for each of the rungs on your shelves.
Once that is done, find the 1/2 way point between marks 2 and 3. This is where the short side of your ladder is going to connect. Mark this spot for drilling as well.
After you’ve measured and marked for each of your rungs, take a small drill bit and drill all the way through your board on each of the marks. Congrats! The hard part is done!! This guy is your template.
If your building your shelves the same way that I did with 3 separate ladders, you’re going to need 6 boards with these measurements. Clamp each board underneath the template board and drill through the holes into the new board. Set 5 of these boards aside, and keep your template board ready to use.
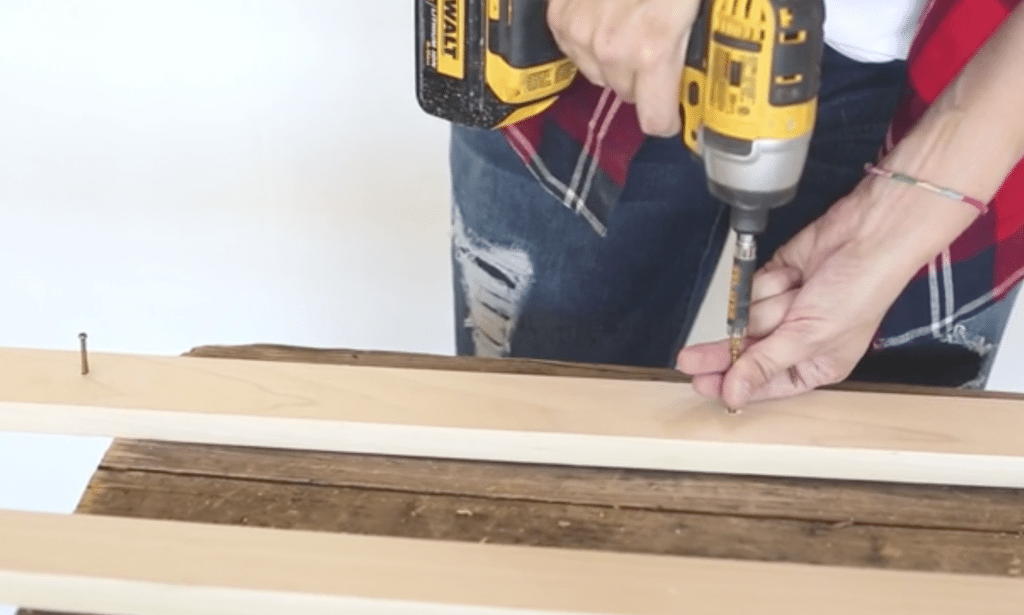
Next we are going to measure, mark, and drill the short side of the ladder. Take your short board and measure down 2.5″. Drill all the way through the board and place a screw inside, so that the end is just poking out.
Line the screw up with the predrilled hole that is happily hanging out between the 2nd and 3rd rung holes on your long template board and drill it in. Now, I know what you might be thinking. This is ugly. And dangerous.
Good news. The screw isn’t staying there, we’re just using it as a pin to hold the short board in place while we (you guessed it!) use our long board template to drill the spots that the rungs are going to sit on the short side of the ladder. Once you’ve done that, take the screw out and DUN DUN DUN DUNNNNNN! You’ve got a perfect template for the short boards on your ladder. Genius right?
The real question then becomes, are you feeling like a rockstar? Cause dude, you should be.
The next step is to finish the edges of your boards. The great thing about this project is that its completely adjustable, you can make the shelves as wide or as tall as you need to, just by opening and closing the ladder. In order to do that (and not have to worry about crazy angles) I rounded the bottom of the boards. To make sure that they are all the same, I used a roll of tape to mark the arc.
And a jigsaw to cut the excess off.
When its all said and done, my long boards ended up measuring 104″ and my short boards measured 88″.
In order for the shelves to look right, the ladder needs to be able to close, which means you’ll need to cut your dowels to 2 different lengths (because the short side of the ladder fits on the outside of the long side.) This means that the dowels for the short side of the ladder need to be 2″ longer than the ones for the long side (because we are taking into account the 1″ boards on either side of the dowels).
You’ll need 7 dowels for each side of the ladder (or 42 total if you made 3 ladders like I did) 21 at 12″ and 21 at 14″. Set a simple jig stop on your miter saw so that you don’t have to remeasure 42 different times.
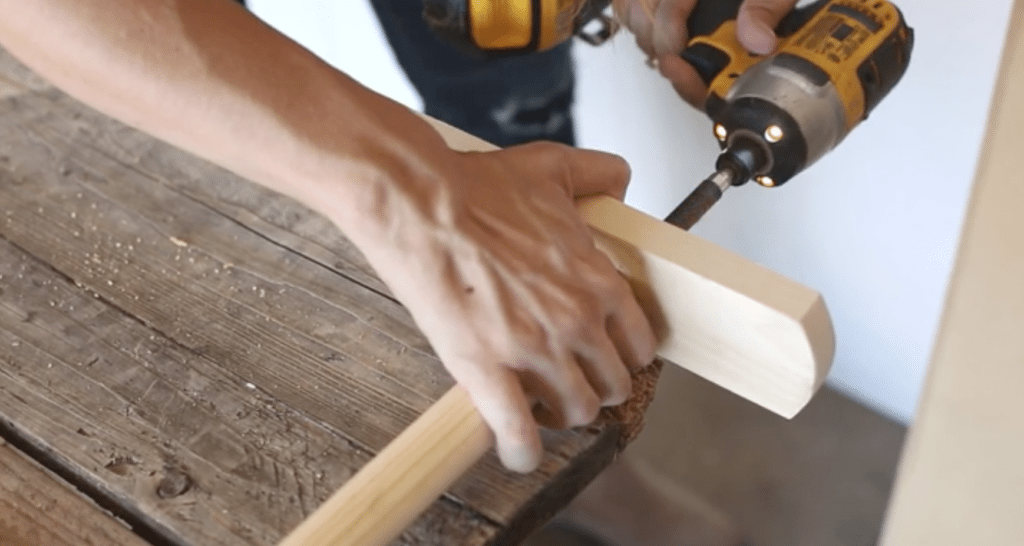
To make sure that the center of the dowel was lining up with the predrilled holes in my boards, I made a really simple template to mark the dead center of each side of the dowels.
Then I drilled a small divot where I marked. The screws that we are using are self drilling, which means that we don’t need to drill all the way into the dowel. Thank goodness, cause I wouldn’t be awesome and drilling straight lines…
Set your screws into the sides of your boards, and line the points up with the divots in the dowels before you drill all the way through.

Then finish the ladder by adding the other side.
Repeat for all of your ladders!
After you’ve painted, stained, or finished all of the wood, its time to connect the short and tall side of the ladders. To do this I used Connector Bolts + Nut Caps. I love that it looks the same on both sides, and that you can still move the ladder in and out a little to adjust the spacing. After you’ve done this, just slide the 1×12 board onto the rungs and you are FINISHED!!
If you’re going to build this project, I would definitely check out this episode of Fearless DIY to see it all coming together!
The post DIY A-Frame Ladder Shelves appeared first on Vintage Revivals.
via Mandi at DIY A-Frame Ladder Shelves


