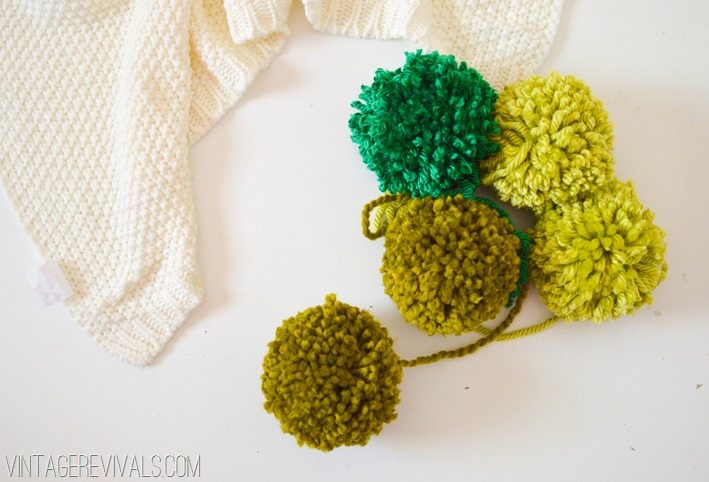
Sometimes you need throws in your life that have a little extra oomph to them. This tutorial for a giant pom poms can be used on any blanket, any pillow, any door, and in any space in your house!
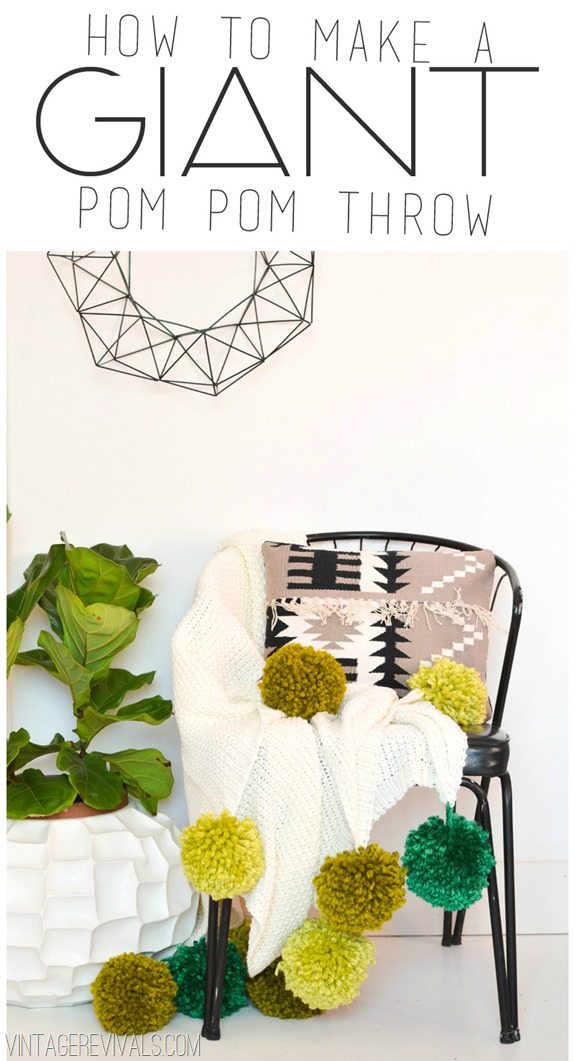
How To Make A Pom Pom
When I made the giant pom pom blanket for Dylan’s room, it was SO cute. I loved it. Then I started seeing pink yarn all over my house. There was a problem, the poms were molting.

I really wanted to come up with a better solution before I shared the tutorial with you guys, cause that is what friends do.
The really good news is that I have figured out a way to make the poms stay together so that the blanket is easier to wash, and so that you wont feel like you have a LaLaLoopsy that has alopecia living in your house.
Giant Pom Poms Need A Strong Base
Typically pom pom templates are made out of cardboard. That is great and all, but when you are making 10-15 giant poms then you are going to go through quite few templates (like a new one for every 2 poms). All that wrapping breaks down the cardboard and it gets really floppy. So we need to use something stronger than cardboard.
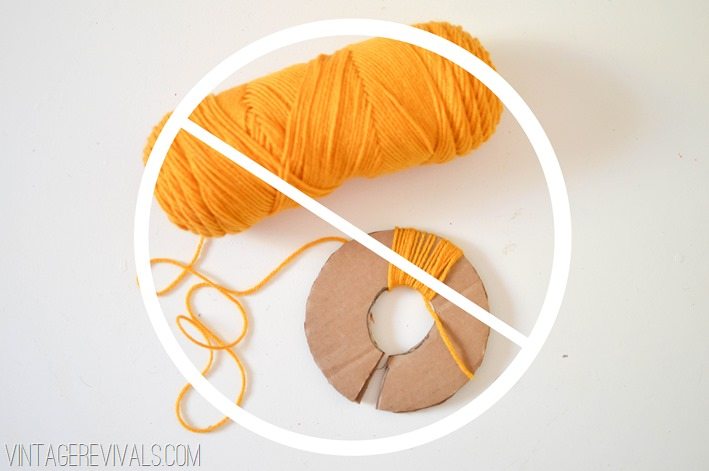
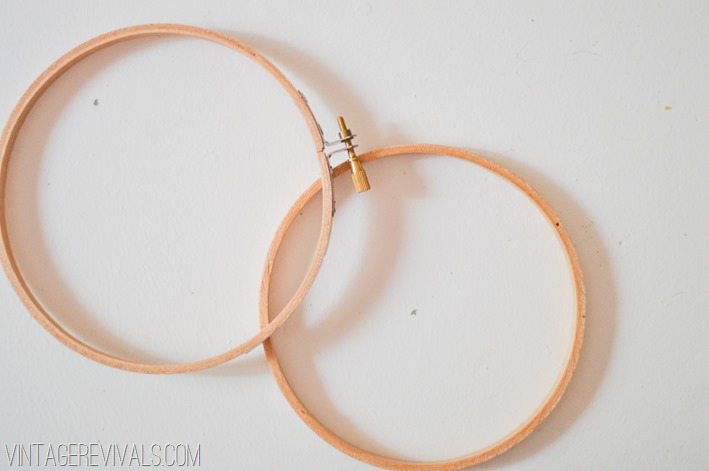
The magic template is an embroidery hoop. Well, the inside ring of an embroidery hoop to be exact.
Supplies you will need:
- One 5” embroidery hoop
- 1 Skein of Yarn for every 2 pom poms (I use extra thick yarn because it looks really beautiful and expensive and less like a muppet.)
- 1 spool of Upholstery Thread
- Good Scissors
Step 1: Take the center of your embroidery hoop.
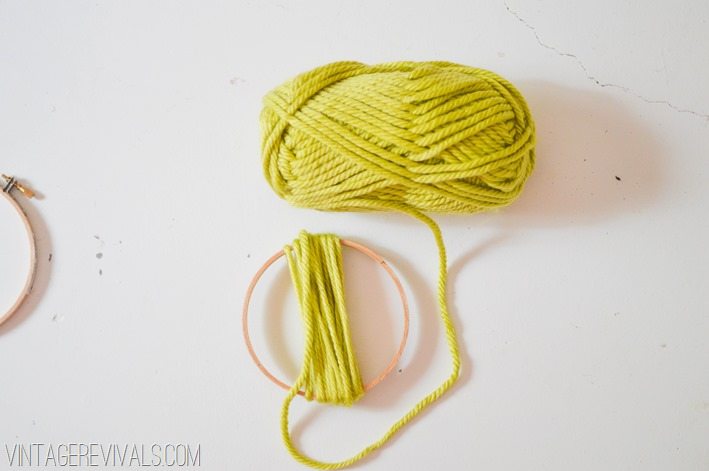
Step 2: Start wrapping your yard around the hoop.
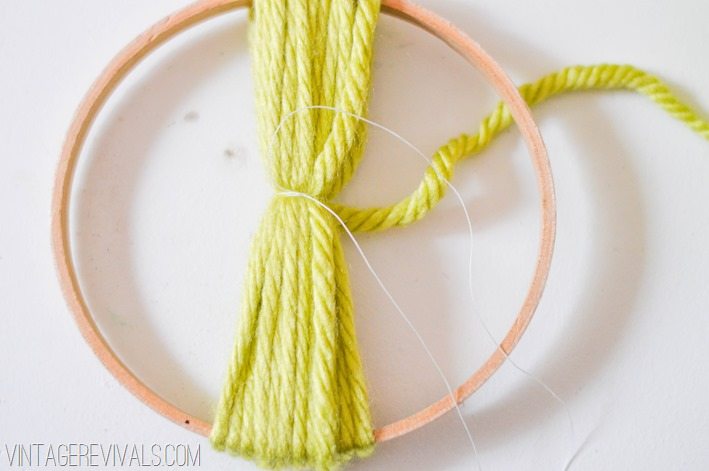
Step 3: Tie with the Upholstery Thread
After you have wrapped it around about 15 times, take a piece of your upholstery thread and wrap it around the center of your yarn a few times and then tie a tight knot.
Make sure that each round of upholstery thread is TIGHT. If it’s not, your pom poms will shed!
Step 4: Start wrapping again.
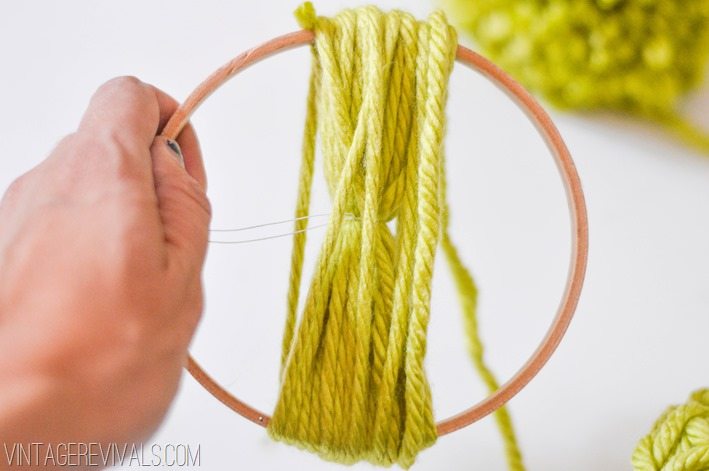
It is ok if your upholstery thread gets lost in the mix, you will trim it when you are done! Keep wrapping until you have wrapped 20-25 times again.
Step 5: Tie with Upholstery Thread Again
Wrap your thread around and tie a knot.
Step 6: Repeat!
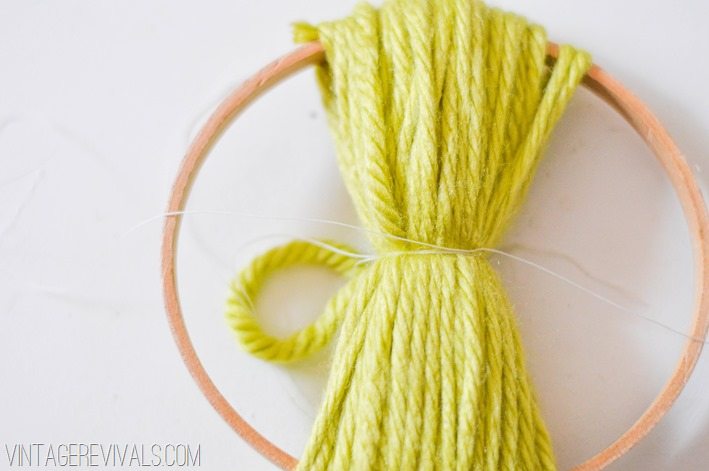
Start wrapping again. Wrap 20-25 times. At this point (if you are using extra thick yarn) you have probably used about 1/2 of your skein. That is the goal, to get 2 pom poms out of each one. If you have used more that 1/2, unwind it a little and even out the amounts.
Wrap your thread a few times and tie a knot.
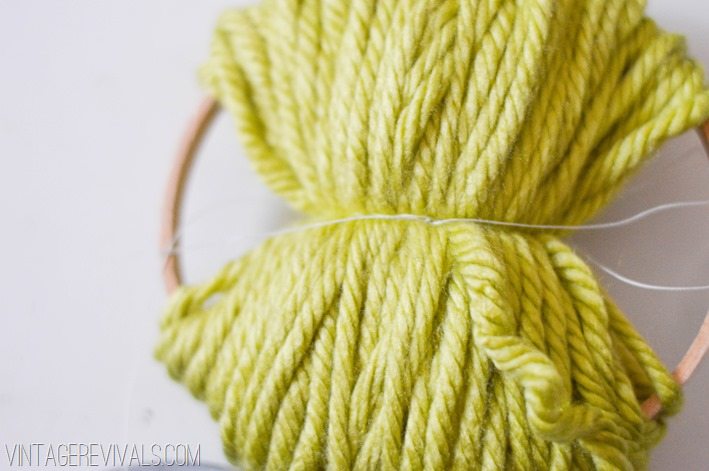
Isn’t it so chubs!
Step 7: Add The Tie
Now take a piece of yarn that is about 12” long. Wrap it over your upholstery thread and tie a knot, leaving as much as you can on one side of your yarn. This is what you are going to use to connect it to your blanket.
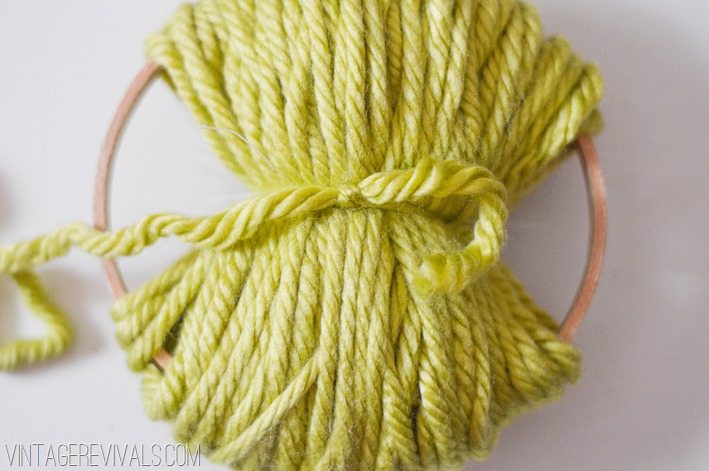
Step 8: Cut the yarn off of the hoop
This is where the sharp scissors come into play. It just makes things SO much easier if they are sharp. Trust me, my Dollar Store ones were NOT doing the trick.
Cut along the fold in your yarn along the hoop.
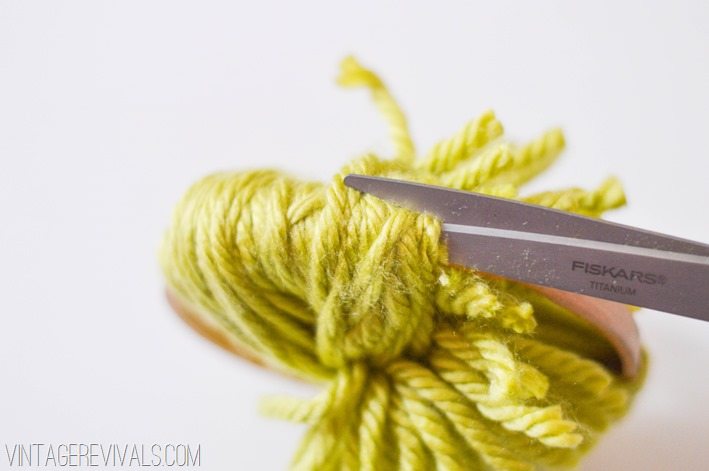
You might have to wiggle the yarn around a little to be able to fit your scissors underneath it.
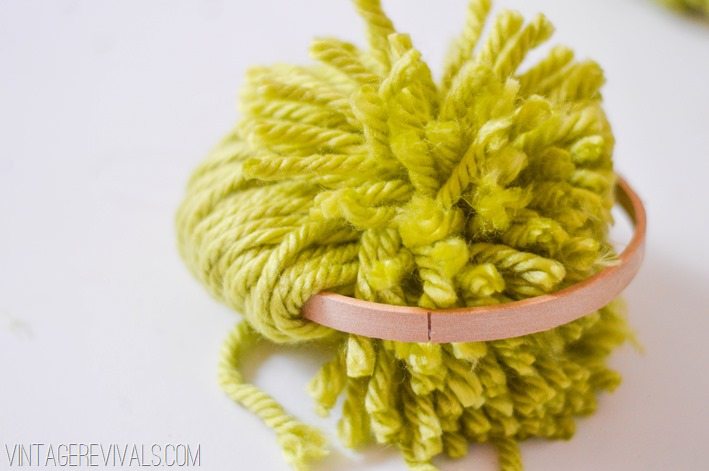
Once you are done, cut along the other side. (This one goes much faster because it isn’t tight against the hoop. When you are finished you will notice that you don’t have a round pom pom. Its more of an acorn shape. Don’t stress, this is an easy fix.
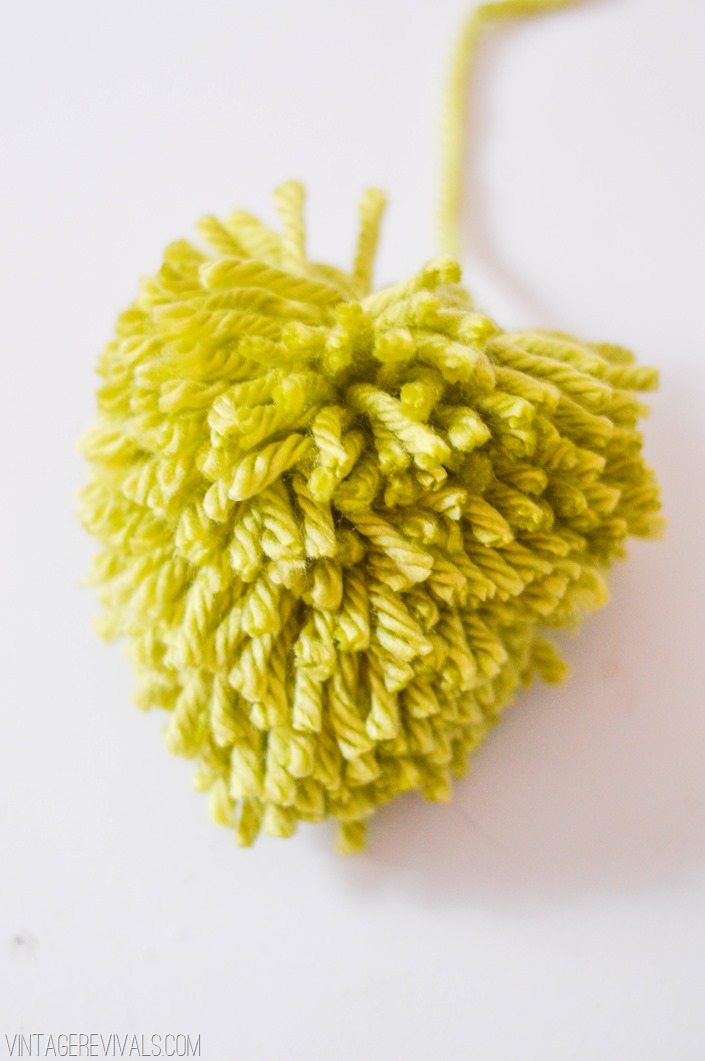
Step 9: Shape your Pom Pom
Hold onto the longer pieces of yarn at the bottom of your pom (you will have to do this at the top too)
Channel your inner hair dresser and start hacking.
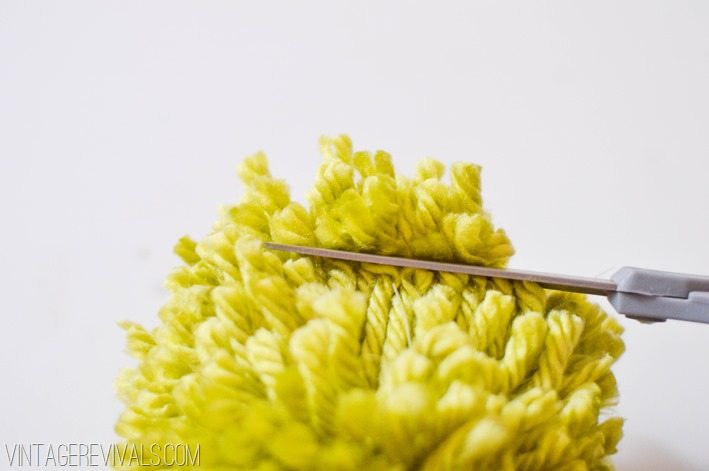
You will notice that the yarn on the sides of the pom are perfect, it is just the top and bottom that need trimming. Round it out so that they match the sides. I like to spin it a little so I can see where it is lopsided.
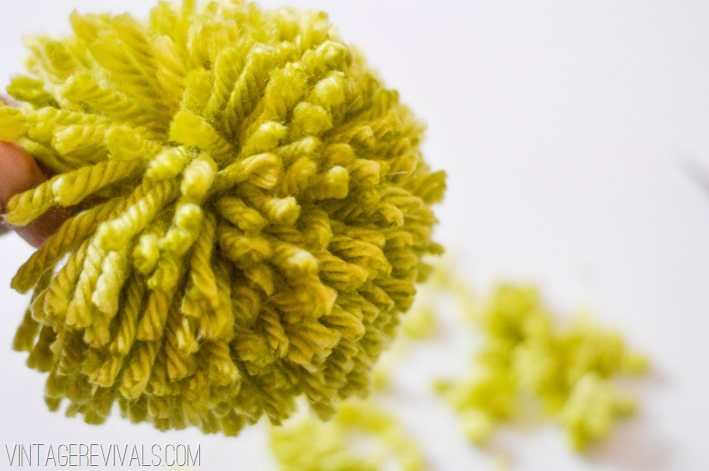
Be careful when you are cutting the top that you don’t cut the long piece that is going to attach to the blanket!
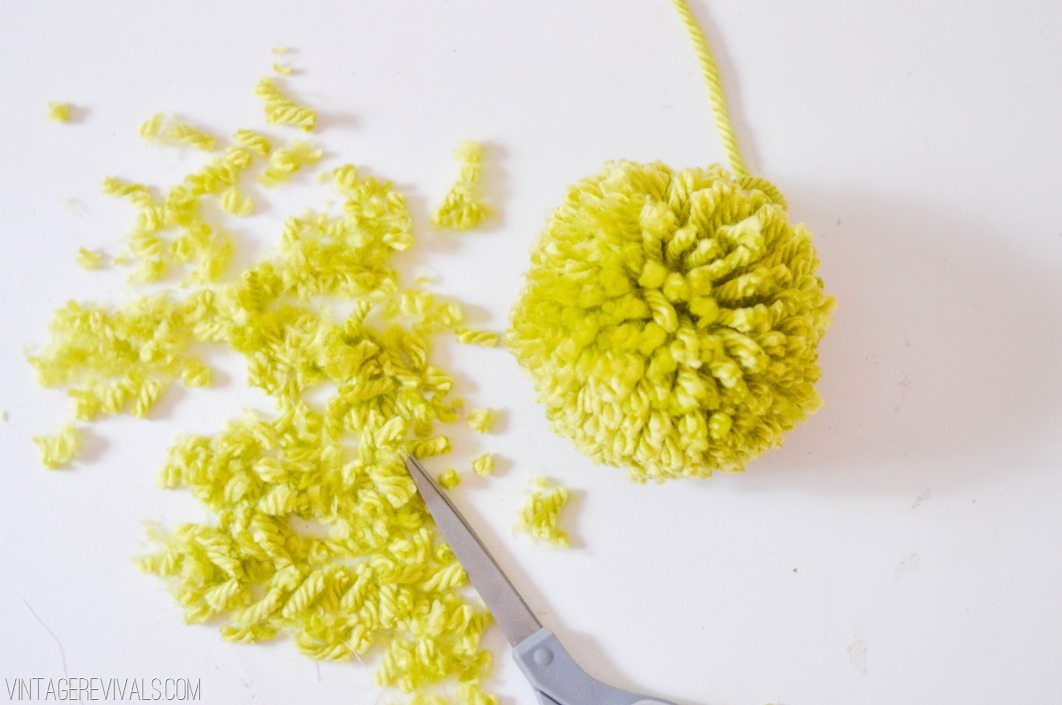
This is the part where you become a pom pom making machine. (I made 10 pom poms for my blanket today, but you can use as may or as little as you want!
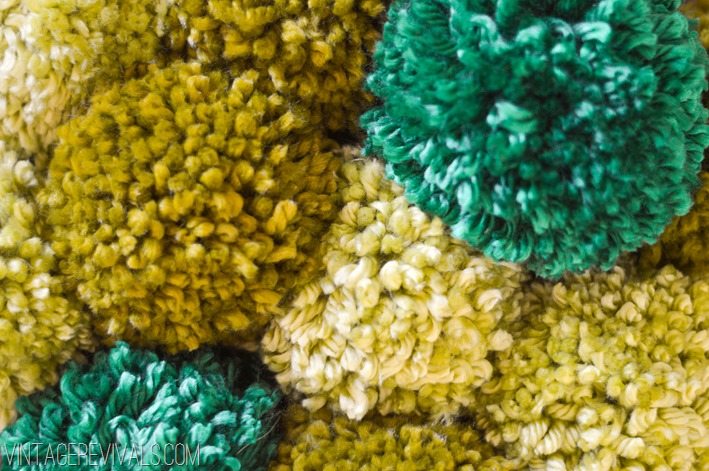
Attaching Your Pom Poms
When you have made all of your pom poms it is time to attach them to your blanket. I found this off white knit throw at Homegoods for $20.00. This time of year is AMAZING for finding inexpensive throw blankets.
Attaching your pom is so simple.
Step 1: Thread Your Yarn
Thread your yarn through one of the openings in the knit. (I just used my fingers, but if you have a smaller knit or something that you have to poke a hole in I would use this paperclip technique!)
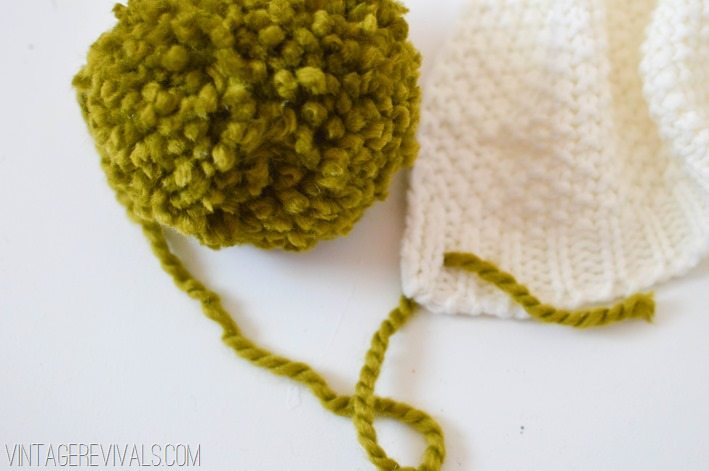
Step 2: Loop It and Tie
Bring the end back underneath the knot you tied around the center of the pom pom.
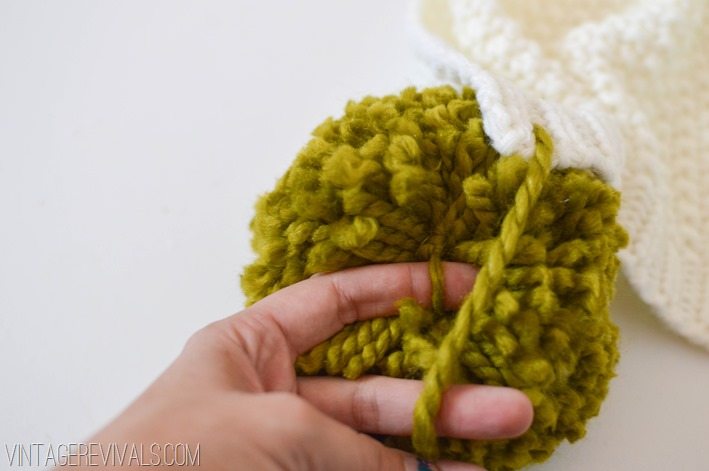
Feed it through the hole in the blanket again. And then tie it off at the knot in the middle of the pom pom. (So there will be 2 loops going from the pom pom to the blanket.
Step 3: Trim the extra and you are done!!
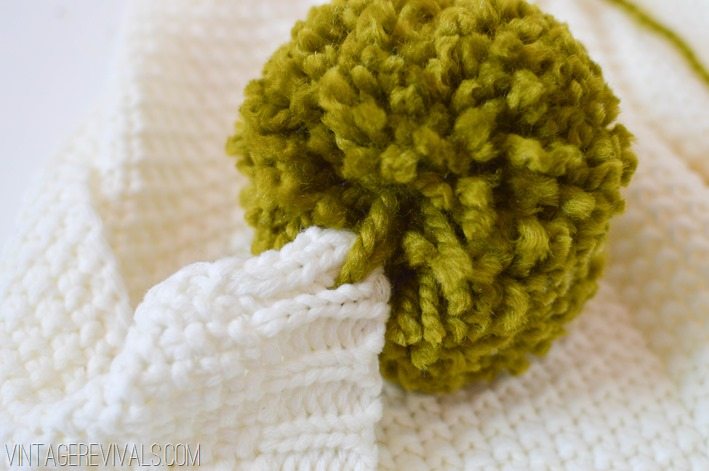
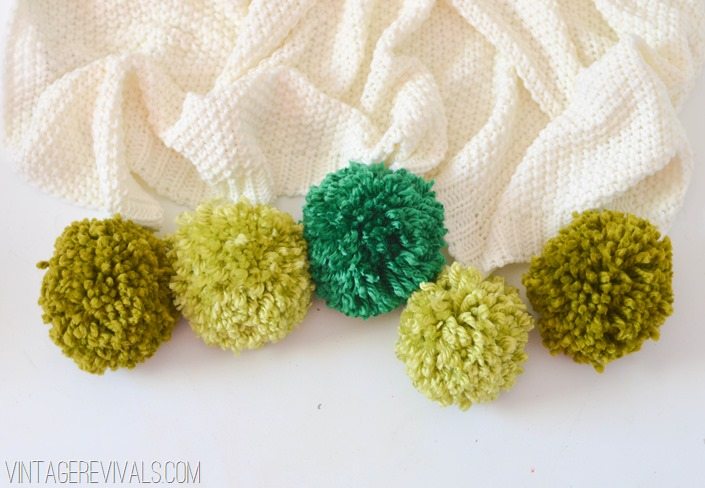
Total cost for this project was $35.00 (make sure you use coupons when you buy your yarn!)
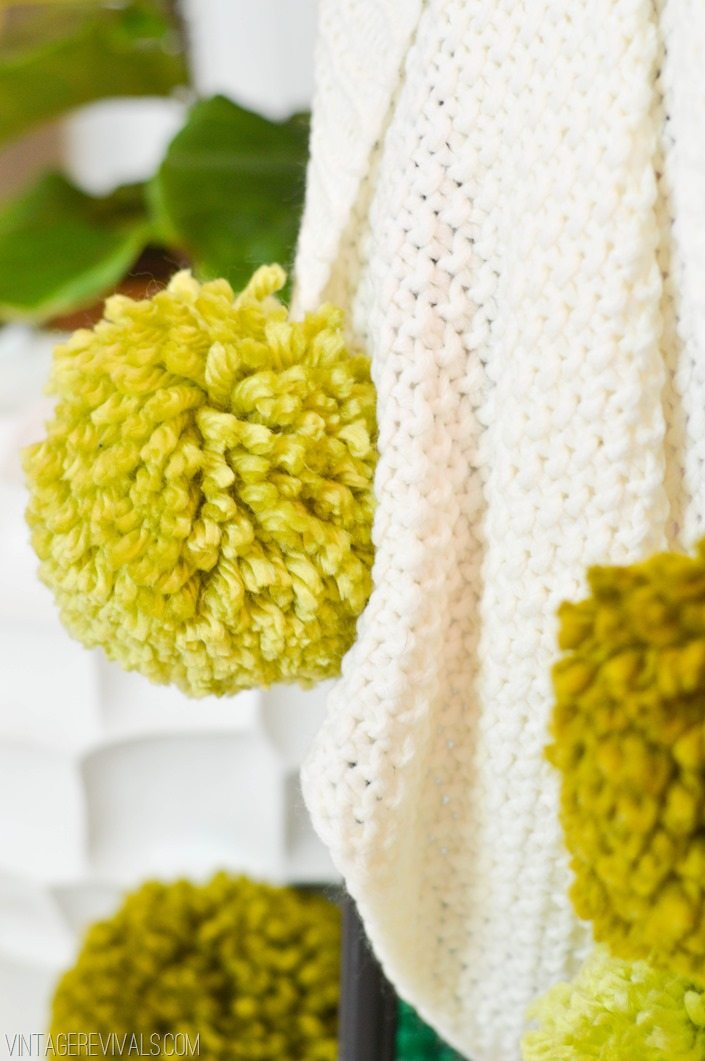
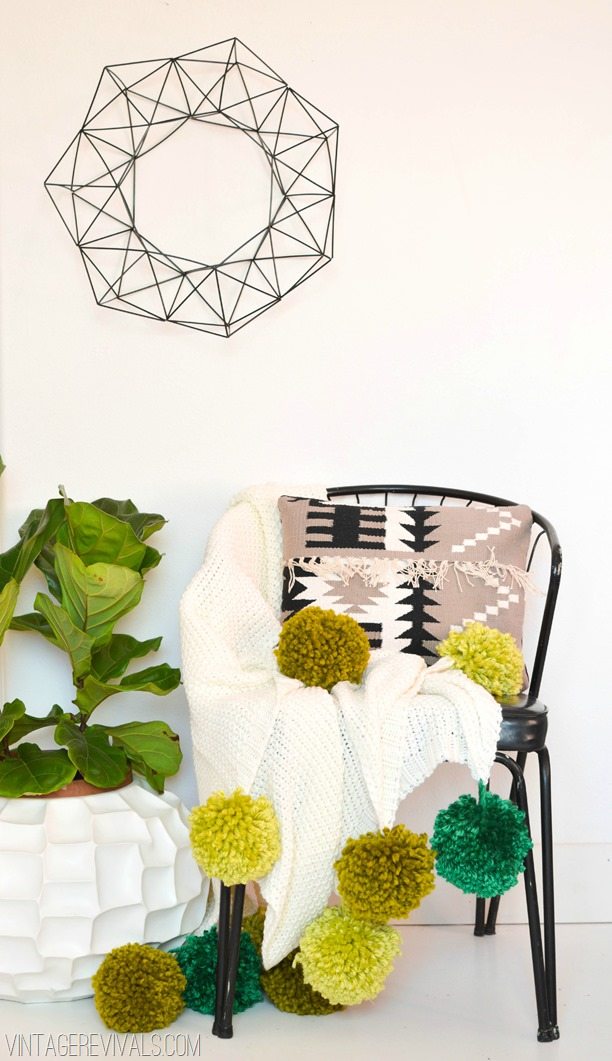
pssst! The tutorial for the Geometric Wreath is right here!
The post How To Make Giant Pom Poms appeared first on Vintage Revivals.
via Mandi at How To Make Giant Pom Poms