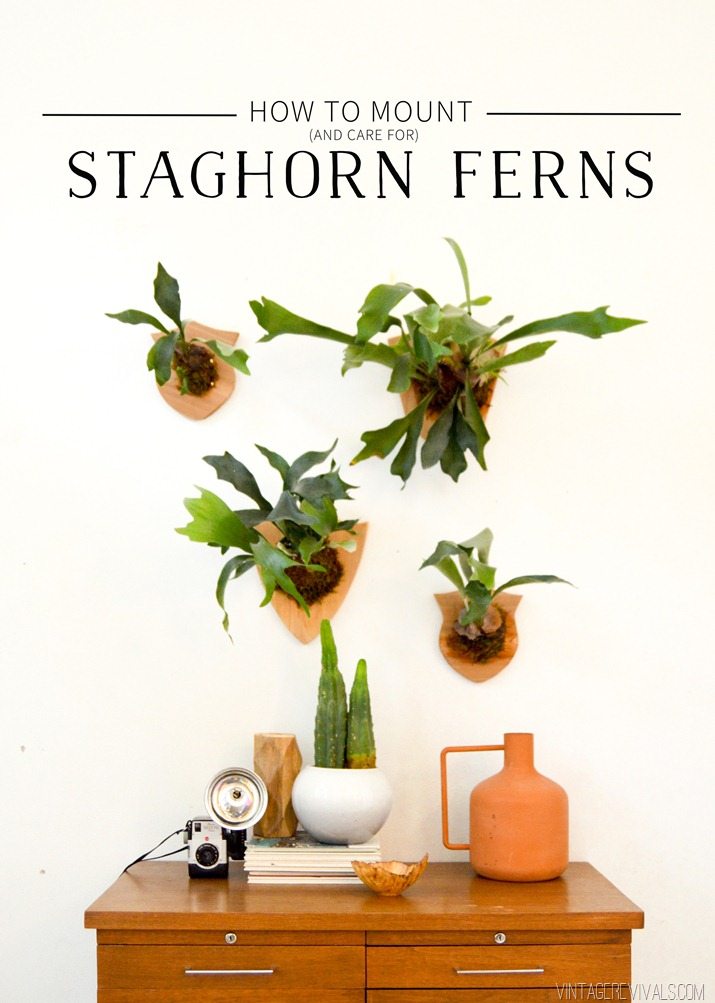
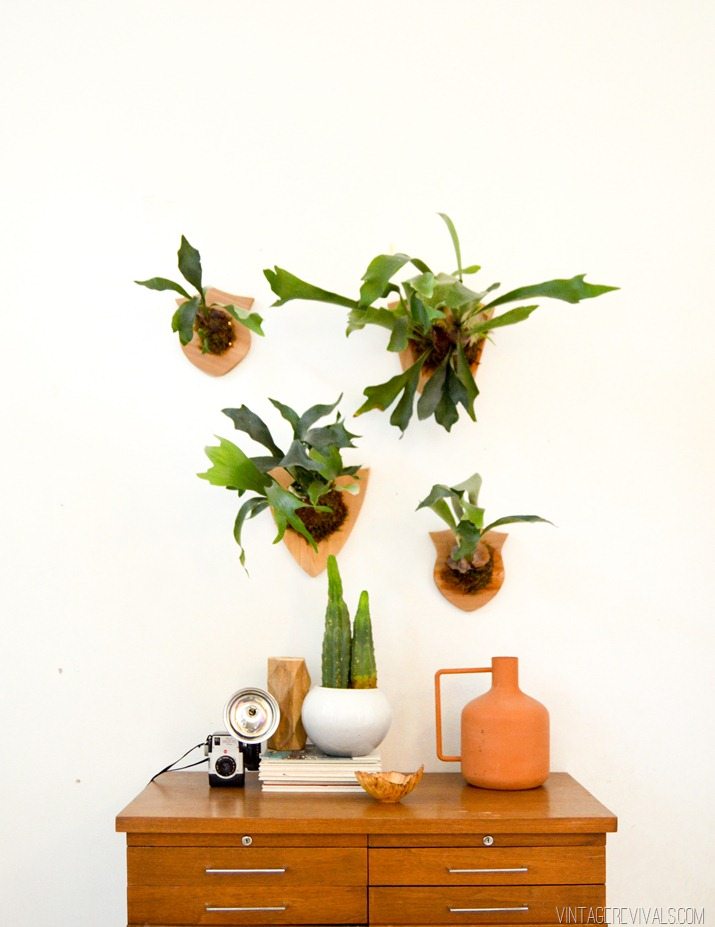
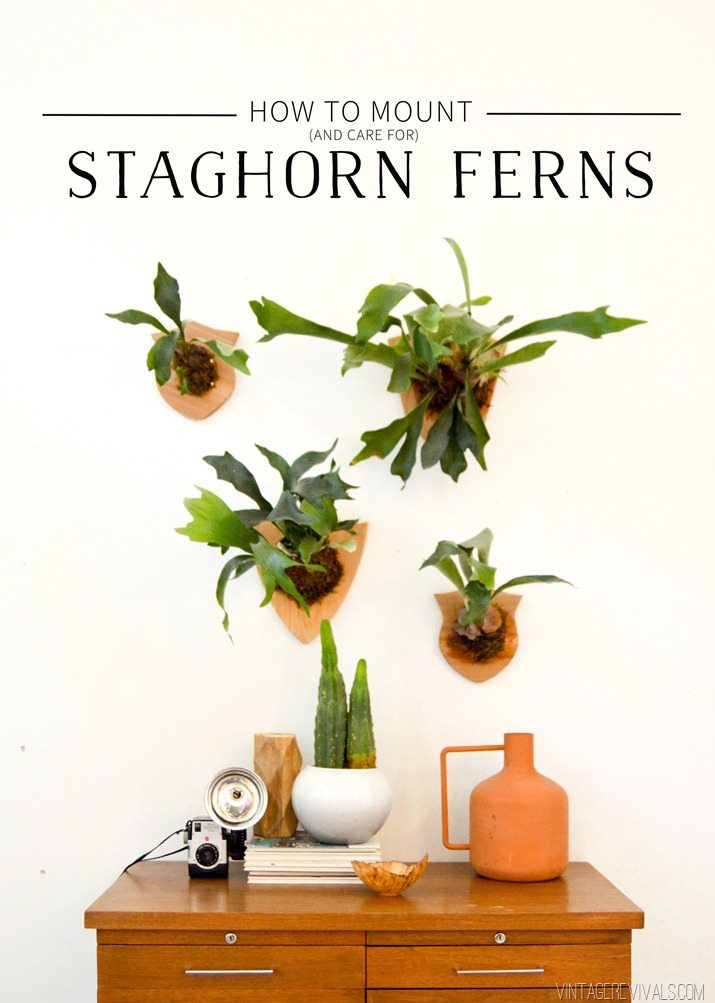
Staghorn Ferns are one of the coolest most fascinating plants to use in home decor. They are great planted in a planter, but the really cool thing is that they can also be mounted on a board and hung on your wall, just like a living picture! Today we’re going to talk all about how to mount and care for Staghorn Ferns.
Staghorn Fern 101
Staghorn Ferns are a species called Epiphyte which means that they don’t need soil to grow, the reason that you can hang them on the wall. They are in the same family as airplants, and in the wild find a host, that they attach their roots to and pull all of their nutrients in through their fronds.
Staghorn Ferns have 2 different types of leaves (or fronds).
The first type is the “antler” leaf, they are long with uneven tips and vary in size. They grow from the center of the plant and jut out in every direction. The second type of leaf is the shield frond. These flat circular leaves grow against the base of the plant. When they sprout, and until they reach full size they are green and veiny, once they are fully grown, they turn brown and papery. DO NOT REMOVE THE BROWN LEAVES!! These leaves form a protective shield over the root ball and help it stay anchored in place.
The roots on the Staghorn Fern are fairly minimal (one of the reasons you can mount them!) They need a good amount of drainage so that they don’t get root rot.
Watering
Watering a mounted Staghorn Fern is a little bit of a commitment, because they absorb water through their fronds, they love a good misting. The root ball also needs to be soaked every 1-2 weeks. Keep reading, I’ve got a whole step by step tutorial at the end of this post!
Light
Staghorn Ferns, love bright indirect sunlight. Find the brightest room in your house without direct light and that is where they will thrive.
Are you ready to learn how to mount them?! Let’s get started with our step by step tutorial.
How To Mount Staghorn Ferns
Mounting Staghorn Ferns should be done on rot resistant wood like cedar. Because of the aggressive way that they are watered, and the fact that they are so closely connected to the wood, you need something that can last long term.
You’ll need:
- Cedar board
- Fishing Line
- Stainless Steel Screws
- Heavy Duty Picture Hanger
- Sphagnum Moss (i.e. Sheet Moss) You can find this in the indoor garden section at Home Depot.
Make your shield
- Fold a piece of paper in 1/2, making sure that when it’s unfolded, it fits onto your cedar board.
- Draw a shield shape
- Cut it out and trace it onto your cedar board.
- Cut out your shape with a jigsaw
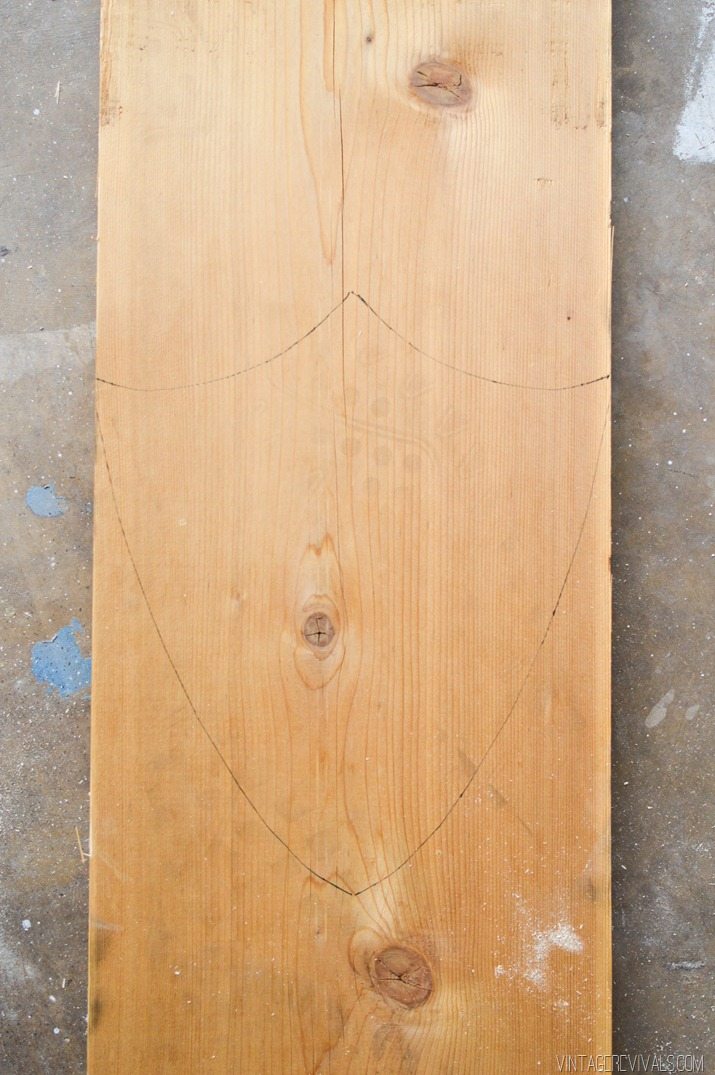
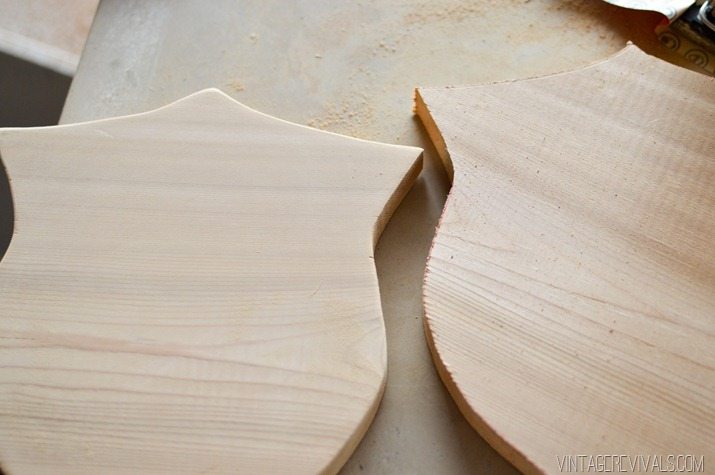
The edges got a light sanding and they were ready to go!
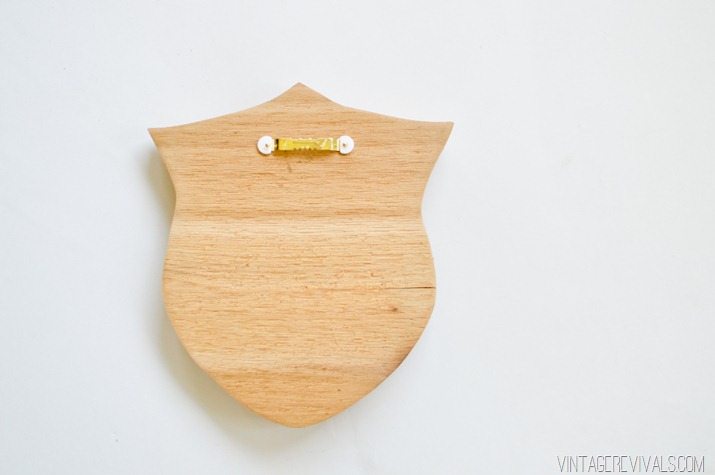
Start by mounting a heavy duty picture hanger on the back, the large plants can get pretty heavy when they are wet.
To Divide or Not To Divide, That is the Question
Staghorn ferns have rhizomes (remember we talked about those here?) which means that there are different growth points that can be divided. It is really easy to tell where to divide these plants because of the shield leaves. That being said, the roots are really dense. They’re teeny in size but mighty in numbers. You want to use a knife to gently divide them.
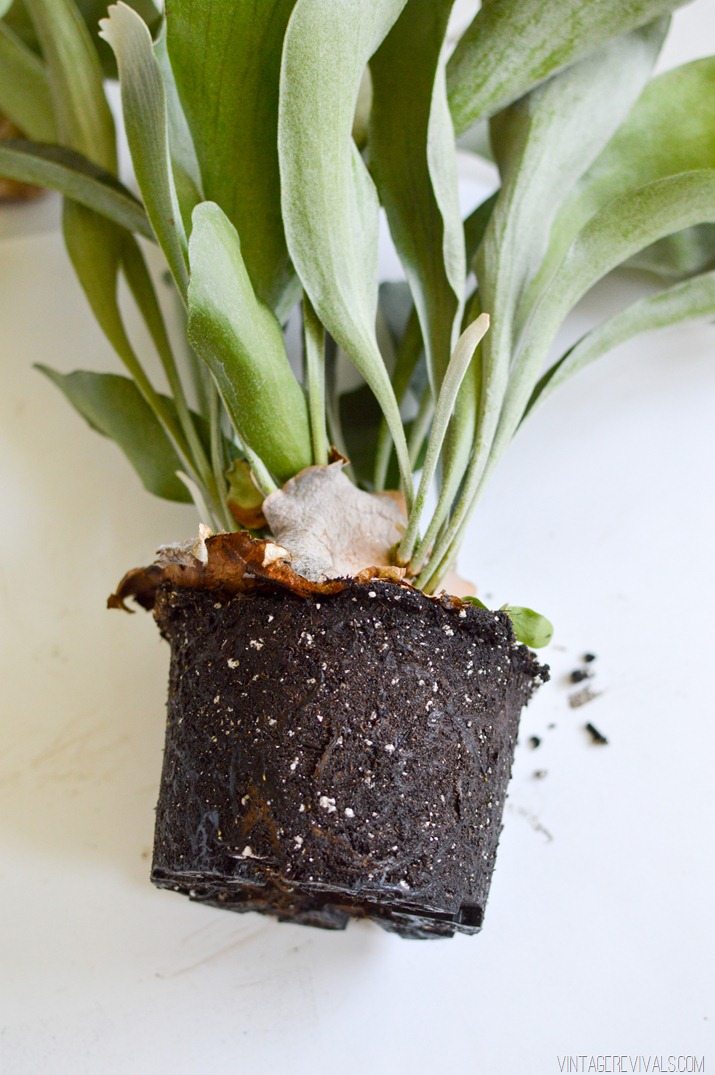
You don’t need to divide the plants to mount them though. If you want a larger statement piece, you can simply remove the plant from the pot and get rid of the excess dirt.
Determining Your Root Ball Size
When you’ve successfully divided and conquered, loosen the roots and remove a good amount of the dirt.
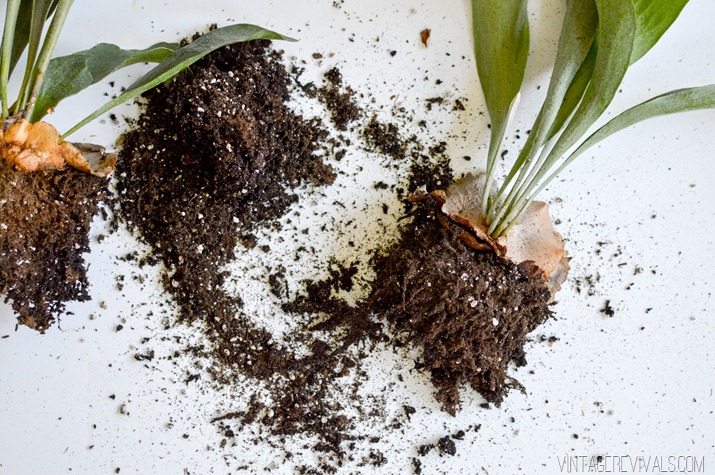
Your root ball should be about the size of a fist for smaller plants, and continue larger as the size of the stag increases. You can tell the general size based on the shield leaves, make your ball about the size of the shield leaves width.
Mounting Your Staghorn
Now that we have our mount ready, and our plant ready, we’re going to marry the two in complete happiness!
Step #1: Determine Your Screw Placement
Lay your fern on the mount and see the general space it takes up. Mark 4 spots just inside the root ball borders, this is where your screws are going to go
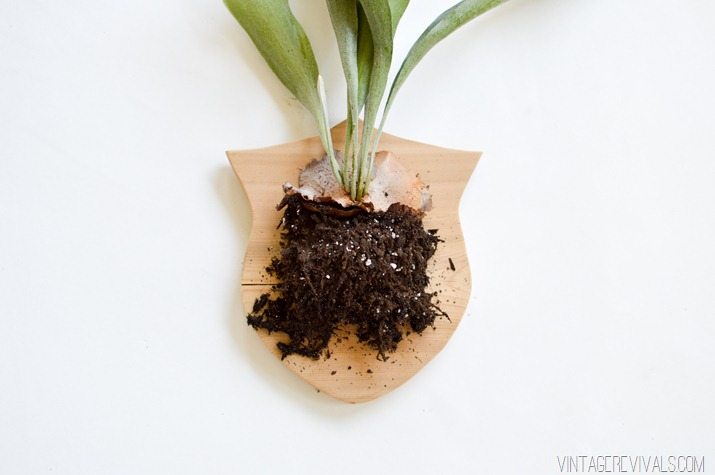
Pro Tip! If you screw them in at an angle its easier to wrap your fishing line around.
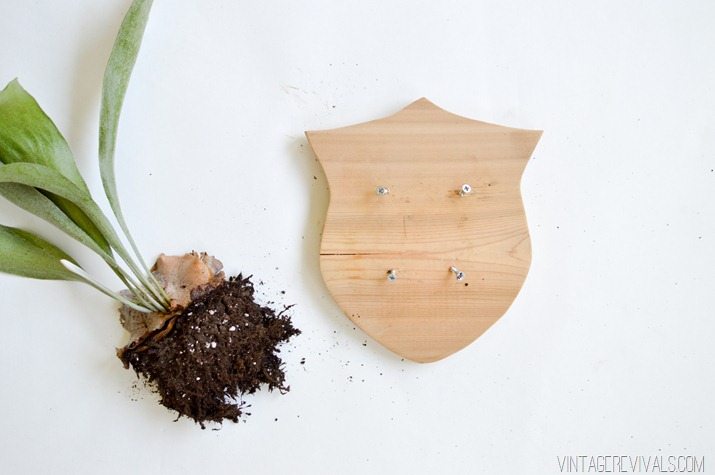
Step #2: Place a small amount of moss onto your board
When you are mounting the plant you want to do it so that the dried shield leaves are at the top, but not directly against the board (or else the plant will shoot straight up and not up and out. Especially the little guys.)
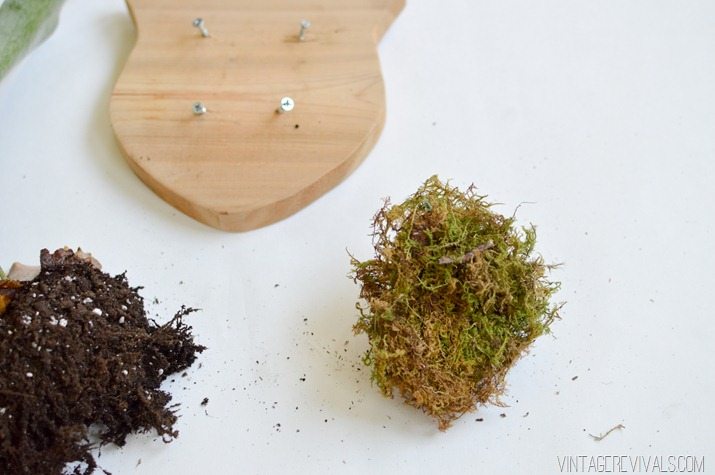
Step #3: Secure Your Root Ball On Top of the Moss
Put your root ball on top of the moss, and lightly secure it to the board using fishing line. (I used 12 lb test line and probably wouldn’t recommend anything thinner) When I say lightly I mean not too tight and across the root ball just a few times. This is just making it easier when you put the moss on top.
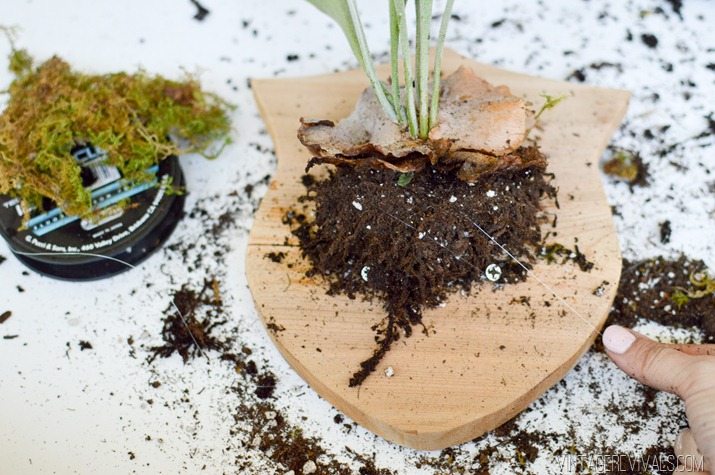
Step #4: Add More Moss
Spread a not too thick/not too thin layer of sheet moss over the root ball and up around the back of the plant at the top. You don’t want to see the dirt at all.
Step #5: Secure Everything With Fishing Line
Wrap the fishing line really thoroughly over the root ball, connecting the screws in all directions. Make sure that you aren’t getting too close to the living shield leaves, and don’t go over the top of the dried ones, just gently lift them and go underneath. If you go over the top of the dried leaves, the fishing line will cut through them.
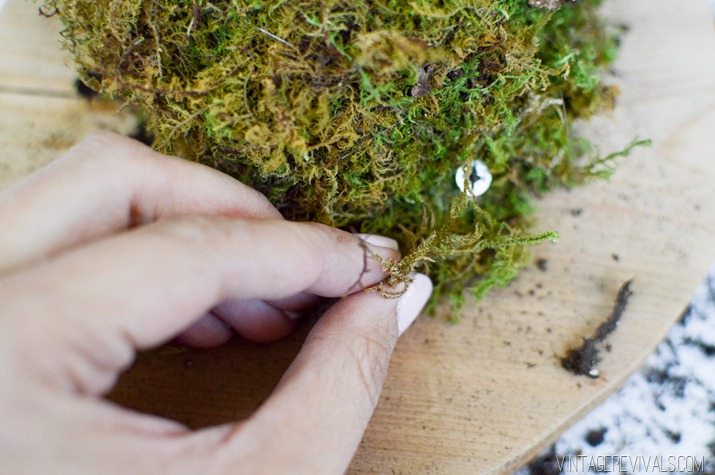
Step #6 Finish It Off
Tuck a few bits of moss over the screws to hide them. Trim your fishing line and you are done!!
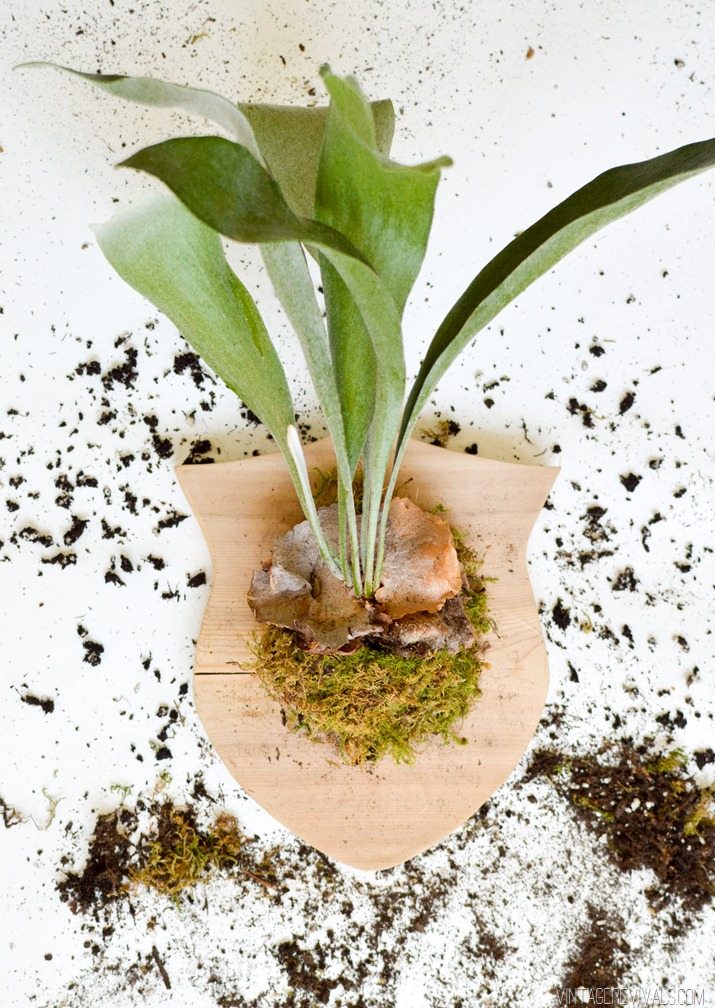
How To Water A Mounted Staghorn Fern
To water your fern, fill up a sink or tub with water and submerge the plant (I usually stick it in up to the moss)
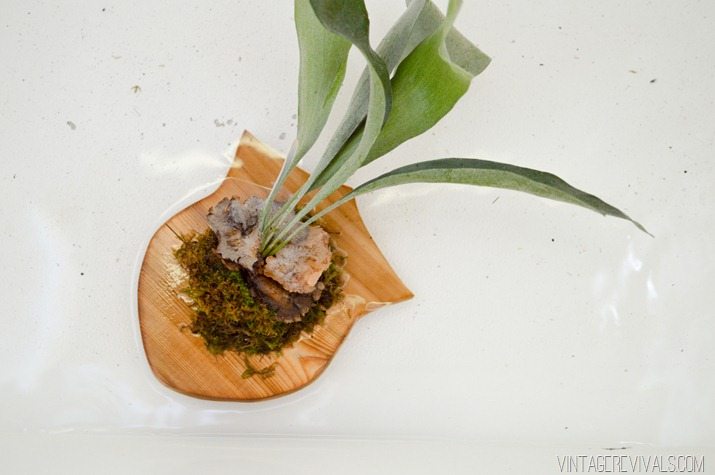
How about a pool party? Everybody in!
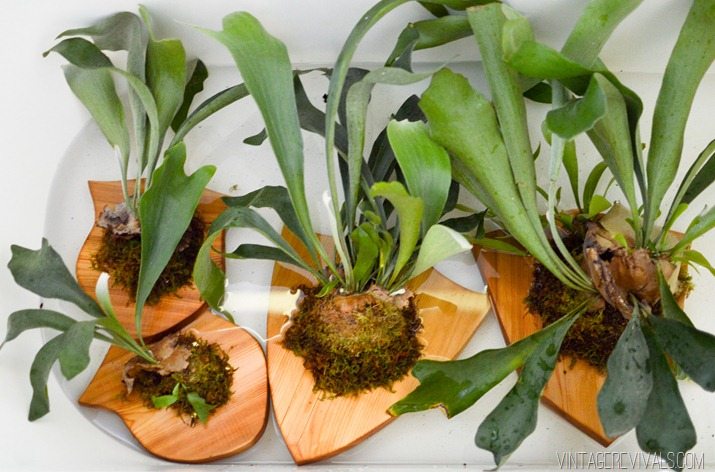
When the moss is completely soaked through, drain the water and place them sort of upright to let all the excess water drain off.
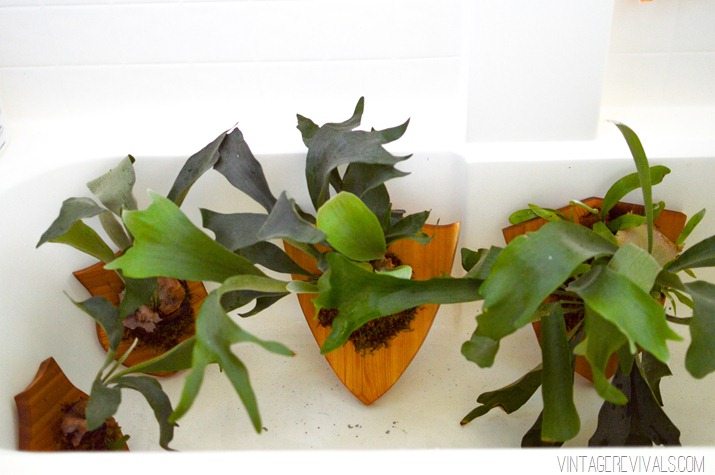
Staghorn Ferns need constant moisture, so I do this about once a week and mist the moss with a squirt bottle almost every day.
Do you want to see something cool? I decided to remount the plant that came mounted (the board was ick looking) This is what the backside of the ferns look like after they’ve been attached to a host for a while.
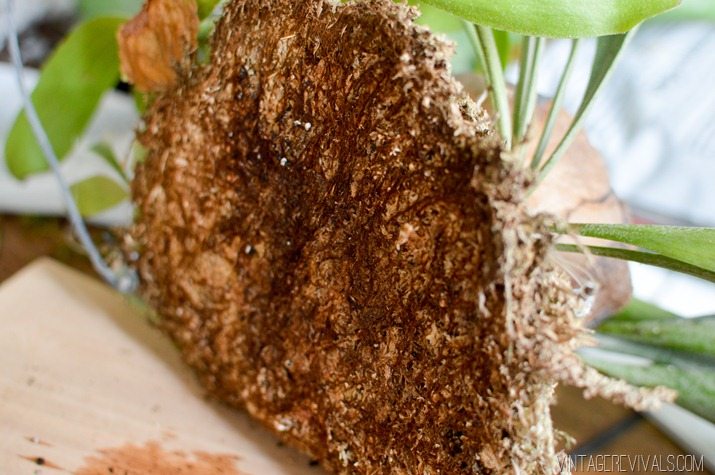
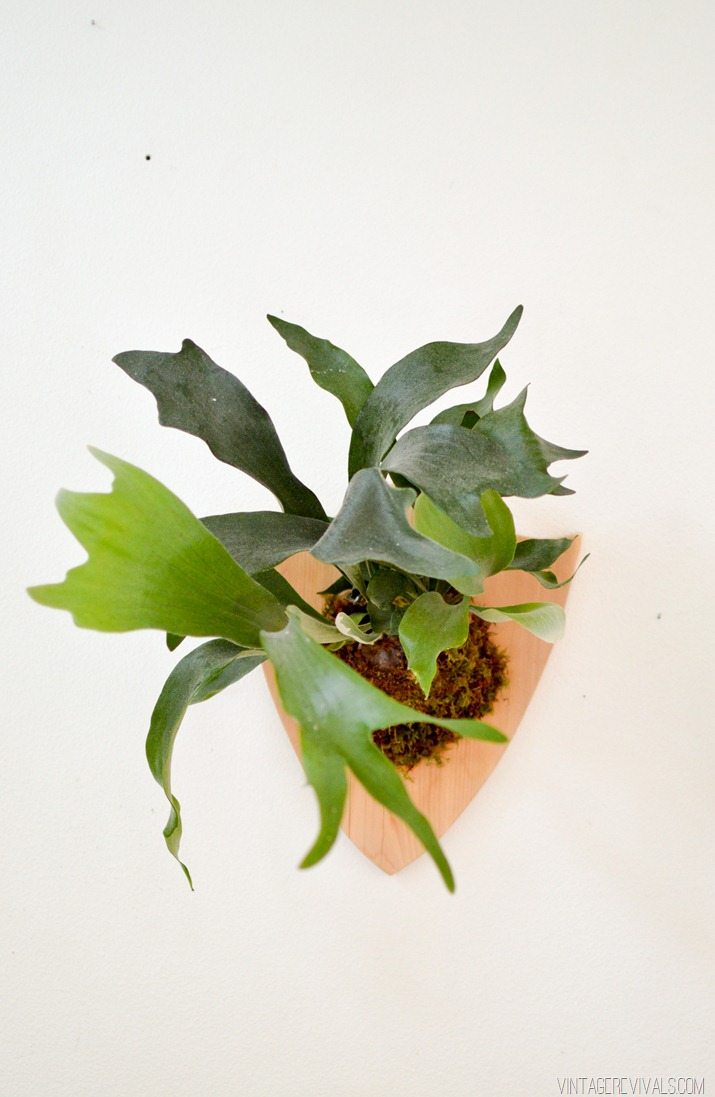
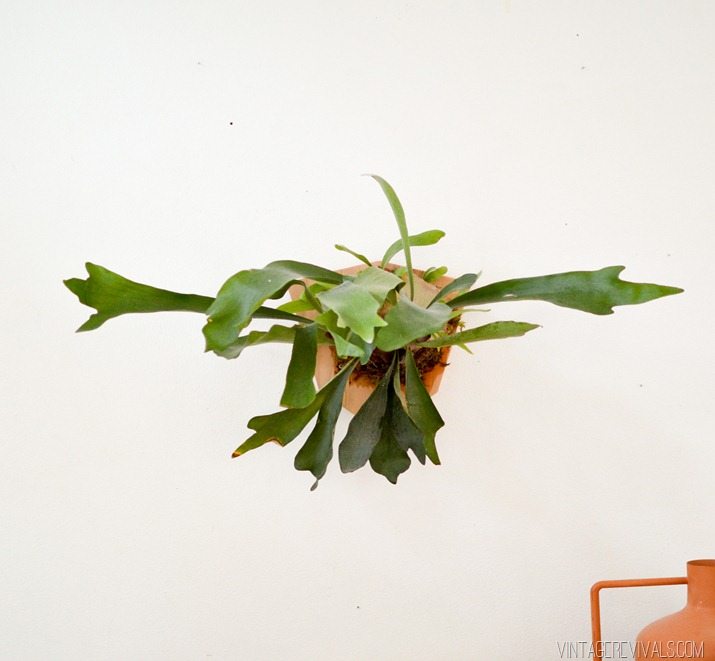
Don’t they totally look like antlers?! I wish you could tell in these pictures how big they are.
See you tomorrow!

The post How to Mount (and Care for) a Staghorn Fern appeared first on Vintage Revivals.
via Mandi at How to Mount (and Care for) a Staghorn Fern