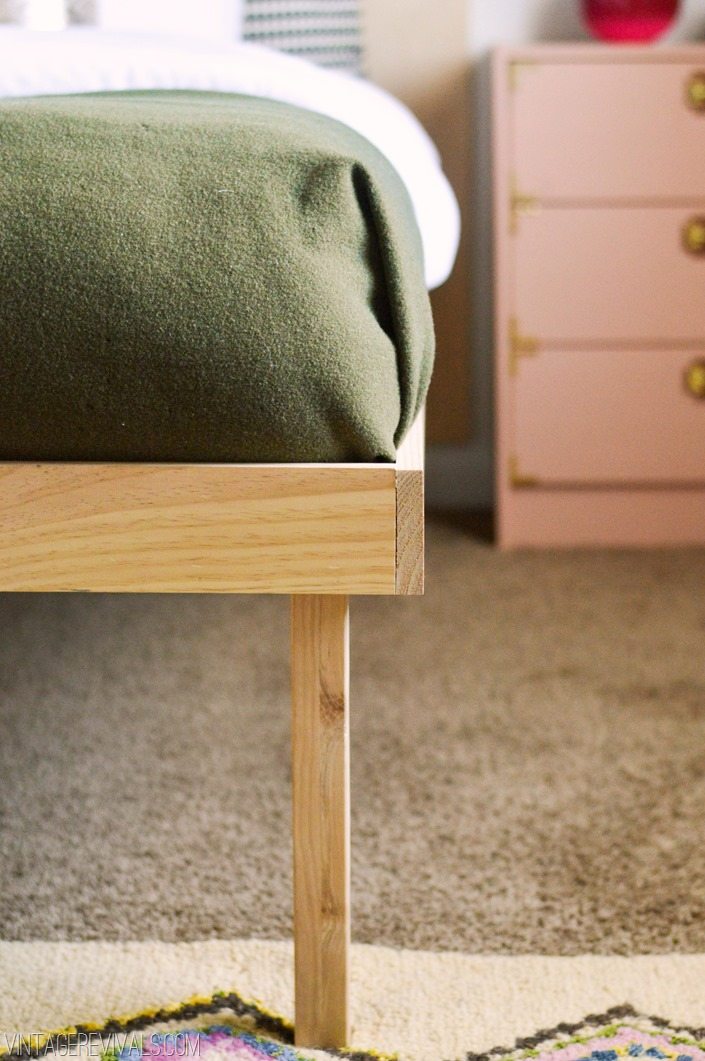
You can build this DIY Platform Bed in literally 3 steps. Do you have a Saturday afternoon? Good, because you can make this bed and still have time for a leisurely stroll through Home Depot.
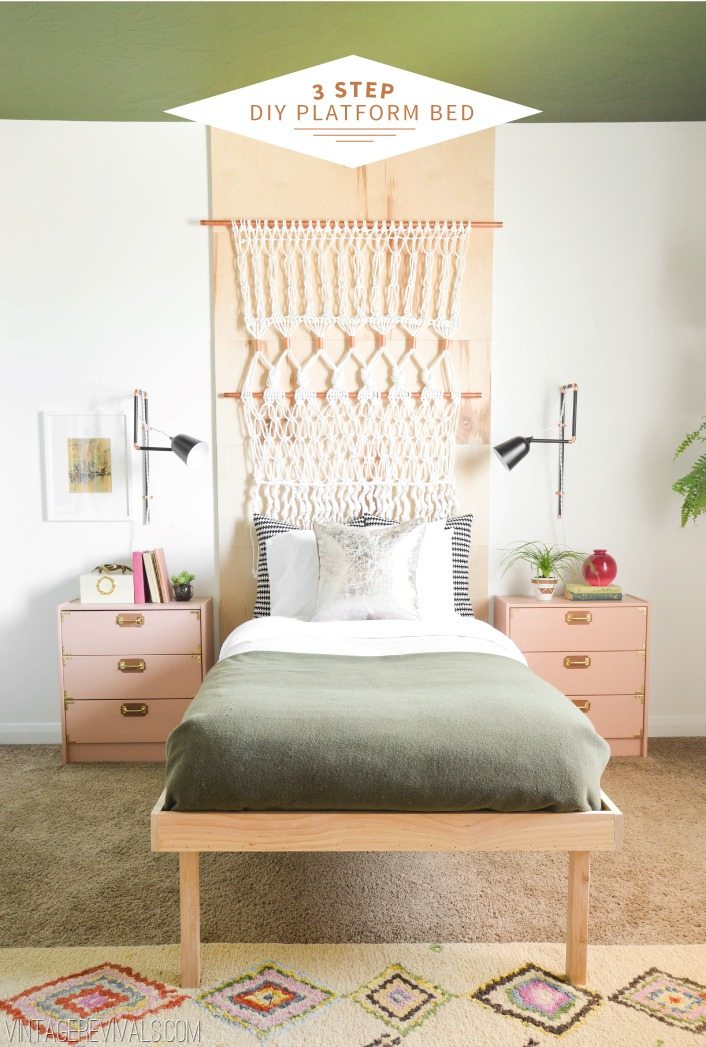
When I was designing Macie’s room, (and lets get real here, any bedroom) one of the nagging problems is that of the box spring/bedskirt. Its just not my favorite. So I decided that a DIY platform bed would be the perfect solution.
The was a little bit of criteria that it had to have. It had to be normal bed height, without using a box spring, it had to be sturdy, and it had to be pretty. I had already finished the Macramé headboard, and felt like it needed something behind it other than the wall to make it feel more headboard-y and less wall hang-y. That is where the giant wall panel comes into play.
DIY Platform Bed Supplies:
(2) 4×8 pieces of premium plywood. I recommend using the 3/4” thick pieces.
(3) 8’ pieces of premium 1”x4” pine.
(5) Heavy Duty Top Plates (available at Home Depot)
(5) 15” Parsons Table Legs (available at Home Depot)
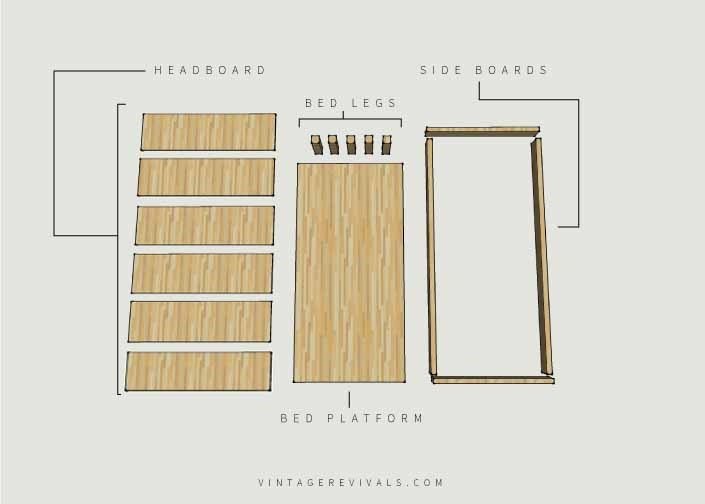
Cut List:
Please note these measurements are for a standard twin size bed.
Pro Tip: Have the plywood cut at Home Depot before you bring it home!
- Your first 4×8 sheet needs to be cut every 19 inches to make 5 pieces. This is for the headboard.
- Your second sheet needs to be cut to measure 78”x41” (cut 18” off of the top and 6” of of the side.) **If your twin bed is an XL you will need to cut your base piece to measure 82” and adjust all of the measurements accordingly
- Measure and cut your 1×4 pine to (2) at 41” and (2) at 80”
Building the Platform Bed
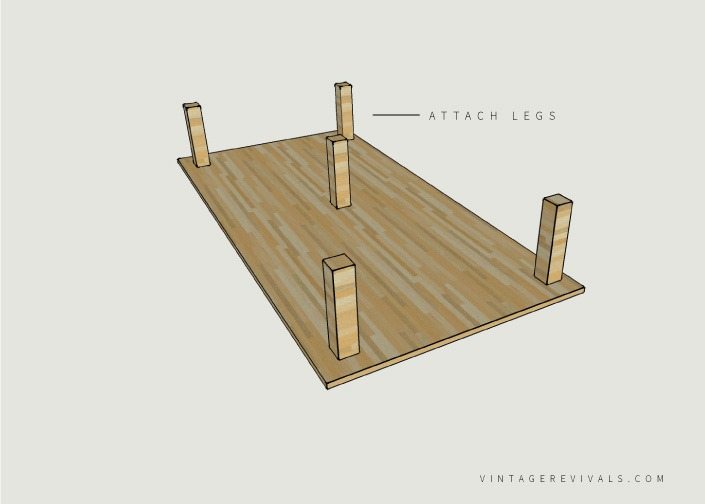
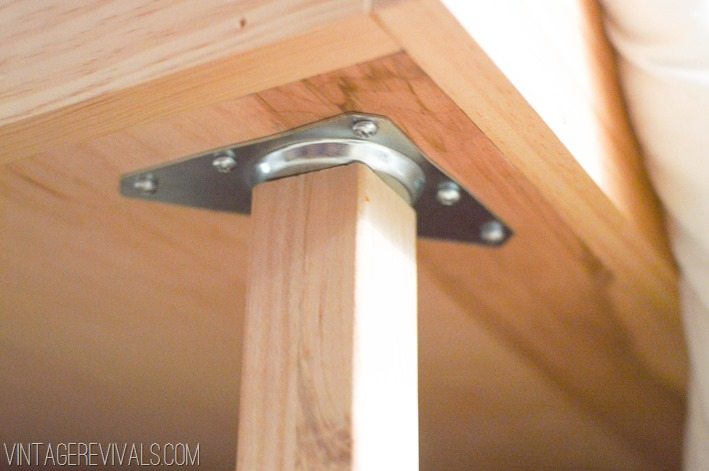
Step 1: Attach your mounting plates
Measure an inch in from the edges of the platform piece. Attach one in each corner as well as the middle. Screw the legs on, and flip it over.
Step 2: Attach the side boards onto the platform base.
Make sure that your boards are flush with the bottom edge. We used finishing nails to do this, but if you are putting a bed in a room where they might get stepped on I would use screws at least on each corner and in the middle.
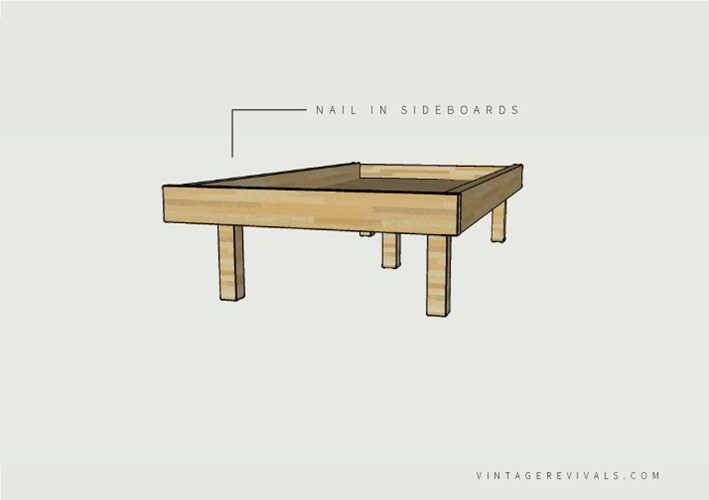
Step 3: Attach the Headboard
Find the place that you are going to mount the headboard (in my case it was the center of the wall). Use a stud finder to mark where the studs are. Attach the pieces of wood to the wall using a nail gun. Start at the ceiling and move down.
By some miracle our boards fit perfectly, but if your ceilings are higher or lower you can add more or less at the bottom (that way it will be hidden by the bed!) Shhhhh under the bed secrets!! Mix up the order of the pieces so it looks uber custom, and not just like a giant piece of plywood on the wall.
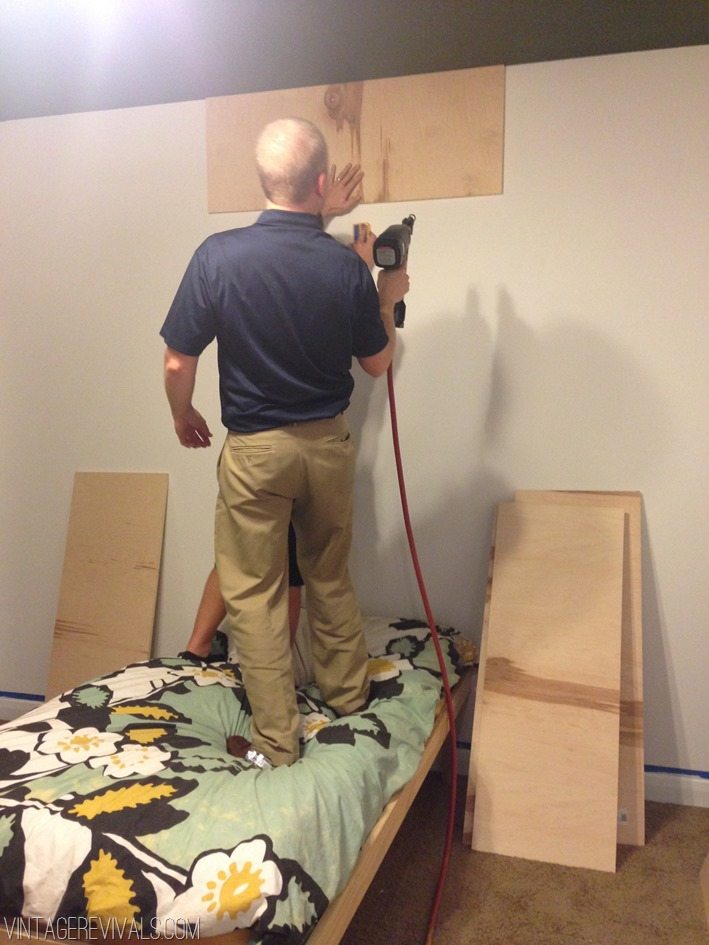
(Yes, that would be 2 grown men standing on the bed, its really sturdy!)
And that’s it! The last step is to attach the platform to the wall, just use longer screws and L brackets on the underside and make sure you hit a stud.
Can you even believe how easy this was?
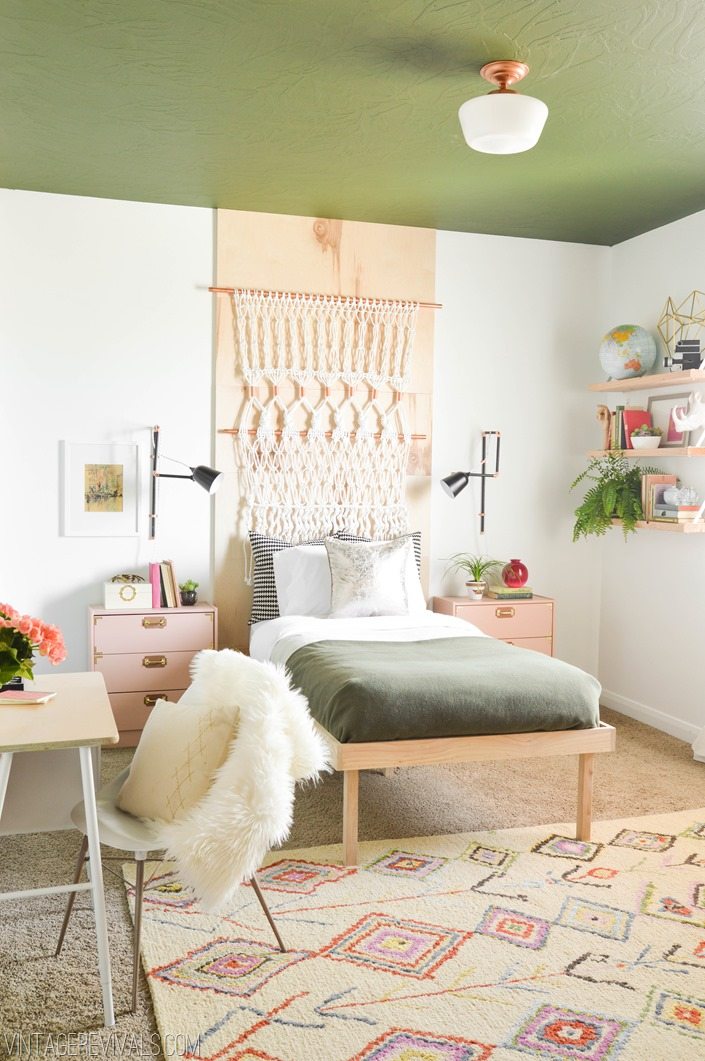
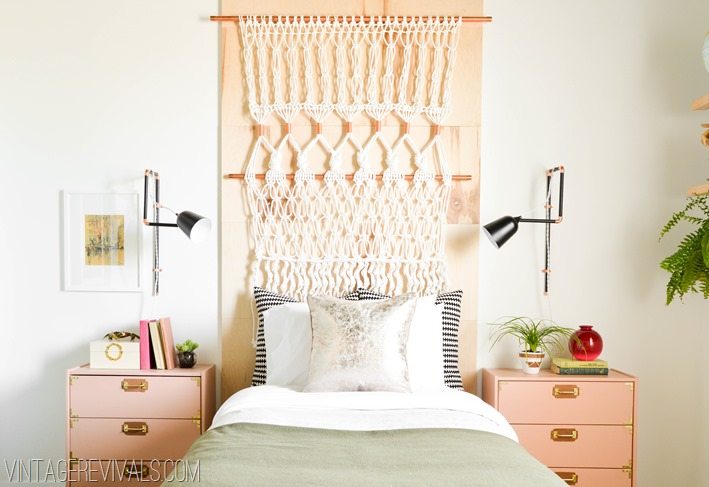
Itching for more info about this amazing room? Check out all of the tutorials here! The IKEA Rast hack and Upcycled Target Lamp Sconces are my favorite!
The post DIY Platform Bed (In Just 3 Steps!) appeared first on Vintage Revivals.
via Mandi at DIY Platform Bed (In Just 3 Steps!)