If you are a VR lifer, you may remember back in the early days when I did a few room makeover giveaways. It was SO MUCH FUN and also so much work. Since then, I’ve been waiting for the opportunity to present itself again and a few months ago it did!! I teamed up with Sherwin-Williams® as my sponsor to give a room makeover to one lucky reader!
Let The Giveaway Begin!
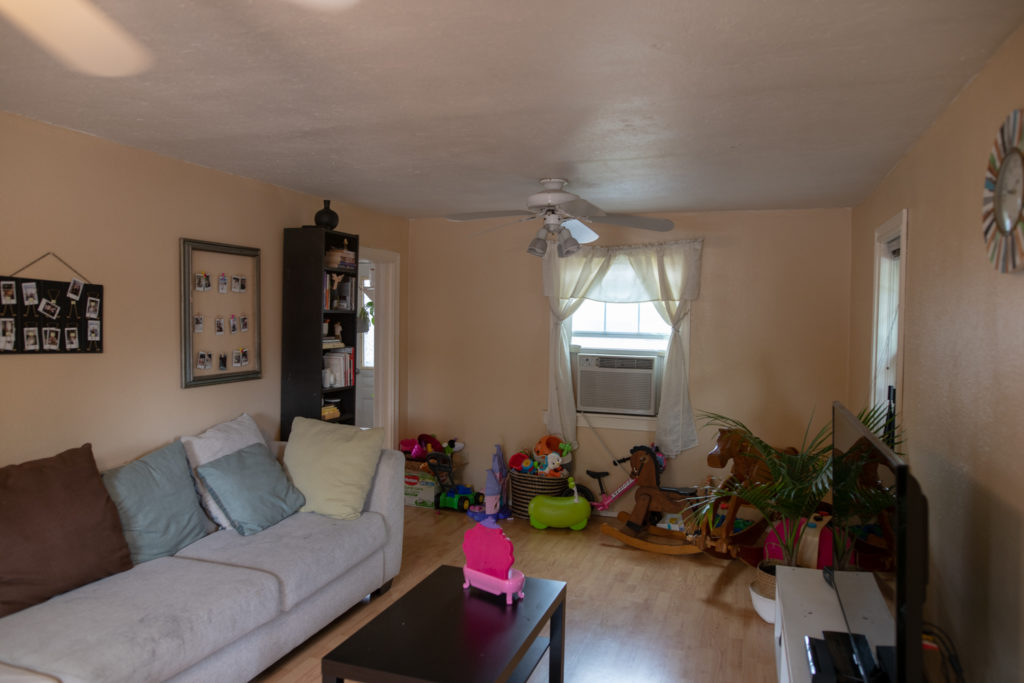
Sherwin-Williams challenged me to find someone who could use some help with making their dream space happen. You guys saw my call for submissions on Instagram and after pouring over all of the #SWSAVEME submissions I chose the sweetest girl named Amy. Her situation is the same that so many of us find ourselves in. We buy our first house with all of the best intentions bubbling at the surface. When we move in and find that there is more work than we anticipated, it’s more expensive than we thought, and unlike everything you see on a room makeover show, it doesn’t happen in 27 minutes.
Can anyone relate?
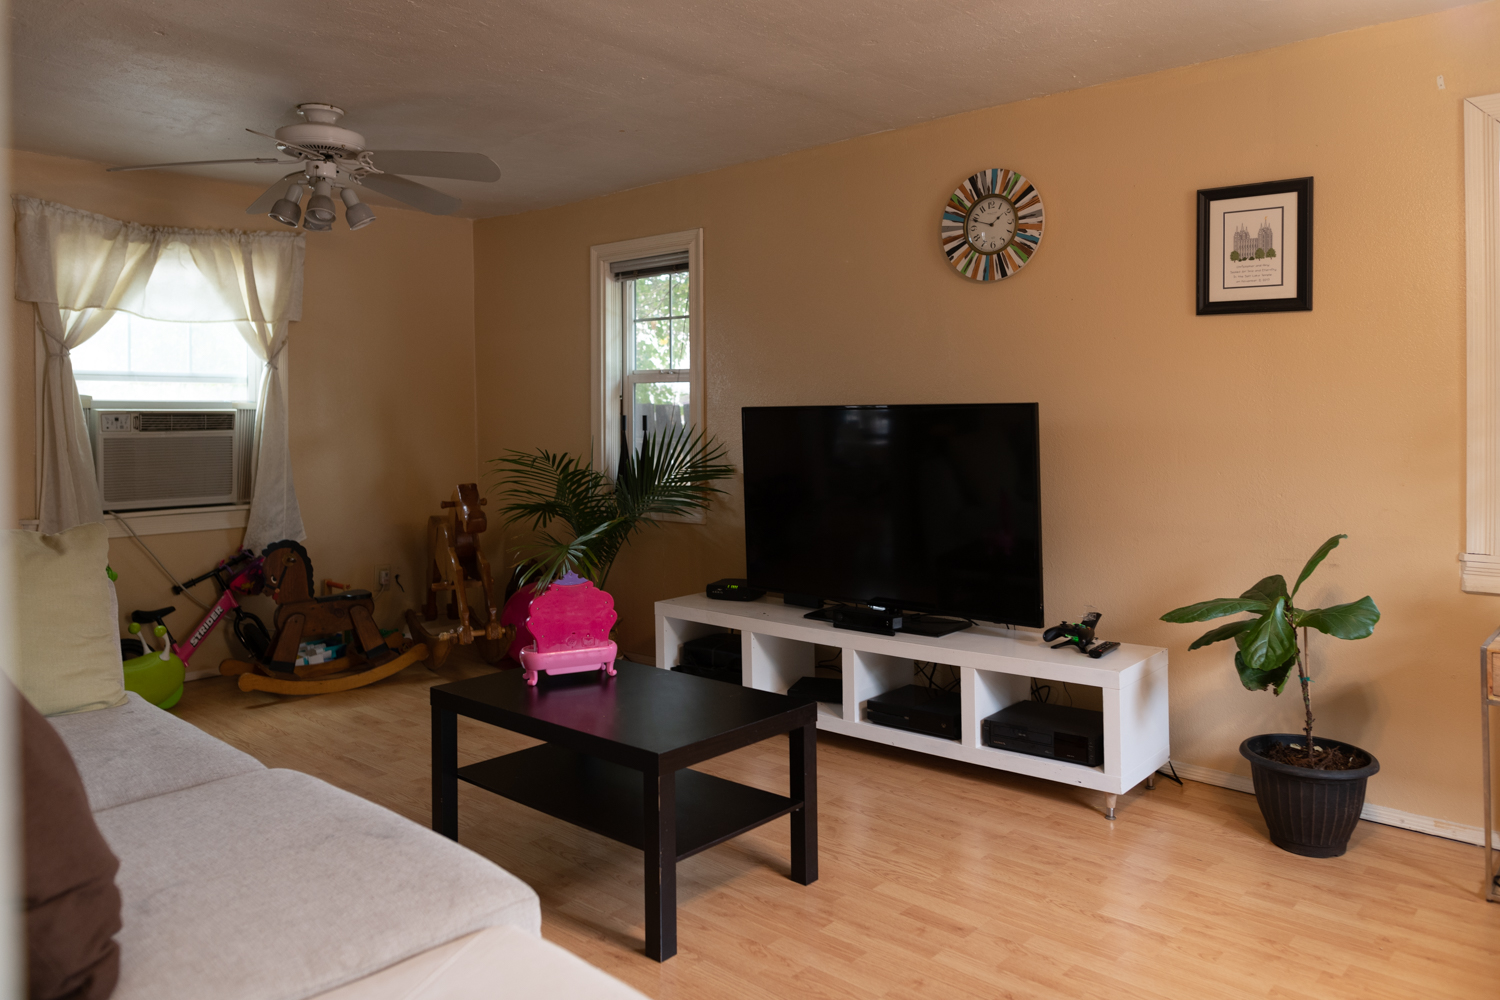
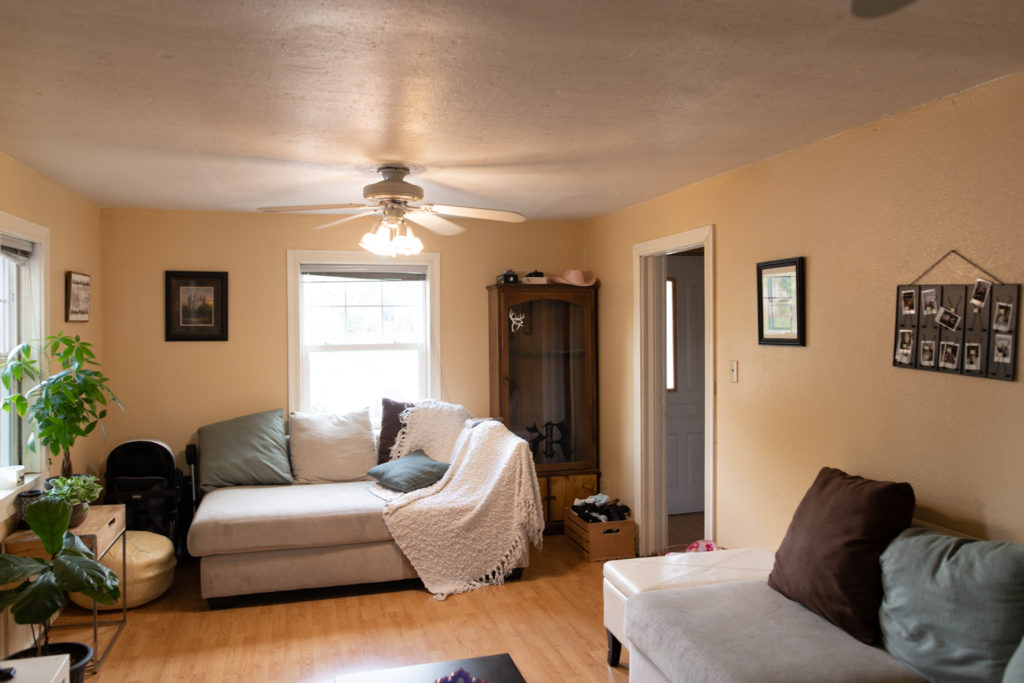
When they moved into their 1937 house, things like updating bathrooms and dealing with the quirks of an old house took precedence (as they should). Things like repainting a functional albeit boring living room were wayyyy down on the project list. And I could not wait to get my hands on it!

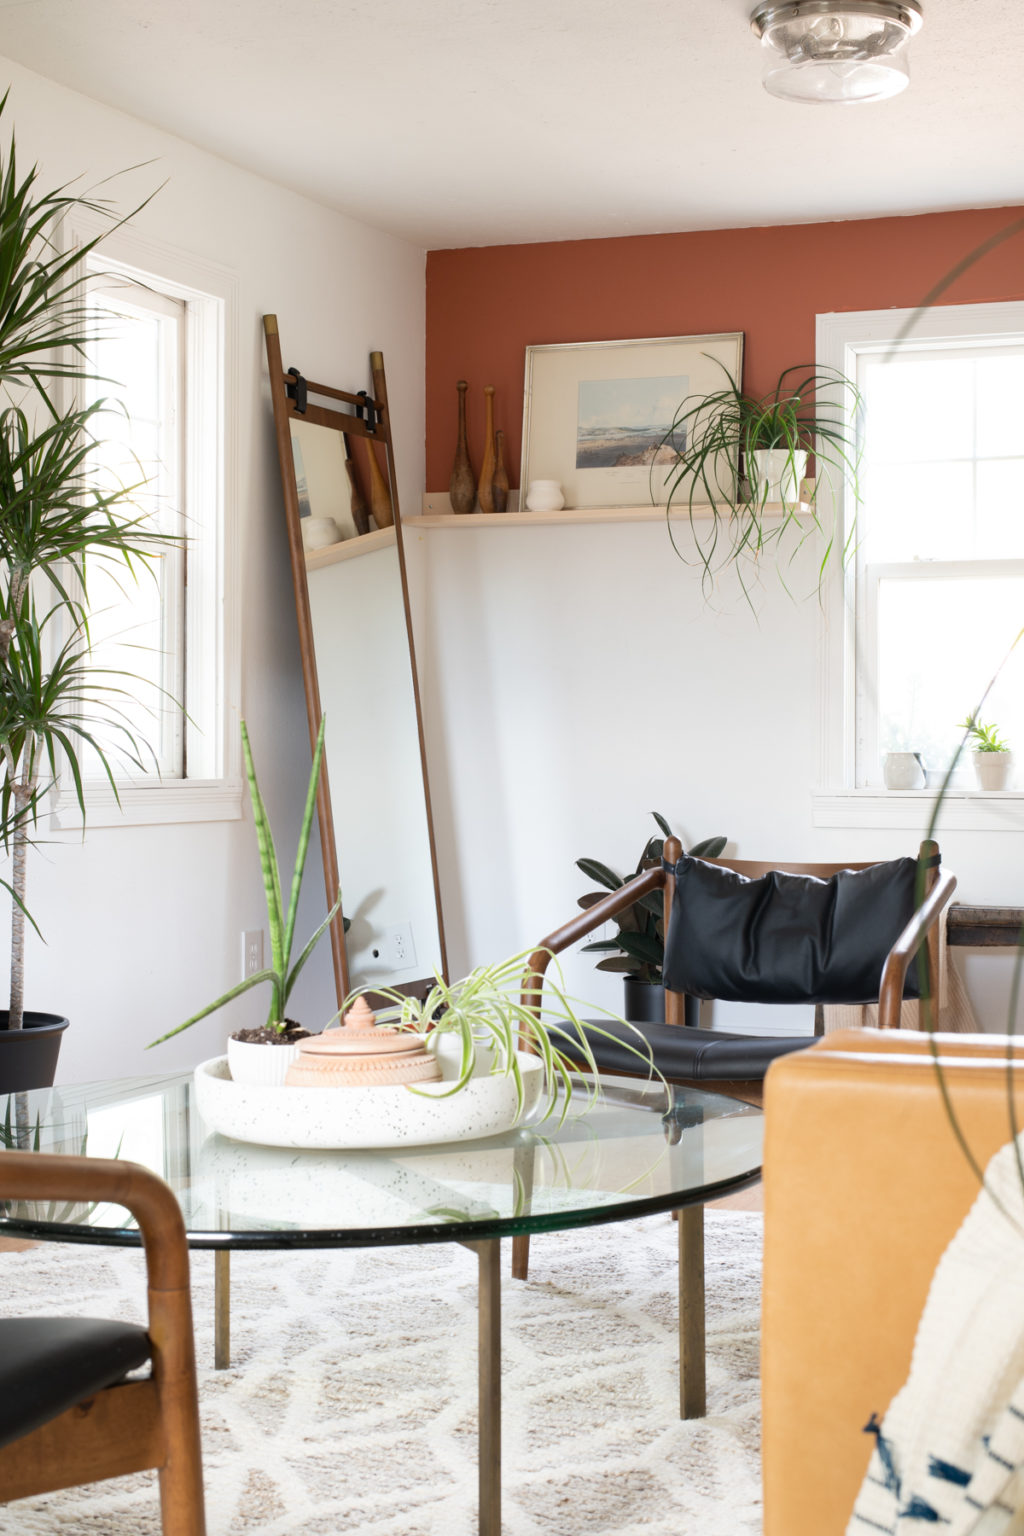
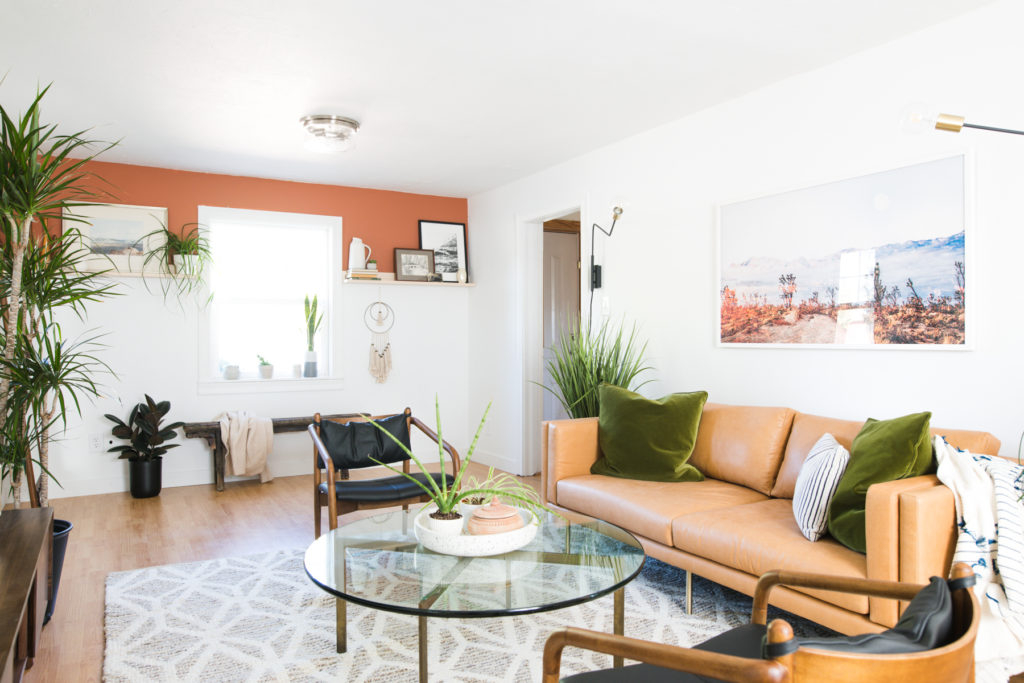
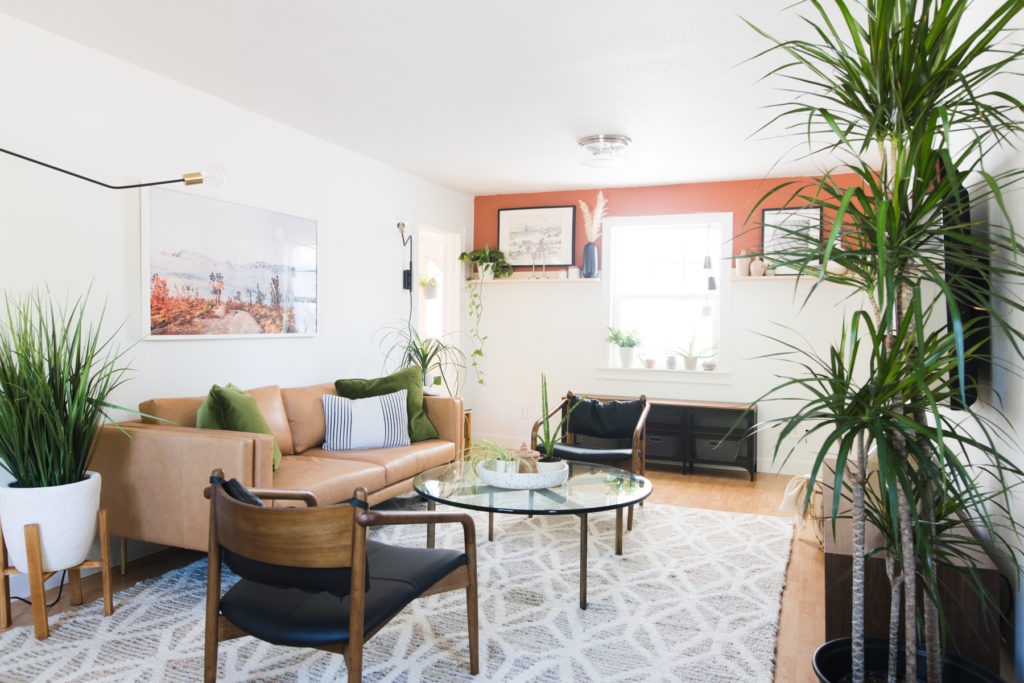
The vibe that we went for is Modern Desert. My obsession with the Sherwin-Williams 2019 Color of the Year Cavern Clay SW 7701 is verging on unhealthy. They absolutely nailed it. So, after stalking Amy’s Pinterest boards and catching her style, I was over the moon to find that this modern desert dweller vibe I had my heart set on would be perfect.

The entire room got a coat of the best white paint color in the world (you can find the formula here; it’s a custom color I have mixed at Sherwin-Williams) and the ends of the room are rocking a statement-making accent color. Cavern Clay it’s seriously bold, instead of overwhelming this small living room with it, I decided that a quick color blocking would be perfect and I love how it turned out.
Color Blocking 101
The great thing about this type of accent wall is that it is entirely customizable. I used white and orange, but you can you any combo of colors in the world.
Before painting, clean all surfaces with a bucket of soapy water and sponge to remove dirt and oils.
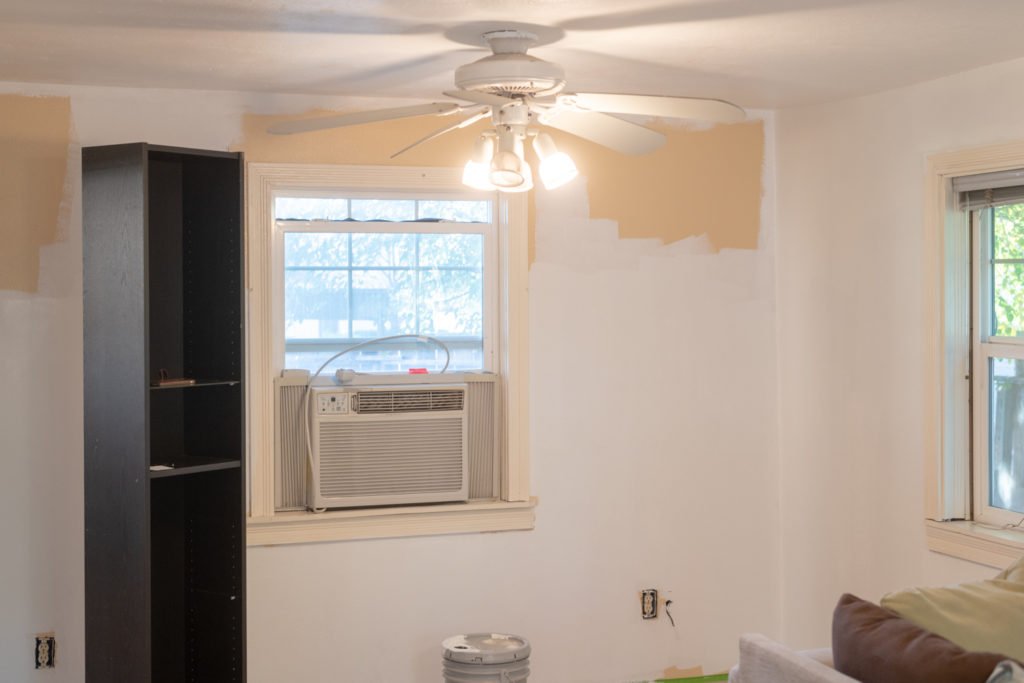
Step 1: Paint Your Base Color
Don’t worry about painting the entire wall, just make sure that you cover enough of the area so that you have an overlap with the second color; that way you can save yourself frustrating touchups. In my case, I painted most of the wall with that perfect white color I mentioned earlier.
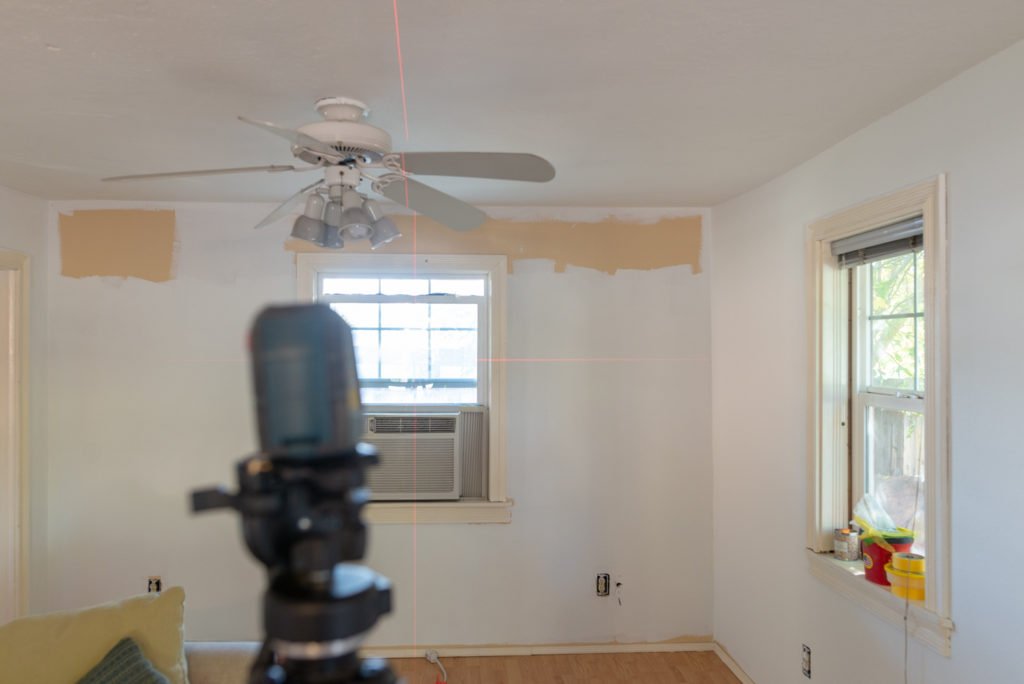
Step 2: Set Your Line
To make sure that my line was exactly the same on both sides of the room, I used our trusty laser level. It takes all of the guesswork out of measuring and can be especially helpful on older homes that might have uneven floors or ceilings. You know that your line is level, even if the floor isn’t.
Step 3: Tape off Your Line
You can get a perfectly straight paint line, even if you have textured walls like Amy. It’s all in the technique, which I’ll talk about next.

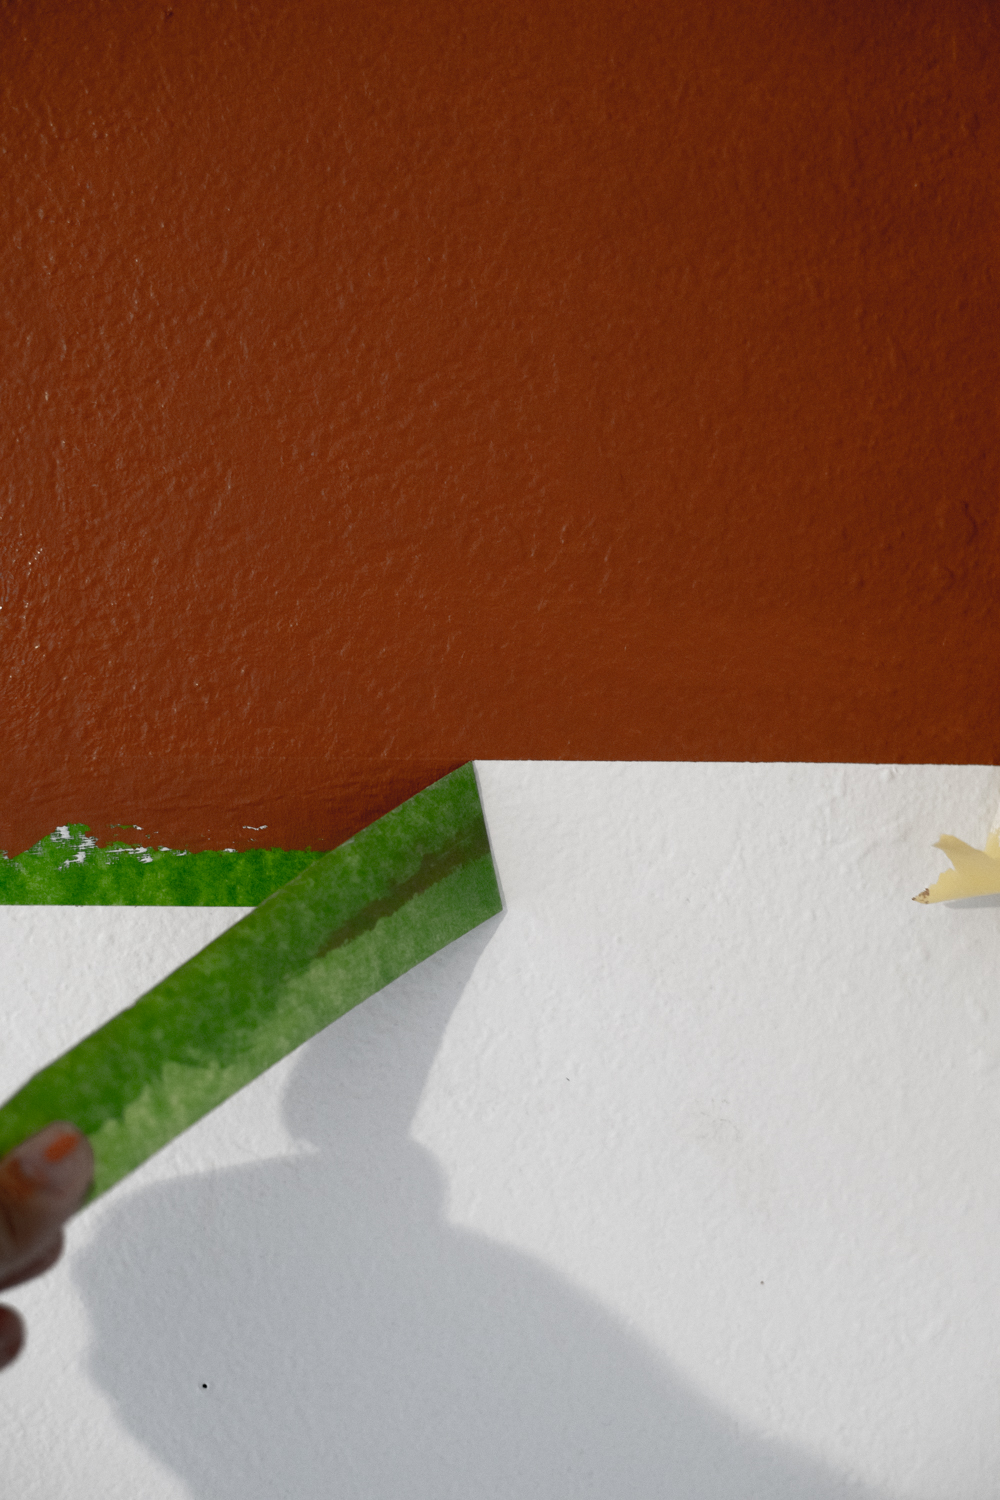
Step 4: Paint Your Base Color On The Tape
This might seem a little weird, but if you hear nothing else in this post, hear this. IF YOU WANT A PERFECT PAINT LINE YOU HAVE TO DO THIS. Painter’s tape is not all equal, but even the best painter’s tape can’t perfectly fill every gap and dip in wall texture. This is where painting your base color comes in. If the paint is going to bleed, don’t you want it to bleed the color that makes it invisible? By using the base color (in my case Mandi White) and painting over the edge of the tape, it seals all of those gaps and dips. That way when you go back through with the accent color, all of those problem areas are taken care of!
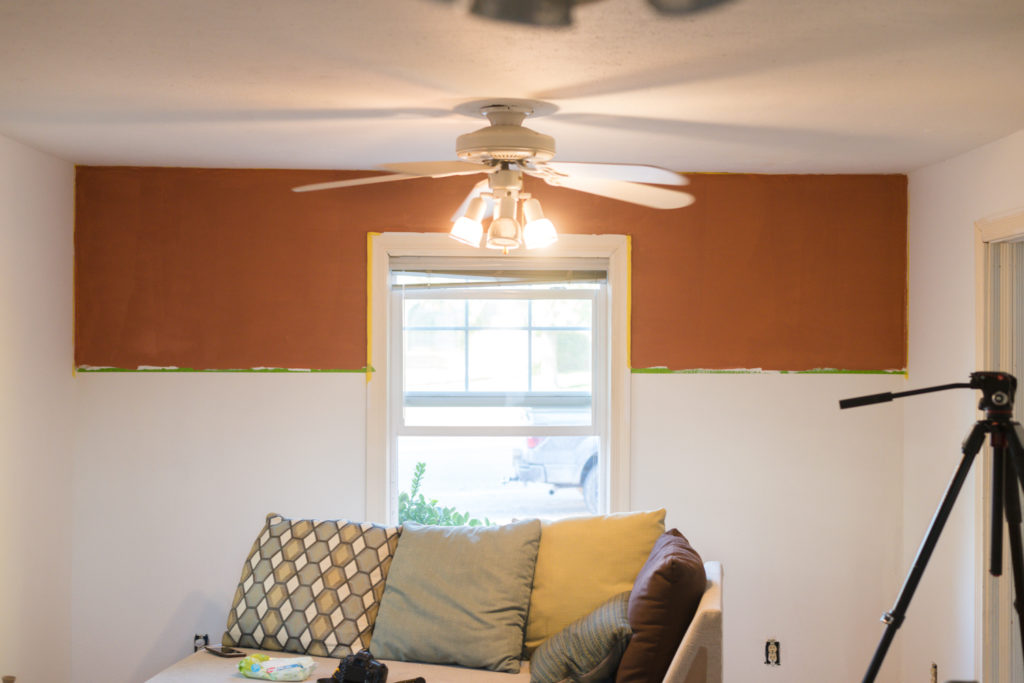
Step 5: Paint Your Accent Color
One important tip when you are painting a wall and using painter’s tape is to remember to remove your tape while your paint is still wet. Obviously, you don’t want to remove it after each coat, but once your last coat is on, it’s go time! Taking the tape off before it dries means that the paint won’t seal itself to the tape and peel your fresh paint off of the walls.
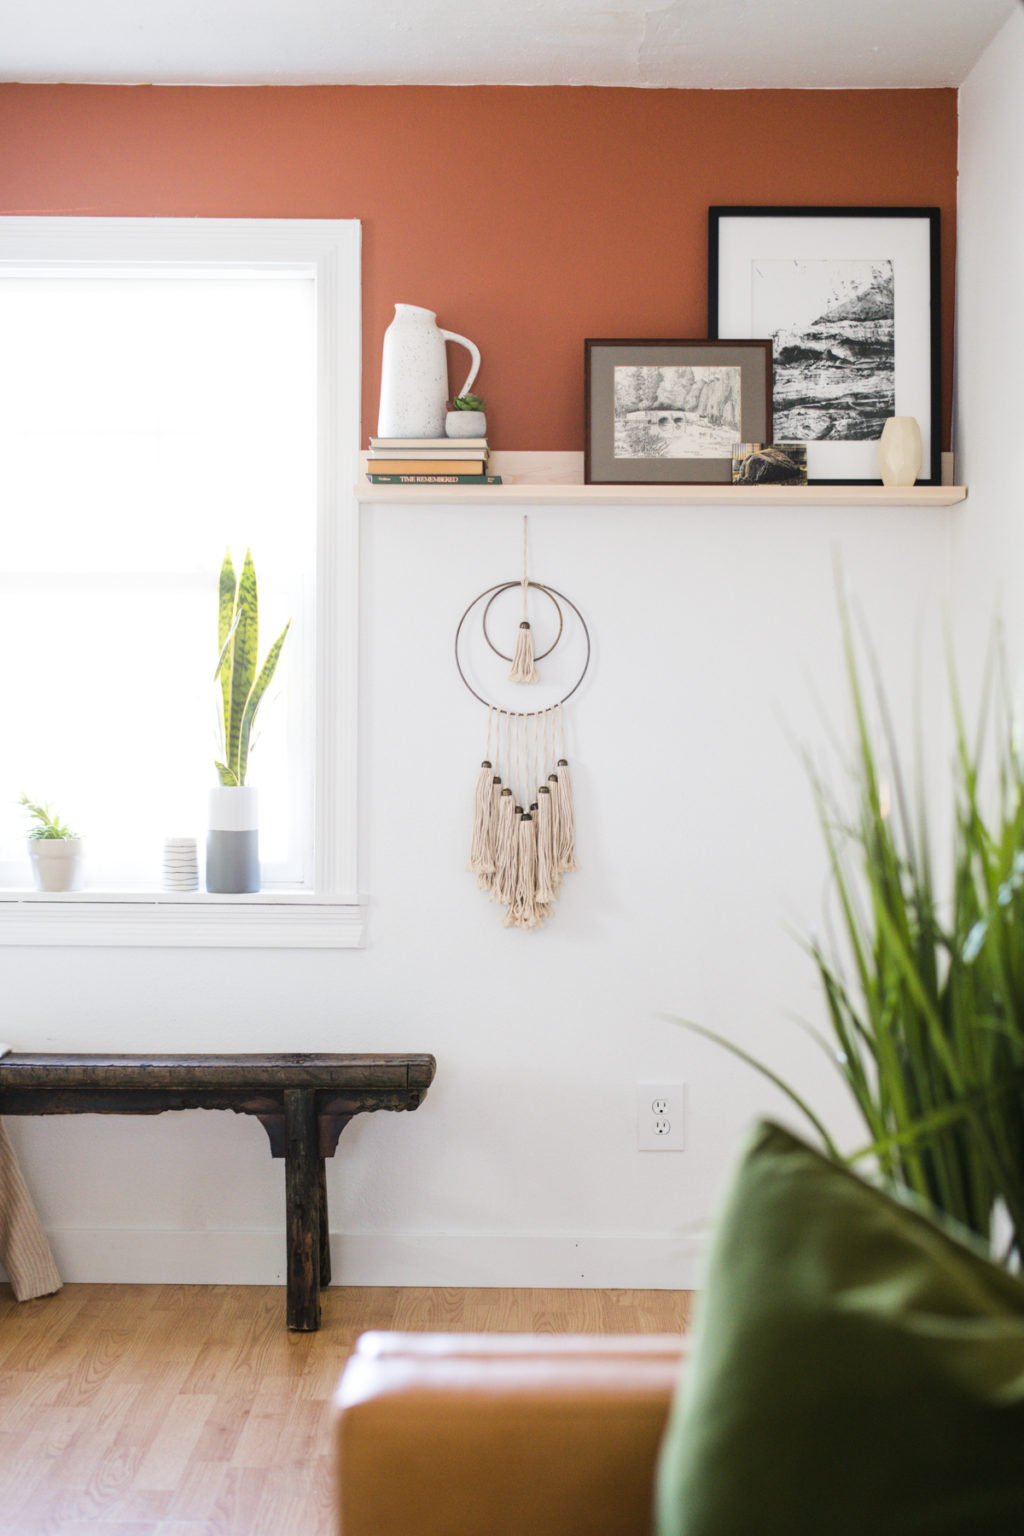
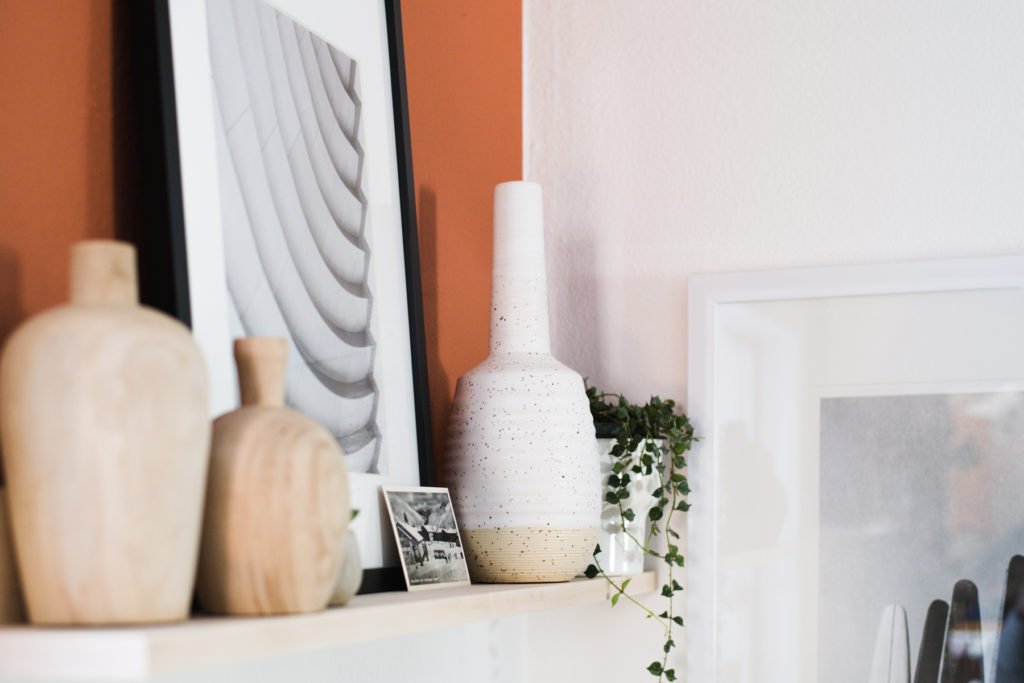
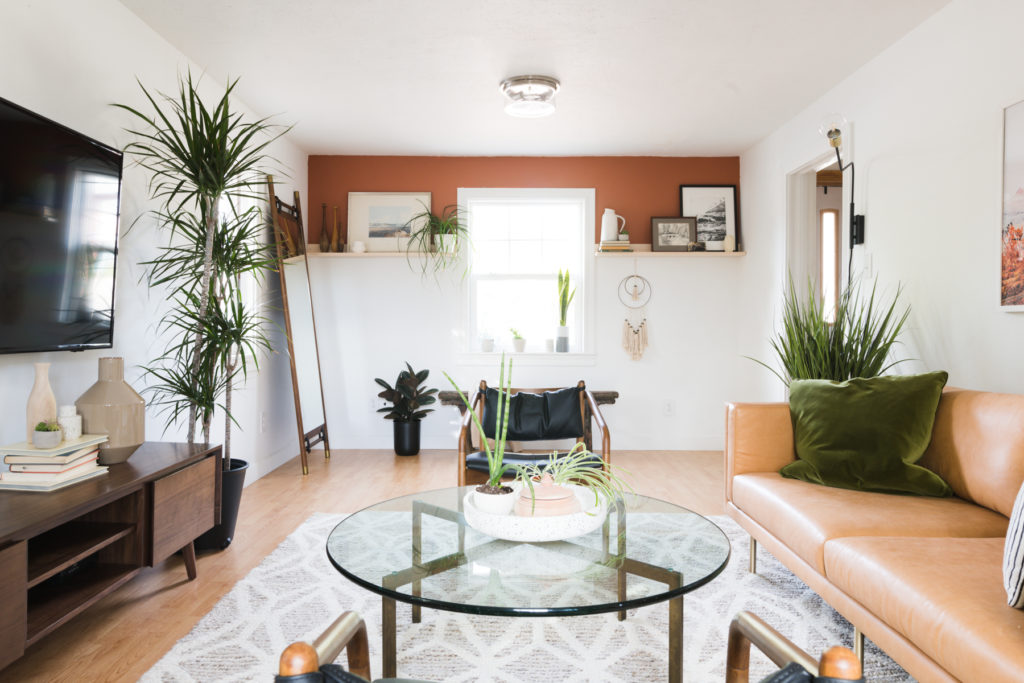
To break up our color blocking even more, I made quick ledge shelves out of maple (you can see the tutorial here!)

What a difference a new coat of paint makes!!
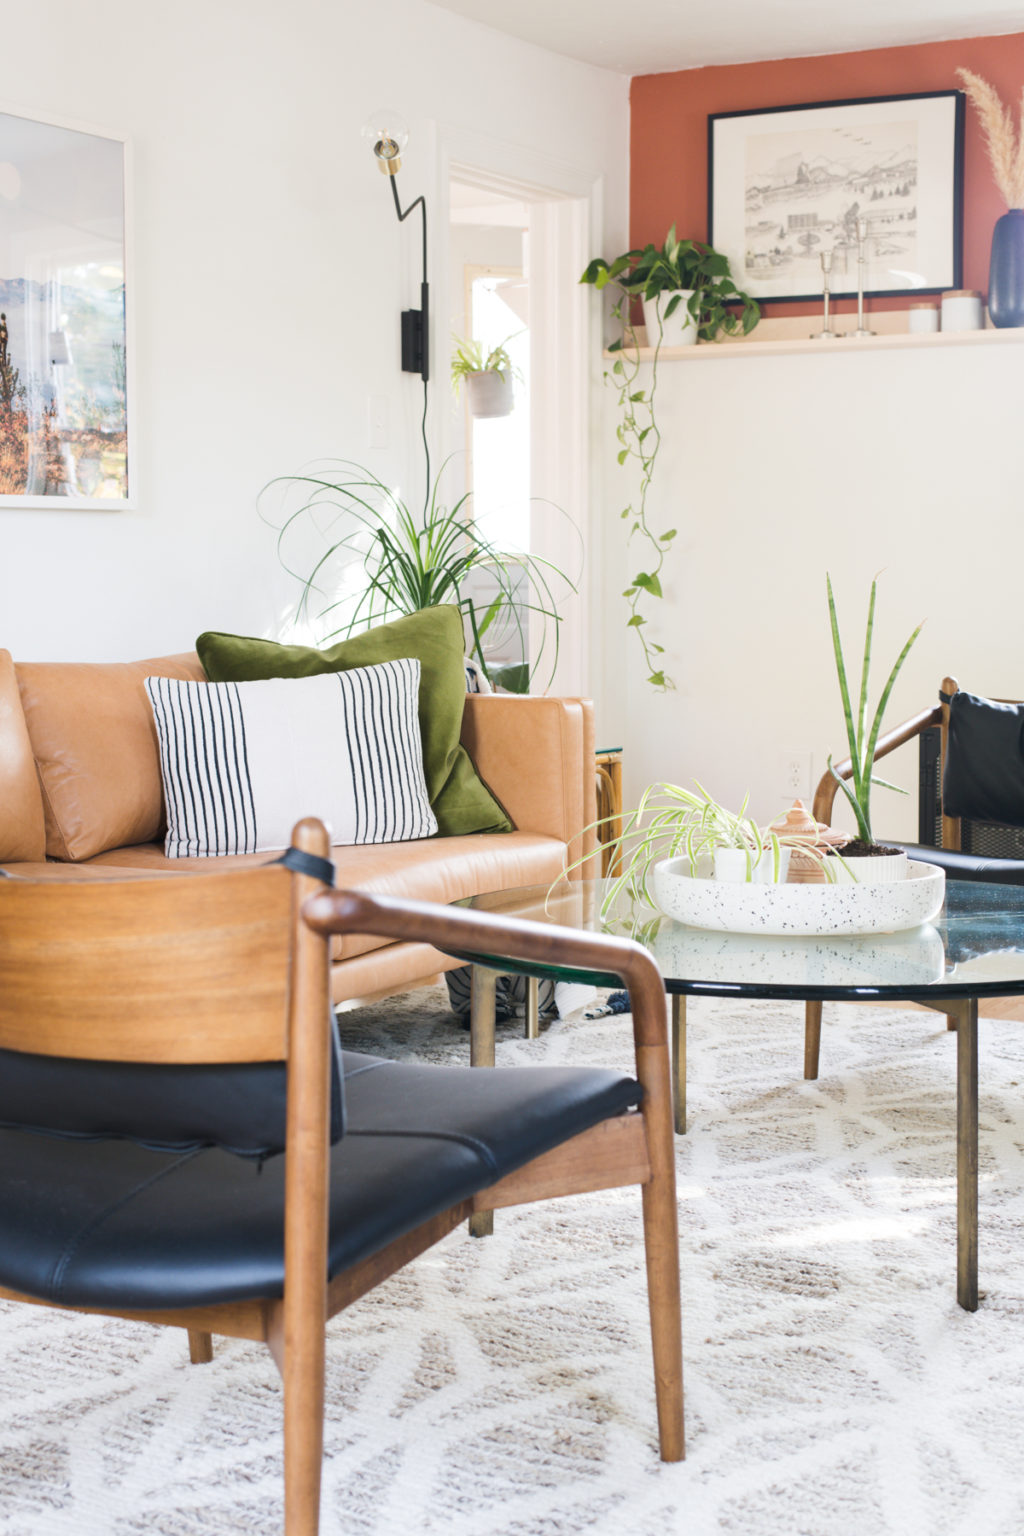
Let’s talk about the furniture! Almost all of it came from Article. Article is my favorite place for amazing quality, design driven pieces. This is the 3rd time that I’ve been lucky enough to use their pieces in a room (you can see Aspyn’s living room here, and my Mother In Law’s living room here) and every single time I am blown away by them.
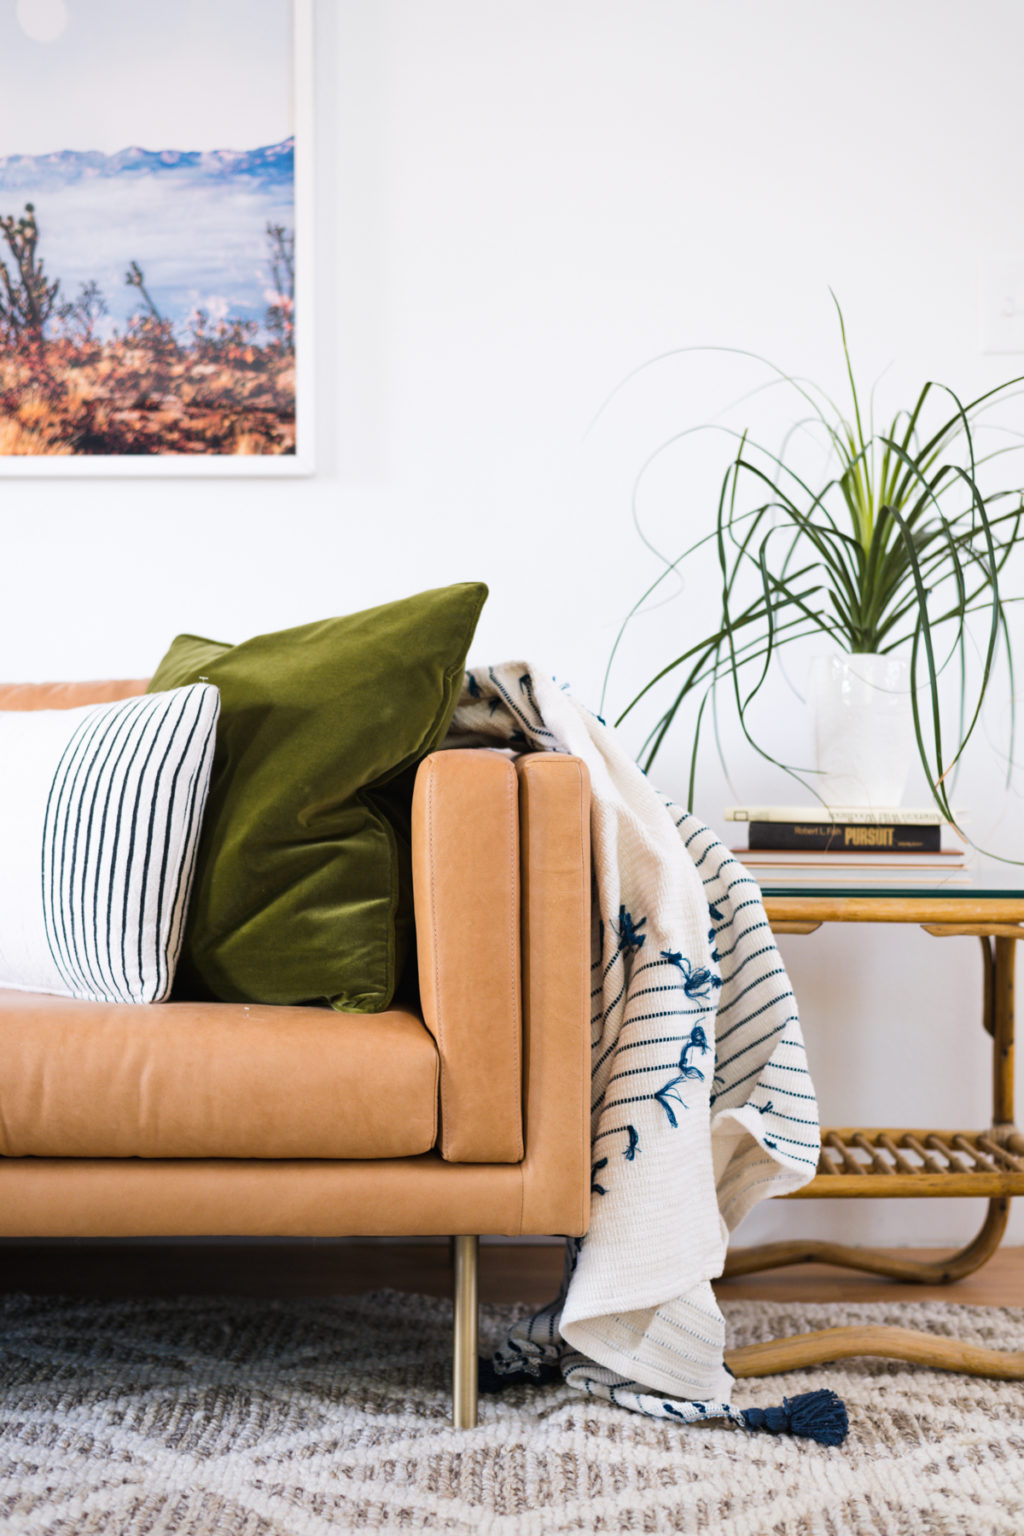
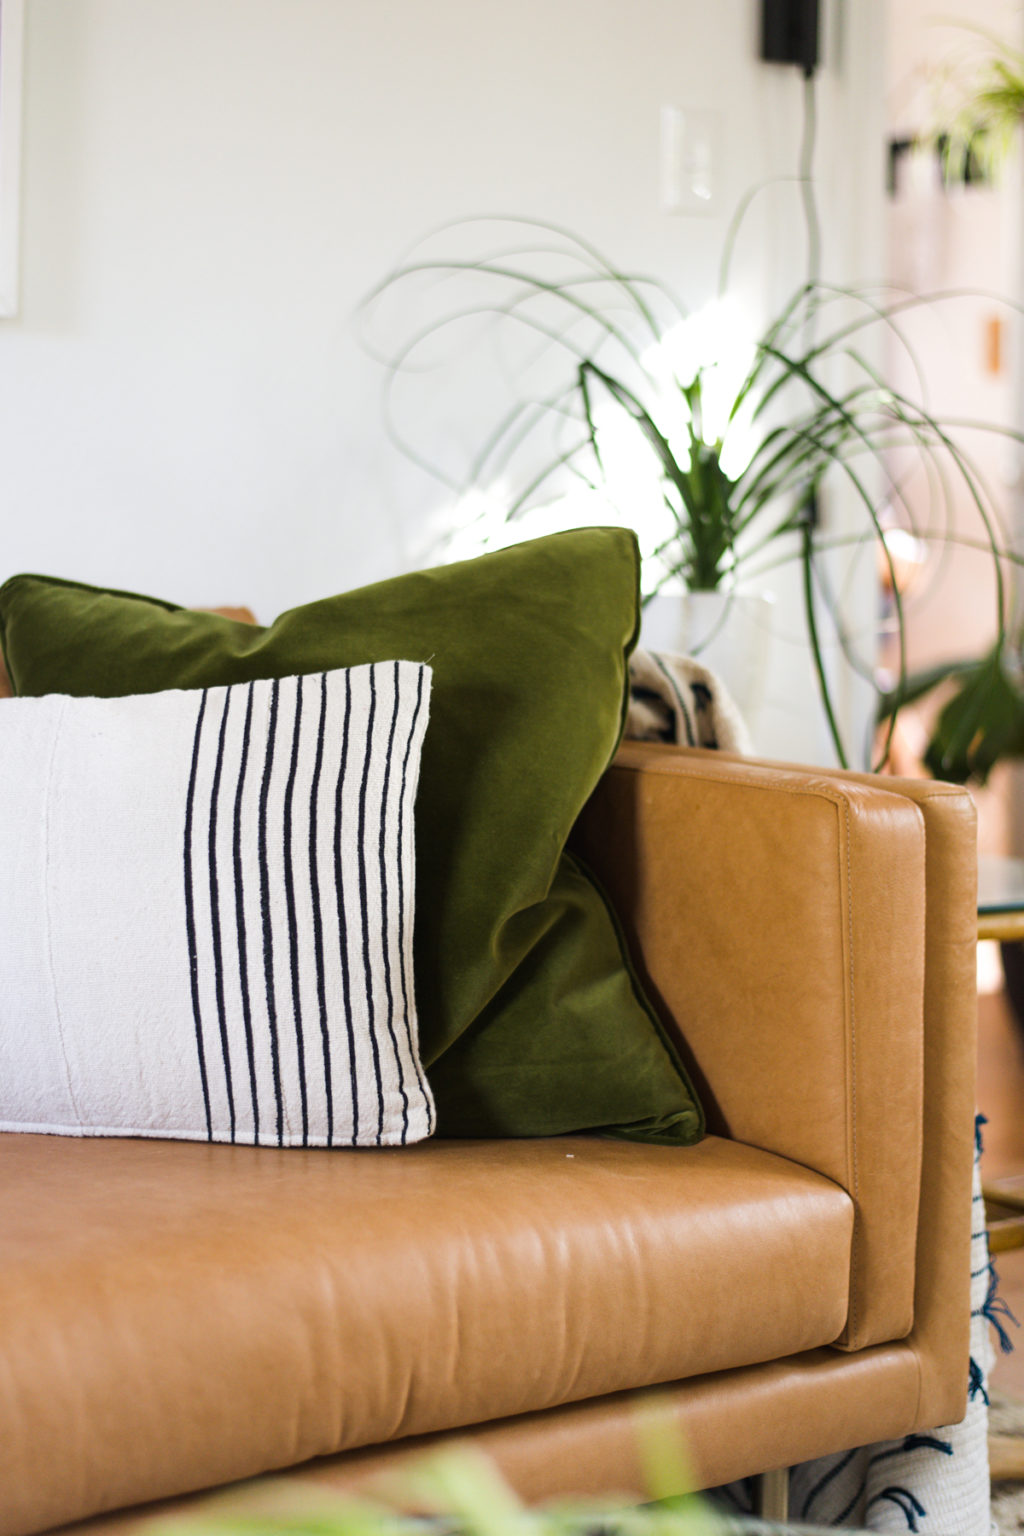
The couch I chose is their Belez sofa in Yuma Tan. The color of the leather is so cool, it’s less orange than regular camel leather. I love the spun metal legs too. This sofa is structured and comfy and I love the large cushions on the bottom. It was so funny, when we opened the couch Amy’s husband kept saying “wow, this is like real leather!”
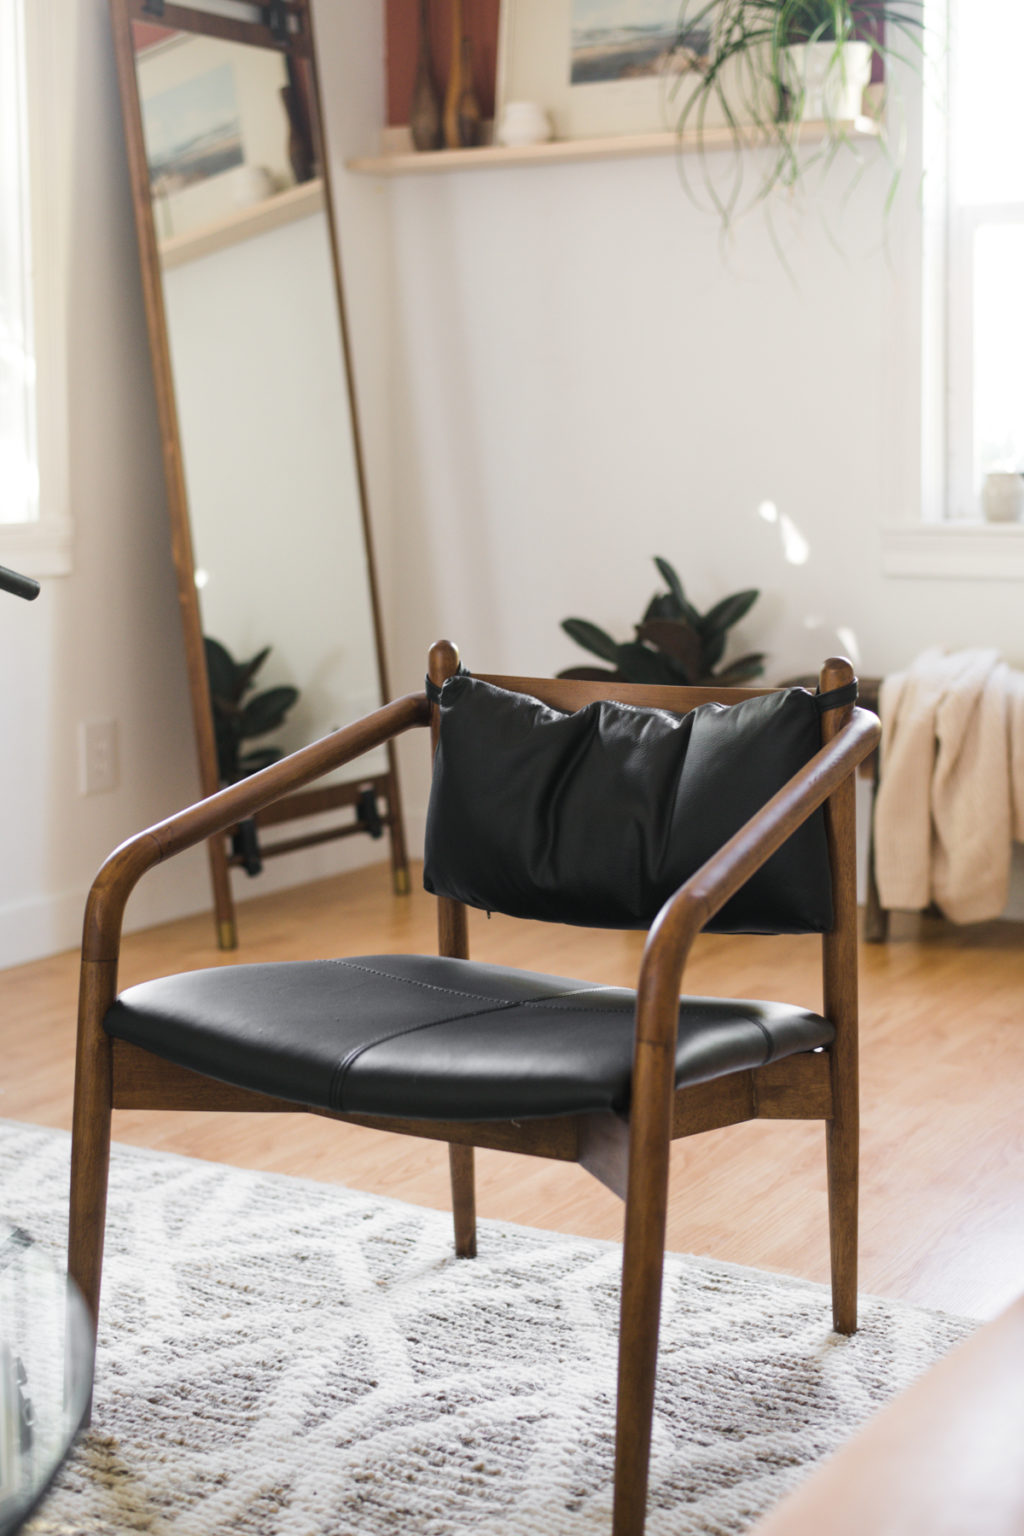
I have been wanting to use the Lento chairs FOREVER. I think that every room needs some black to ground it and these chairs are the perfect way. They are small enough that they work well in multiples, but large enough that you can spend hours hanging out in one. I love the detail of the removable back cushion.

For the media console I chose the Seno in Walnut. It’s a great height for rooms like Amy’s that have lower ceilings. The rich walnut color is so gorgeous!
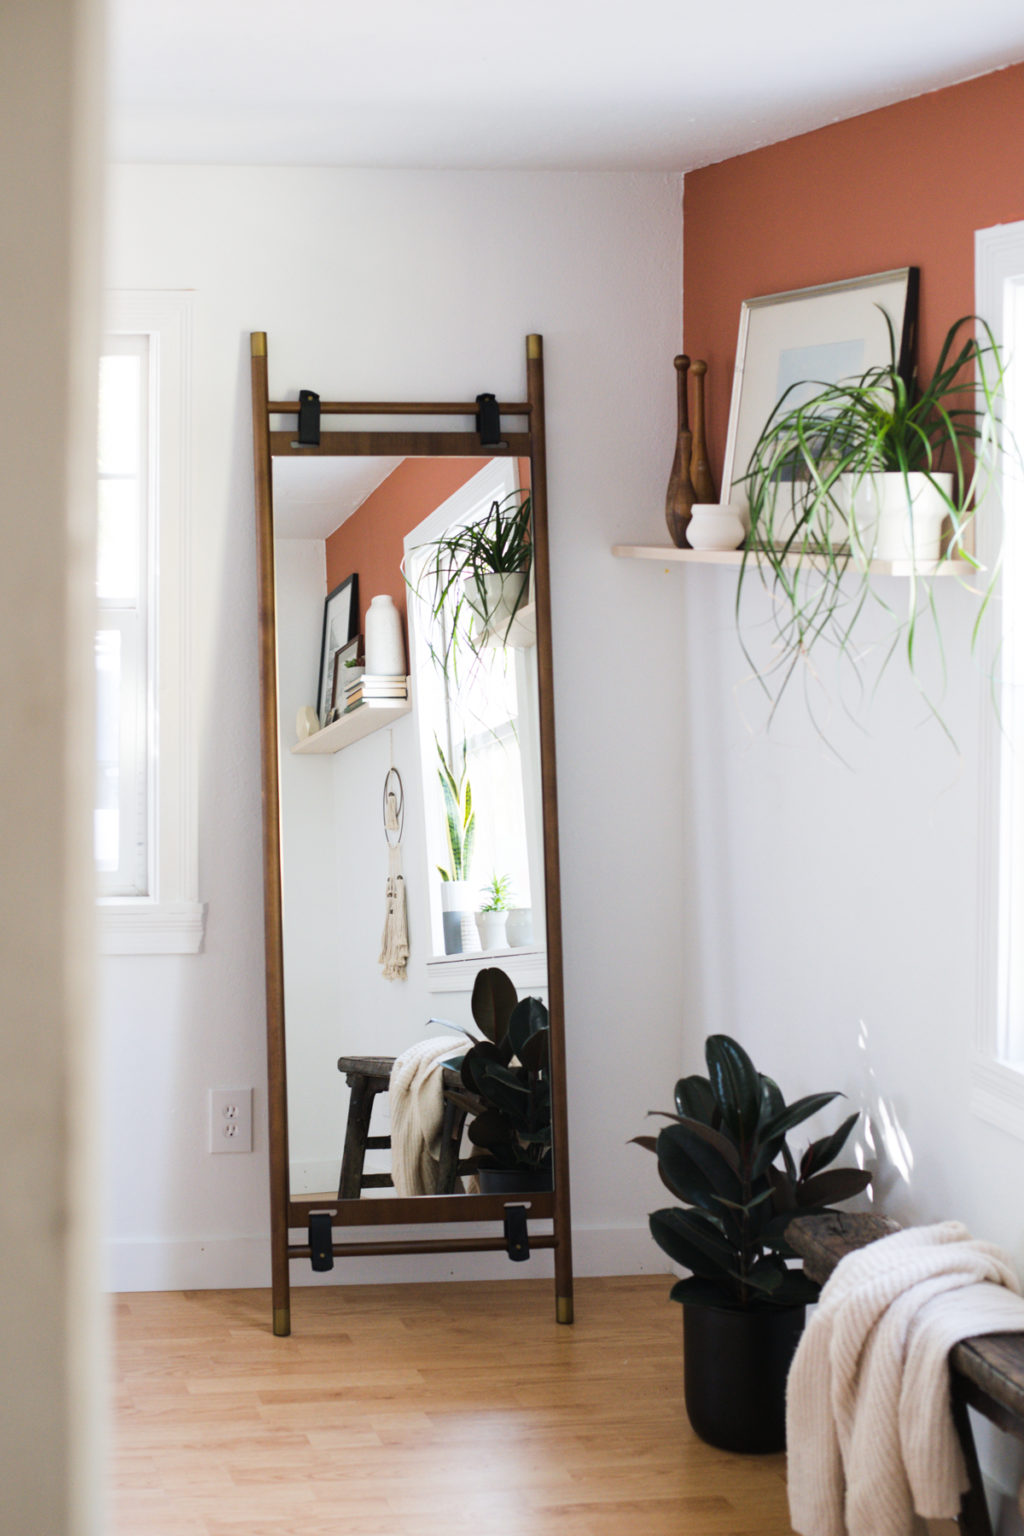
Can we talk about this mirror for a minute. I have never in my life seen a mirror that I love more than this one. The walnut wood, black leather tabs and brass caps are like every good thing ever rolled into one. The best part, the Beau mirror is only $249!! Do you know how much oversized mirrors are at regular retailers? Like 3x that amount!!
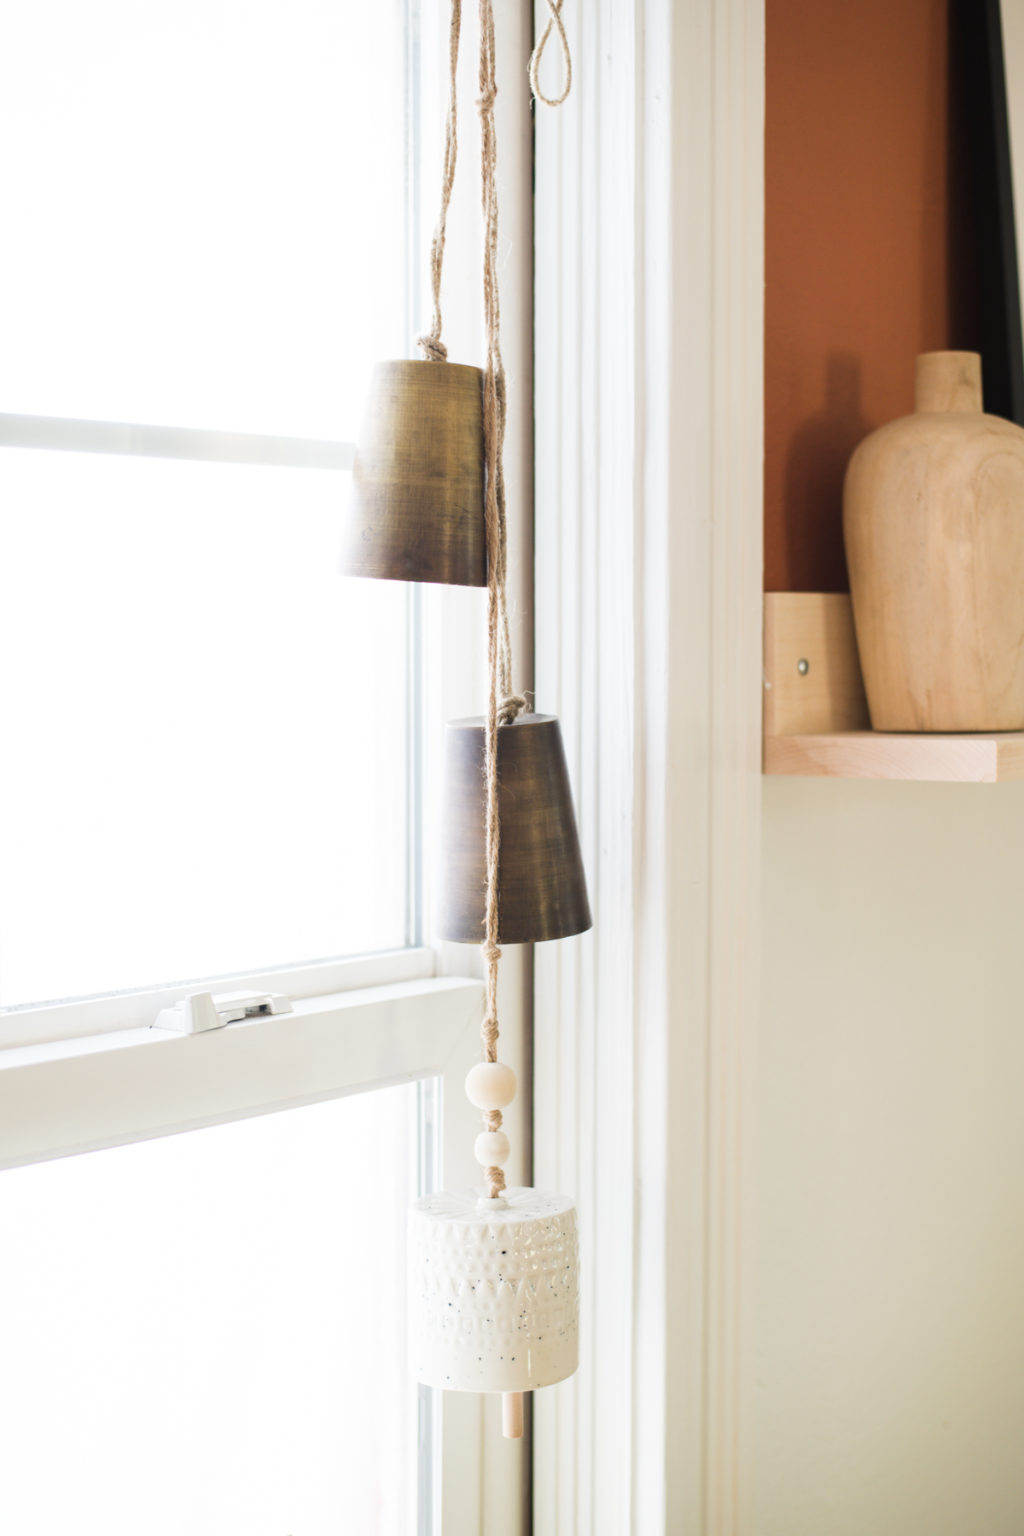
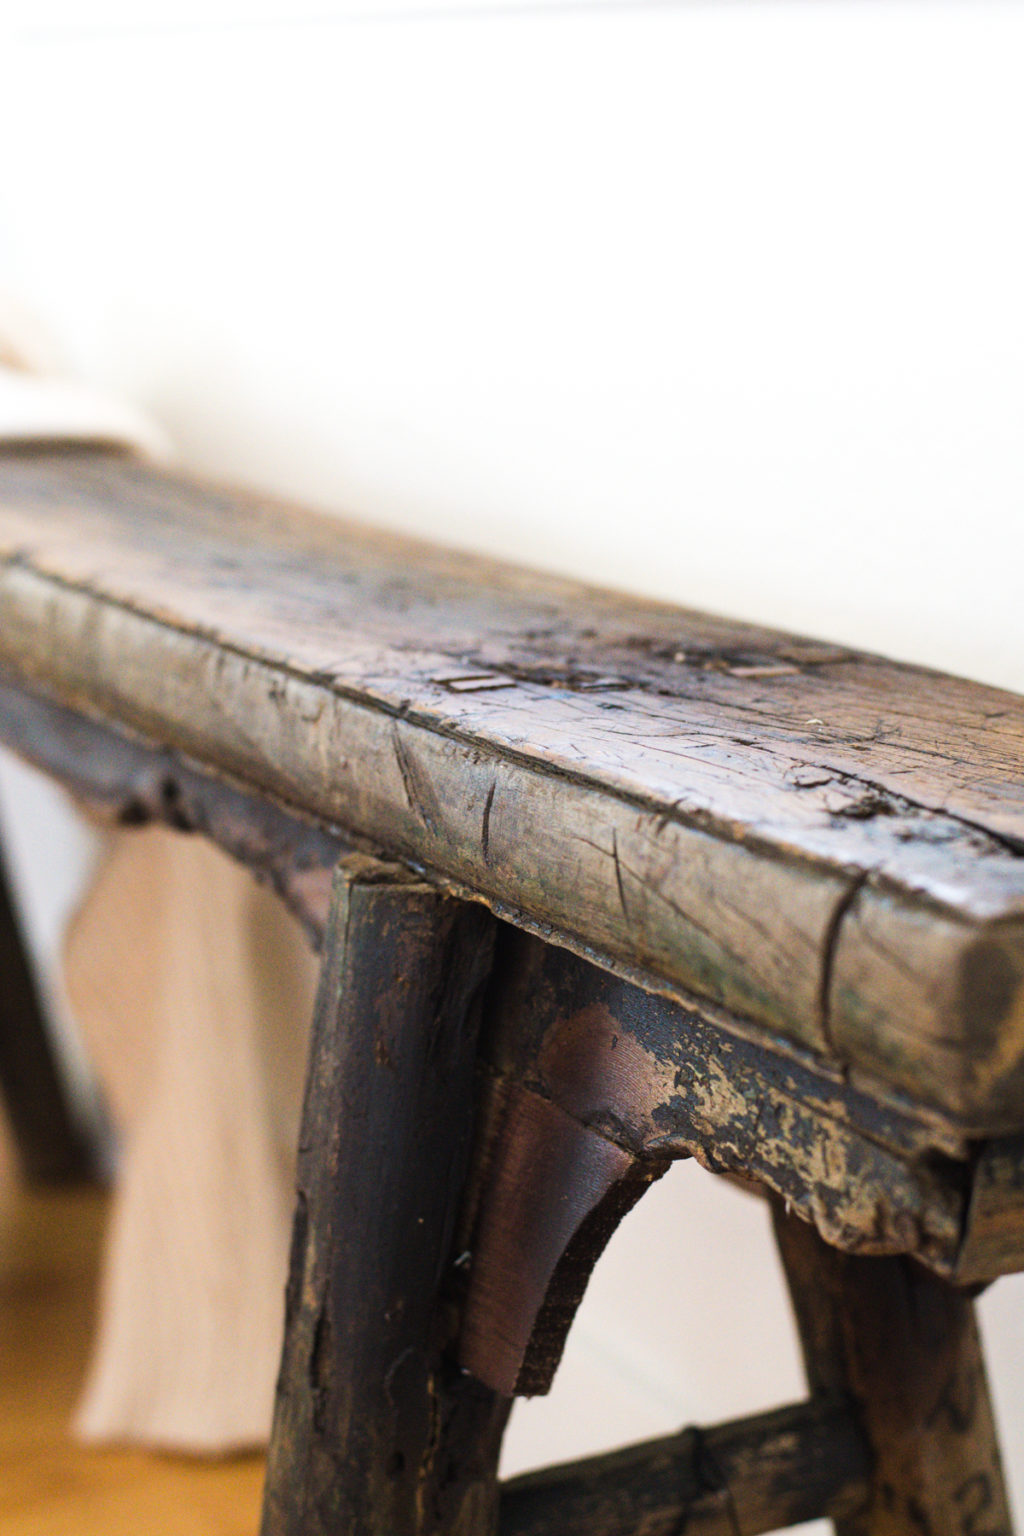
I had so much fun digging around in my storage unit and at my favorite secondhand haunts for all of the accessories.
I would just like to give the most massive thank you to Sherwin-Williams for allowing this magic to happen, and of course to Amy for letting us completely invade her life for a week! I love projects like this when I am lucky enough to get to connect with one of you in real life and share some of the DIY love. You guys mean the world to me and I am grateful for you!!
The post Modern Desert Living Room Reveal appeared first on Vintage Revivals.
via Mandi at Modern Desert Living Room Reveal